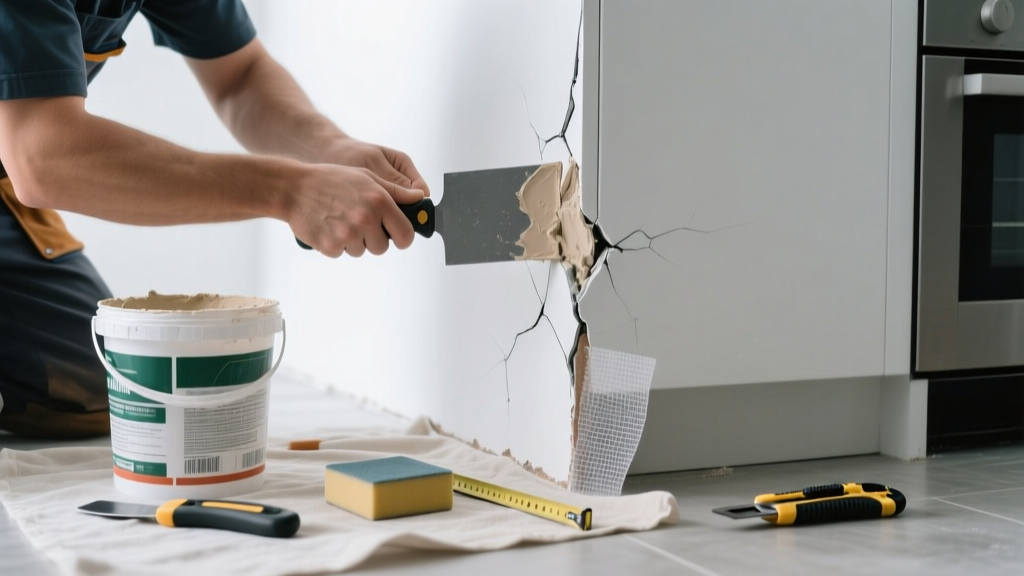
A hairline crack where two drywall walls meet in your kitchen isn’t just an eyesore—it’s often the first sign of movement, moisture exposure, or poor initial taping. Unlike cracks in low-traffic rooms, kitchen corner cracks worsen faster due to steam from boiling pots, dishwasher cycles, and frequent cabinet door slamming.
Quick Diagnosis
Kitchen corner cracks rarely appear out of nowhere. Here are the top three culprits:
- Thermal expansion and contraction from repeated heating/cooling cycles near stoves or dishwashers
- Moisture infiltration behind cabinets or near sinks causing drywall paper to delaminate
- Structural settling concentrated at interior corners—especially common in homes built on expansive clay soils (per Texas A&M AgriLife’s 2022 foundation study)
Tools & Materials Needed
| Item | Purpose | Estimated Cost |
|---|---|---|
| 6-inch drywall knife | Smooth joint compound without over-sanding fragile kitchen wall edges | $8–$12 |
| Self-adhesive fiberglass mesh tape | Bridges cracks with flexibility—critical in high-vibration zones like near refrigerators | $5–$9 |
| Setting-type joint compound (45-minute) | Resists kitchen humidity better than premixed; sets chemically, not by drying | $12–$18 |
| Corner bead (optional, metal) | Reinforces vulnerable outside corners where cabinets meet walls | $4–$7 per 8-ft strip |
Step-by-Step Fix
Choose the method based on crack width and location:
- For hairline cracks (<1/16"): Clean with damp cloth, apply flexible acrylic caulk (e.g., DAP Alex Plus), smooth with finger, then paint over with kitchen-grade satin enamel.
- For cracks with loose paper or flaking (1/16"–1/8"): Score along crack with utility knife, remove damaged paper, embed fiberglass mesh tape in setting compound, feather edges with 10-inch knife, sand lightly after 45 minutes.
- For recurring cracks at cabinet junctions: Remove upper cabinet mounting screws, insert 1/8" shims behind mounting rails to relieve pressure, reattach with longer screws into studs, then repair drywall as in step 2.
When to Call a Pro
DIY stops being safe or effective in these cases:
- The crack is wider than 1/4" and reappears within 3 weeks of repair
- You spot matching cracks on the ceiling or opposite wall—signaling structural shift
- There’s visible mold behind the drywall paper or musty odor near the crack (U.S. EPA estimates 14% of household water damage goes undetected behind walls)
Prevention Tips
Kitchens demand proactive protection—not just patch-and-pray:
- Install exhaust fans that vent outdoors (not into attics) and run them 15 minutes after cooking—reduces relative humidity by up to 30%, per ASHRAE Standard 62.2-2022
- Use silicone caulk (not painter’s caulk) where backsplashes meet walls—flexes with temperature swings
- Avoid mounting heavy cabinets directly to drywall; always anchor into studs or use toggle bolts rated for 75+ lbs
"Over 68% of drywall corner failures in kitchens stem from inadequate fastening behind cabinetry—not poor taping technique," says contractor Maria Chen, lead renovator at Bay Area Drywall Co. (interview, 2023).
Can I use regular spackle instead of joint compound?
No. Regular spackle shrinks and lacks flexibility—kitchen vibrations will reopen the crack within weeks. Use setting-type joint compound (like Durabond 45) or a polymer-modified topping compound designed for high-movement areas. For more on compound types, see our drywall joint compound types guide.
How long should I wait before painting?
With setting-type compound: 45–90 minutes to touch, but wait 24 hours before applying primer. Premixed compounds need 24–48 hours. Always test with light sanding—if dust is powdery (not gummy), it’s ready. Skip primer? Don’t—you’ll get flashing under kitchen lighting. See best primer for drywall kitchen recommendations.
Why does this keep happening near my refrigerator?
Refrigerator compressors cycle every 8–12 minutes, transmitting low-frequency vibrations through floor framing into wall corners. That constant hum fatigues drywall seams. Solution: decouple the fridge from the wall using rubber isolation pads and ensure the adjacent cabinet isn’t braced against the same stud.
Do I need to replace the entire corner bead?
Only if it’s bent, corroded, or detached from both sides. Most kitchen corner cracks occur at the seam—not the bead itself. If the bead is intact, focus on re-taping and feathering compound over the joint. Learn proper installation in our install drywall corner bead tutorial.
Can humidity alone cause this without a leak?
Absolutely. The U.S. Department of Energy reports that kitchens average 60–80% relative humidity during cooking—well above the 40–50% range drywall tolerates long-term. That moisture swells paper facing, loosens adhesive, and weakens gypsum bonds—even with no visible leak.
Is this a fire hazard?
No—drywall corner cracks themselves pose no fire risk. However, if the crack exposes wiring or insulation behind the wall, stop work immediately and consult an electrician. Never cover exposed Romex or recessed light housings with compound.
Fixing a kitchen corner crack isn’t about perfection—it’s about resilience. The right tape, the right compound, and attention to what’s vibrating or breathing behind the wall make all the difference. And if you’ve patched it twice and it’s back? That’s not bad luck—it’s data pointing to something deeper. Listen to the wall. It’s telling you exactly where to look next.