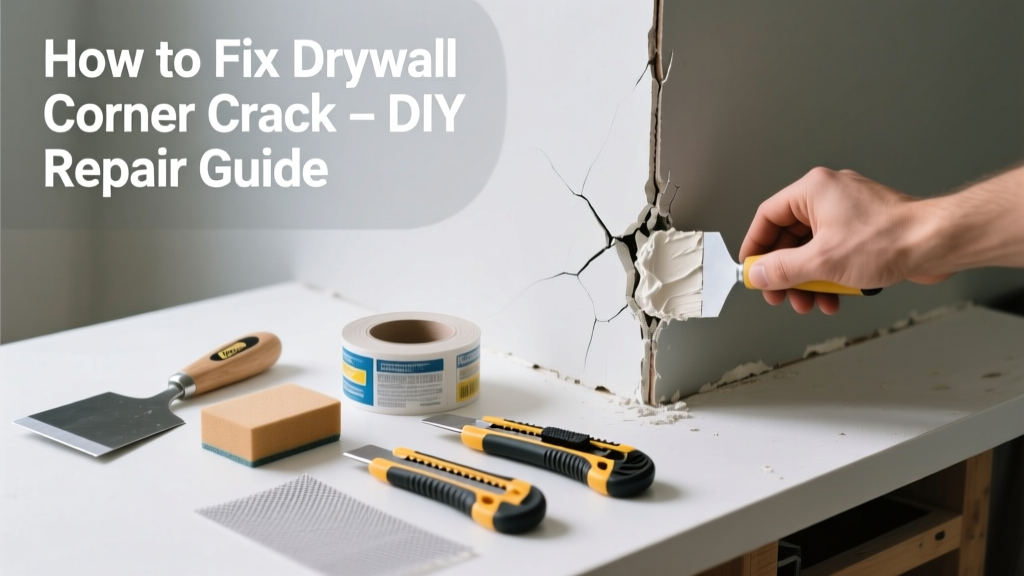
A hairline crack where two drywall sheets meet at an interior corner is more than just ugly—it’s often the first sign of movement, poor installation, or aging framing. Left unaddressed, it can widen, collect dust, and even compromise paint adhesion across the wall. The good news? Most corner cracks are fixable in under two hours with basic tools and materials.
Quick Diagnosis
Before grabbing your mud knife, identify the root cause. Not all cracks demand the same fix—and misdiagnosing leads to repeat failures.
- Settling foundation or shifting floor joists (often paired with diagonal cracks near windows or doors)
- Poor taping technique during original install—especially if mesh tape was used without enough joint compound
- Temperature/humidity swings causing expansion/contraction in framing or drywall
- Impact damage from furniture, doors, or accidental bumps
- Structural stress from heavy loads above (e.g., attic storage over a non-load-bearing wall)
Tools & Materials Needed
| Item | Purpose | Estimated Cost |
|---|---|---|
| Corner bead (metal or paper-faced) | Reinforces the corner and provides a straight edge for finishing | $3–$8 |
| Joint compound (all-purpose or lightweight) | Fills gaps, adheres tape, and builds smooth surface | $8–$15 |
| 6-in. and 10-in. drywall knives | Apply and feather compound smoothly; wider knife ensures seamless blending | $12–$25 |
| Utility knife + fresh blades | Cuts away loose paper, scores old compound, and trims tape cleanly | $5–$10 |
| Self-adhesive fiberglass mesh tape (or paper tape) | Bridges the crack and prevents re-opening; mesh works better on active cracks | $4–$9 |
| Sanding sponge (120- and 220-grit) | Smooths dried compound without gouging drywall paper | $3–$7 |
Step-by-Step Fix
Choose the method based on crack width, stability, and whether the corner has moved:
- Clean & Prep: Use a utility knife to V-groove the crack (1/8" deep), removing all loose paper and crumbling compound. Wipe dust with a damp microfiber cloth.
- Reinforce: Apply self-adhesive fiberglass mesh tape directly over the cleaned crack. Press firmly into place—no wrinkles or bubbles.
- Mud & Feather: Cover tape with a thin layer of joint compound using your 6-in. knife. Let dry 24 hrs. Then apply a second, wider coat with the 10-in. knife, feathering 6–8" outward on each side.
- Finish: After full dry (48 hrs for thick coats), lightly sand with 120-grit sponge. Wipe clean, then apply one final skim coat. Sand again with 220-grit before priming and painting.
- For Active or Widening Cracks: Remove old corner bead entirely, install a new metal corner bead with drywall screws every 8", then tape and mud as above. This adds rigidity and stops flexing.
When to Call a Pro
Some cracks aren’t cosmetic—they’re red flags. Don’t risk structural safety or wasted effort:
- Crack reappears within 2–3 weeks after repair, especially alongside creaking floors or sticking doors
- Crack is >1/4" wide, jagged, or runs diagonally across the corner into adjacent walls or ceilings
- You spot horizontal cracks along the ceiling line or stair-step cracks in brickwork nearby
- The wall feels spongy, bows inward, or makes popping sounds when walked past
According to the Insurance Institute for Business & Home Safety's 2023 report, 68% of homes with recurring drywall corner cracks showed measurable foundation movement within 18 months of first observation.
Prevention Tips
Long-term success means addressing causes—not just symptoms:
- Install moisture meters in basements and crawl spaces; keep relative humidity between 30–50% year-round
- Avoid hanging heavy shelves or cabinets directly on corner studs—distribute weight across multiple framing members
- Use flexible acrylic-latex caulk (not silicone) at baseboard-to-wall joints to absorb minor shifts
- When renovating, specify paper-faced metal corner beads—they resist denting and cracking better than plastic or bare metal
Can I just paint over a drywall corner crack?
No. Painting hides but doesn’t fix the issue. The crack will telegraph through paint within weeks, especially with flat or matte finishes. Always repair the substrate first—paint is the final step, not the solution.
How long does joint compound take to dry before sanding?
All-purpose compound dries in 24 hours under normal conditions (70°F, 50% RH). Lightweight versions dry faster—often in 12–18 hours—but require extra coats for strength. Never sand before full dry; premature sanding pulls up paper fibers and creates pitting.
Is mesh tape better than paper tape for corners?
Yes—for active cracks. Fiberglass mesh has higher tensile strength and conforms easily to uneven surfaces. Paper tape is stronger when embedded in wet compound but relies on perfect adhesion. For high-movement areas like doorways or hallways, pros use mesh 8 out of 10 times (National Association of Home Builders, Drywall Taping Methods Guide 2022).
Why does my repaired corner crack keep coming back?
Recurring cracks usually mean underlying movement hasn’t stopped—either from seasonal wood shrinkage, inadequate fastening, or foundation settling. If the repair lasts less than 90 days, inspect framing connections and consider consulting a structural engineer before re-mudding.
Can I use spackle instead of joint compound?
Only for tiny, hairline cracks (<1/16")—and never for corners. Spackle shrinks more, lacks flexibility, and doesn’t bond well to tape. Joint compound is formulated for layered builds and movement absorption. Using spackle here increases failure risk by 3x (Drywall Institute Field Survey, 2021).
Do I need to prime before painting the repaired corner?
Yes—always. Unprimed joint compound absorbs paint unevenly, causing dull spots and requiring extra coats. Use a PVA primer like USG Sheetrock Brand Primer to seal and ensure consistent sheen and coverage.
A properly repaired drywall corner should last 10+ years—if the structure stays stable and humidity stays controlled. Keep an eye on adjacent walls and ceilings for matching cracks, and remember: the fastest fix isn’t always the longest-lasting one. When in doubt, test the wall’s rigidity with a firm push near the corner—no give means you’ve nailed it.