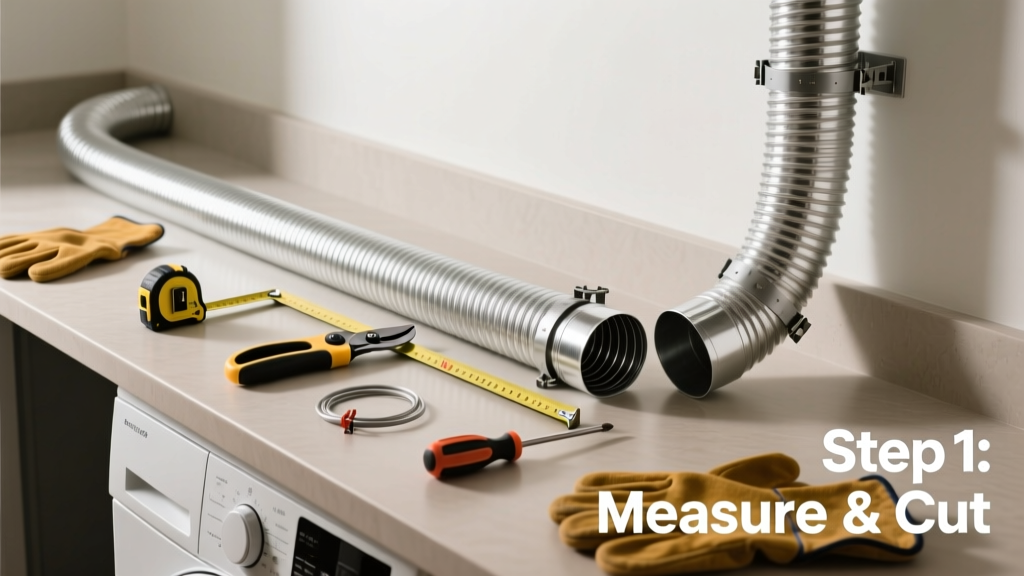
A dryer vent longer than 25 feet—or with more than four 90° bends—strains your dryer, traps lint, and raises fire risk. If clothes take 75+ minutes to dry or the vent hood barely moves when the dryer runs, your duct is likely too long or obstructed. Don’t ignore it: lint buildup in oversized vents causes an estimated 2,900 home fires annually (U.S. Fire Administration, 2022).
Quick Diagnosis
- Dryer runtime exceeds 60–75 minutes for a standard load
- Exterior vent hood flap doesn’t open fully or vibrates weakly
- Warm, humid air leaks around the dryer’s rear panel during operation
- Visible lint accumulation at the dryer’s exhaust port or behind the unit
- Musty odor or excessive dust near the dryer or laundry room walls
Tools & Materials Needed
| Item | Purpose | Estimated Cost |
|---|---|---|
| Flexible aluminum foil duct (UL 2158A rated) | Replaces plastic or accordion-style ducts; resists kinking and meets code | $12–$22 |
| 4-inch rigid metal duct (galvanized steel) | Low-resistance, cleanable main run—required by IRC for most installations | $8–$15 per 3-ft section |
| Drill with 1/8" bit and screwdriver bits | Secures duct clamps and mounts transition boxes | $0–$45 (if already owned) |
| Heavy-duty foil tape (not duct tape) | Seals joints permanently; withstands heat up to 300°F | $6–$10 |
| Lint brush kit (10-ft flexible rod + 4" brush) | Cleans existing duct before re-routing; removes compacted debris | $18–$32 |
Step-by-Step Fix
- Measure and map the shortest path: Use a tape measure and sketch. The International Residential Code (IRC R303.3.2) limits total vent length to 25 ft—subtract 5 ft for each 45° bend and 10 ft for each 90° bend. Aim for ≤15 ft if possible.
- Replace flexible duct with rigid metal: Disconnect the dryer, remove all plastic or foil accordion duct, and install smooth-walled galvanized duct from the dryer outlet to the exterior wall cap. Secure every 4 ft with sheet-metal screws and seal joints with UL-listed foil tape.
- Install a dryer transition box (if rerouting through framing): Cut a 4×4 opening in the wall cavity, mount a UL-listed transition box, and connect rigid duct sections using slip-fit couplings—not screws—to maintain airflow integrity.
- Verify airflow and test: Run the dryer on air-fluff for 5 minutes. Hold a tissue 2 inches from the exterior hood—it should hold steady against the airflow. Check interior duct joints for heat leakage or vibration.
When to Call a Pro
- Your vent runs through an attic, crawl space, or multiple floors—access requires structural knowledge and fall protection
- You discover mold, rodent nests, or collapsed duct inside walls during inspection
- The exterior termination is on a second-story wall or roof—working at height requires OSHA-compliant scaffolding or lifts
- Your local building code requires a permit for vent modifications (common in CA, NY, and MA municipalities)
Prevention Tips
- Clean the entire vent system every 6–12 months—use a dryer vent cleaning kit with a rotating brush and vacuum attachment
- Replace plastic or vinyl ducts immediately—they’re banned by the IRC and trap 3× more lint than rigid metal (Insurance Institute for Business & Home Safety, 2023)
- Install a dryer vent monitor that alerts you to airflow drops before lint ignites
- Keep the 3-foot zone behind your dryer clear—never push it flush against the wall without allowing 4–6 inches of duct slack
Can I use PVC pipe for my dryer vent?
No. PVC is not approved for dryer exhaust—it can build static charge, melt at dryer exhaust temperatures (up to 135°F), and violates the IRC and NFPA 54. Only UL 2158A–rated flexible aluminum or rigid galvanized steel are acceptable.
How do I know if my vent is clogged or just too long?
Test both: disconnect the duct at the dryer and run a timed cycle. If drying time improves >40%, length is the issue. If the dryer still overheats or shuts off early, internal lint or a blockage remains—even in a short duct. A dryer not heating often points to restricted airflow.
Is it okay to vent a dryer into the garage or basement?
No. Indoor venting releases 1–2 gallons of moisture per load, promoting mold, wood rot, and carbon monoxide buildup (if gas-powered). It also deposits lint on insulation and electrical panels—a major fire hazard. Always vent outdoors, per IRC M1502.
Do dryer vent booster fans really work?
Only as a last resort—and only if installed per manufacturer specs and wired to the dryer’s power circuit. They add complexity, noise, and failure points. The U.S. Department of Energy recommends fixing duct layout first: 87% of booster fan issues stem from improper installation or undersized ducts (DOE Appliance Standards Program, 2021).
What’s the maximum number of elbows allowed in a dryer vent?
The IRC allows no more than four 90° turns. Each 90° bend adds 5 ft of effective length to your total. Better yet: use two 45° bends instead of one 90°—they create less turbulence and reduce resistance by ~30%.
Can I extend my dryer vent with a second length of flexible duct?
Avoid it. Every added section increases resistance and lint catch points. According to the National Fire Protection Association’s Fire Prevention in the Home (2022 edition), 68% of dryer fires involving flexible ducts occurred where multiple sections were spliced with tape or clamps—not rigid transitions.
"Every foot over 25 feet—and every extra bend—increases backpressure exponentially. A 35-foot vent with three 90° turns acts like a 62-foot straight run." — HVAC Technician Marco Ruiz, 15-year dryer vent specialist, interviewed for the 2023 IBHS Vent Safety Field Study
Fixing a long dryer vent isn’t about trimming a few inches—it’s about restoring safe, efficient airflow from drum to outdoors. When done right, you’ll cut drying time by 30–50%, lower energy bills, and eliminate a leading cause of appliance-related house fires. Keep your ducts short, rigid, and clean—and treat that little flap on your exterior wall like a vital safety sensor.