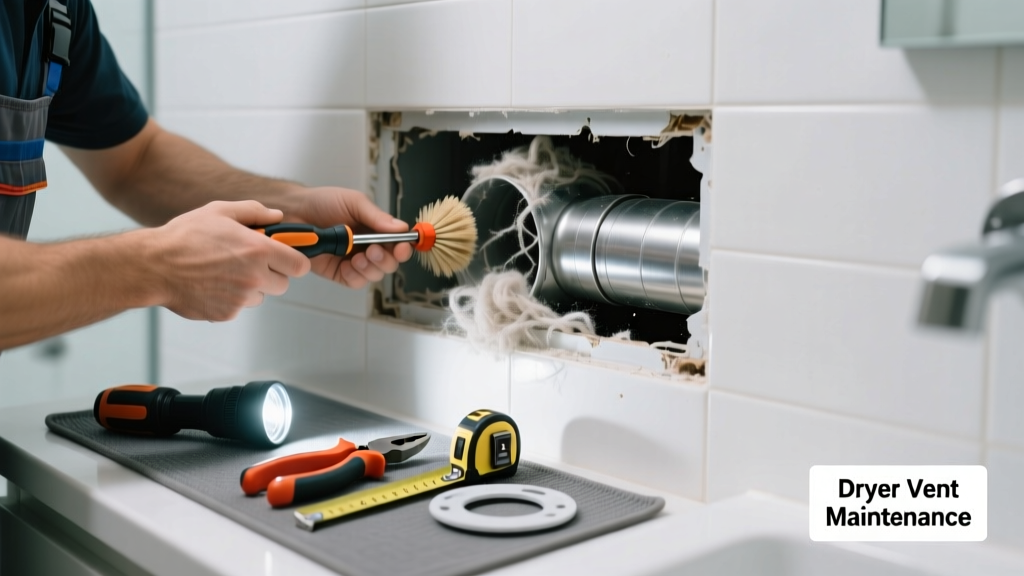
If your dryer takes twice as long to dry clothes—and your bathroom ceiling tiles are softening or developing black mold—you’ve likely got a clogged dryer vent running through or terminating in the bathroom. This isn’t just inefficient; it’s a serious fire and moisture hazard, especially when warm, lint-laden air gets trapped behind shower walls or under vanities.
Quick Diagnosis
Start by ruling out obvious culprits before tearing into walls:
- Lint buildup at the bathroom vent cover (often mistaken for a bathroom fan grille)
- Kinked or crushed flexible aluminum duct behind the dryer or inside the wall cavity
- Improperly installed vent terminating inside the bathroom instead of outdoors
- Animal nests or debris in the exterior termination cap (especially if vent exits near soffits or crawlspaces)
- Missing or damaged backdraft damper allowing humid air to recirculate into the bathroom
Tools & Materials Needed
| Item | Purpose | Estimated Cost |
|---|---|---|
| Rotary dryer vent cleaning brush (10–25 ft) | Reaches deep into vertical or horizontal wall runs to dislodge compacted lint | $24–$38 |
| Shop vacuum with hose adapter | Creates suction at vent termination point while brushing from opposite end | $65–$120 |
| Flexible inspection mirror & LED probe | Views tight bends and concealed sections behind vanity or tub surround | $12–$22 |
| Aluminum foil tape (UL 181 rated) | Seals joints in rigid metal duct—never use duct tape | $8–$14 |
| Stud finder with AC detection | Locates wiring and plumbing before drilling access holes in bathroom walls | $35–$75 |
Step-by-Step Fix
Choose the method that matches your vent layout. Most bathroom clogs occur where the duct passes through floor joists or turns sharply behind tile walls.
- Unplug the dryer and shut off power at the breaker. Confirm no voltage with a non-contact tester—bathrooms often share circuits with GFCI outlets.
- Remove the bathroom vent cover (usually 4-inch round or rectangular) using a screwdriver. Check for visible lint and inspect the damper flap for free movement.
- Feed the rotary brush from the bathroom side into the duct while running the shop vacuum at the dryer end—or vice versa. Rotate slowly and pull back every 2 feet to clear loosened debris.
- If resistance persists beyond 6 feet, locate the nearest accessible point: behind the vanity, in the attic above, or inside a closet on the other side of the wall. Cut a 6×6-inch access panel using a drywall saw—avoid studs and pipes.
- Replace damaged or flexible duct with rigid 4-inch aluminum duct, sloped 1/4″ per foot toward the exterior. Seal all joints with UL 181 foil tape—not duct tape or screws alone.
When to Call a Pro
Stop immediately and call a licensed HVAC technician or certified dryer vent cleaner if:
- You detect burning smells or scorch marks on the vent cover or surrounding drywall
- The duct runs through combustible framing without proper fire-stopping (common in older homes built before 2006 IRC codes)
- You find evidence of rodent nesting or insulation contamination behind walls
- Your home has a multi-story vent stack shared with other units (condo/apartment)
"Over 15,000 home fires annually are linked to dryer vent failures—nearly 80% involve improper installation or lack of maintenance." — U.S. Fire Administration, Home Fire Causes Report 2022
Prevention Tips
Maintaining airflow isn’t optional—it’s code-mandated. The International Residential Code requires dryer vents to be cleaned at least once per year, more often for high-use households.
- Clean the lint trap before every load—and wash it monthly with dish soap and a soft brush to remove residue
- Install a rigid metal duct during any renovation; flexible ducts trap 3x more lint than smooth-walled rigid ones (per UL 2158A testing)
- Add a vent airflow sensor that alerts you when static pressure exceeds 0.75 inches WC
- Inspect the exterior termination cap every season for bird nests, paint blockage, or ice buildup
Can I use bleach to clean the vent cover?
No. Bleach corrodes aluminum vent grilles and damages rubber gaskets. Use warm water, mild dish soap, and a soft nylon brush—then rinse and air-dry completely before reinstalling.
Why does my bathroom smell like damp laundry after drying?
This indicates backdrafting: either a stuck damper, negative pressure from bathroom fans overpowering the dryer’s exhaust, or a cracked duct leaking humid air into wall cavities. Test fan CFM ratings—your bathroom fan shouldn’t exceed 50% of your dryer’s output (typically 150–200 CFM).
Is it safe to run a dryer vent through the bathroom ceiling?
No. The 2021 IRC (Section M1502.2) explicitly prohibits dryer exhaust from terminating in attics, crawlspaces, or interior rooms—including bathrooms. Moisture and lint must exit directly to the outdoors.
How do I know if the clog is behind tile?
Use an inspection mirror and LED probe through the vent opening—if you see dark, matted lint 3+ inches in, or hear a hollow thud when tapping the wall near the vent, the clog is likely embedded in the stud bay. Tile removal may be needed if access panels aren’t feasible.
Can I extend the vent with PVC pipe?
Absolutely not. PVC melts at 140°F—well below dryer exhaust temps (125–155°F). Only UL-listed rigid metal duct (aluminum or galvanized steel) meets fire safety standards. PVC is illegal per NFPA 54 and IRC M1502.1.
What’s the maximum allowable vent length for a bathroom-run dryer duct?
Per IRC Table M1502.4.5.1, the base limit is 25 feet—but subtract 5 feet for each 45° bend and 10 feet for each 90° bend. A typical bathroom route with two 90° turns and one 45° bend reduces max length to 5 feet—meaning most such installations are already code-violating before clogging occurs.
A clogged bathroom dryer vent isn’t just inconvenient—it’s a slow-motion disaster waiting to ignite or rot your framing. Address it fast, but never sacrifice safety for speed. If you’re unsure about cutting into walls or verifying electrical isolation, hire a certified technician. And next time you replace that vanity, insist on rerouting the vent properly—your insurance adjuster will thank you later.