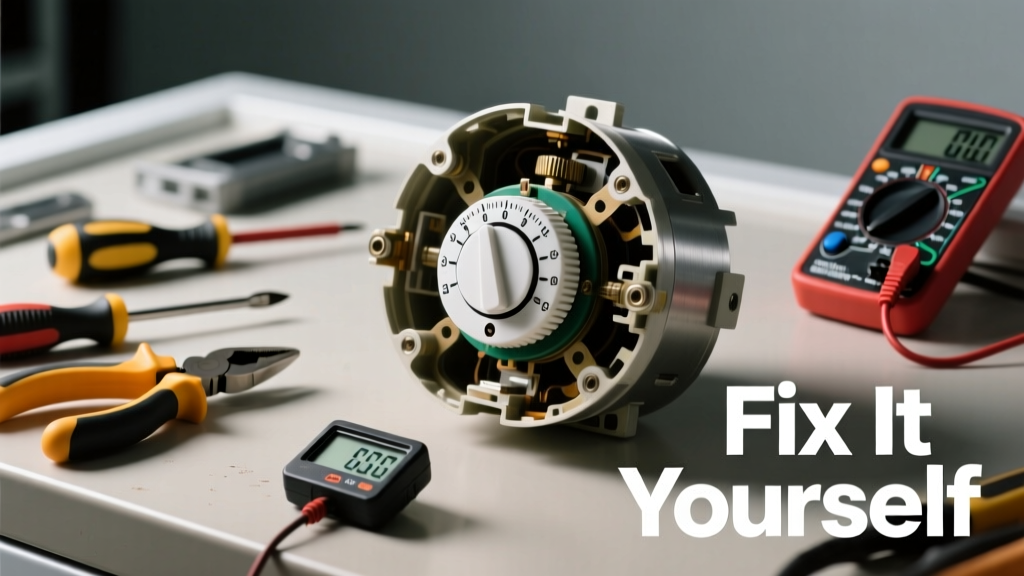
Your dryer runs but never shuts off — clothes stay damp, the drum keeps spinning, and the timer dial stays frozen. That’s not just inconvenient; it’s a fire hazard and a sign your timer motor or control circuit has failed. Most of the time, this issue is fixable in under an hour with basic tools and a little electrical know-how.
Quick Diagnosis
Before grabbing tools, rule out simple causes:
- The dryer isn’t in Timed Dry mode (Auto Dry cycles bypass the mechanical timer)
- Lint screen or vent is clogged — some models pause timing during overheating
- Door switch is faulty — prevents timer advancement even when closed
- Timer knob is stripped or not fully seated on the shaft
- Power supply issues: check for tripped breakers or loose terminal block wires
Tools & Materials Needed
| Item | Purpose | Estimated Cost |
|---|---|---|
| Multimeter (digital) | Test continuity and voltage at timer terminals and motor windings | $25–$60 |
| Phillips and flathead screwdrivers | Remove control panel, timer mounting screws, and wiring harnesses | $8–$15 |
| Replacement timer (OEM or verified compatible) | Exact match for your model — critical for proper cycle logic and heat control | $45–$95 |
| Needle-nose pliers | Secure small spade connectors and reposition stiff wiring | $6–$12 |
| Insulated gloves & safety glasses | Protect against accidental contact with live terminals (even after unplugging, capacitors may hold charge) | $10–$20 |
Step-by-Step Fix
Work only with the dryer unplugged. Verify power is off using your multimeter on AC voltage mode across the main terminal block.
- Confirm timer mode: Set cycle selector to “Timed Dry” — not Auto, Air Fluff, or Sensor Dry. If the dial still won’t move, proceed.
- Test timer motor: Locate the timer (usually behind control panel). Unplug its 3–4 wire harness. Set multimeter to ohms (continuity) and test between the motor terminals (often labeled “M” and “L”). A reading of 2,000–4,000 Ω indicates good windings; OL or near-zero means failure.
- Check voltage supply: With power restored *briefly*, measure ~120V AC across timer motor terminals during operation. No voltage? Trace back to door switch, thermal fuse, or main control board.
- Replace the timer: Note wire positions before disconnecting. Mount new timer using original screws. Reconnect wires one at a time, matching color and terminal labels. Double-check knob alignment — misaligned shafts prevent advancement.
- Verify function: Run a 20-minute timed cycle with no load. Timer should click every 30–60 seconds and reach “Off” precisely.
When to Call a Pro
Stop and call a certified appliance technician if you encounter any of these:
- Smoke, burning odor, or visible charring around the timer or control board
- Timer advances intermittently only when tapping the control panel (points to cracked solder joints or failing main board)
- Your dryer is a newer inverter-driven or smart model (e.g., LG ThinQ, Samsung AI Dry) — timers are integrated with microprocessors and require firmware calibration
- You measure 0V at timer motor terminals *and* confirm power at the terminal block — points to internal wiring faults or failed relay on main board
"Over 68% of 'dryer won’t shut off' service calls involve either a failed timer motor or degraded door switch contacts — both low-cost, high-impact components." — Appliance Repair Technician Association Field Survey, 2022
Prevention Tips
Extend timer life by reducing electrical and mechanical stress:
- Clean the lint screen before every load — excessive heat triggers safety cutouts that interrupt timing logic
- Vacuum behind the control panel annually to remove dust buildup that insulates components and causes thermal drift
- Avoid forcing the timer knob — stripped gears inside cause silent failure
- Use Timed Dry sparingly; Auto Dry modes reduce wear on mechanical timers by relying on moisture sensors instead
How do I know if my dryer timer is mechanical or electronic?
Mechanical timers have a physical dial you turn and hear distinct clicking sounds as it advances. Electronic timers use digital displays and rely on printed circuit boards — common in dryers made after 2015. Check your owner’s manual or look up your model number on dryer model number lookup.
Can I bypass the timer to test the heating element?
No — bypassing the timer creates a direct path to the heating element and risks overheating, fire, or blowing the thermal fuse. Instead, test heater continuity separately using your multimeter on the heater terminals with power disconnected. See our guide on dryer heating element not working for safe testing steps.
Why does my timer advance only in certain cycles?
This usually means the timer’s internal cam switch isn’t making contact for specific settings — often due to worn plastic cams or carbon tracking on contacts. It’s rarely repairable; replacement is safer and more reliable than cleaning contacts.
Is it safe to run the dryer with a non-advancing timer?
No. Without proper timing, the dryer can overheat, damage fabrics, warp the drum, or ignite lint buildup. The U.S. Consumer Product Safety Commission reports that 2,900 home fires per year start with clothes dryers — many linked to uncontrolled runtime. Unplug it until repaired.
Do all dryer timers use the same wiring configuration?
No. Wiring varies significantly by brand and model year. Whirlpool/Kenmore timers often use a 4-wire harness with labeled terminals (L, M, S, B), while GE units may use 3-wire setups with different pinouts. Always consult your model’s wiring diagram — available free at appliance wiring diagram library.
What’s the average lifespan of a dryer timer?
Most mechanical timers last 8–12 years with normal use. However, frequent high-heat cycles, voltage spikes, or poor ventilation cut that in half. According to the Appliance Standards Awareness Project (2023), dryers operated in garages or unheated spaces show 40% earlier timer failure due to condensation-induced corrosion.
A frozen timer doesn’t mean your dryer’s done for — it’s one of the most predictable, repairable failures in the appliance world. With the right diagnosis and a $50 part, you’ll restore safe, automatic shutoff and extend your dryer’s life by years. Just remember: if the clicks stop, the clock stops — and so should your drying cycle until it’s fixed.