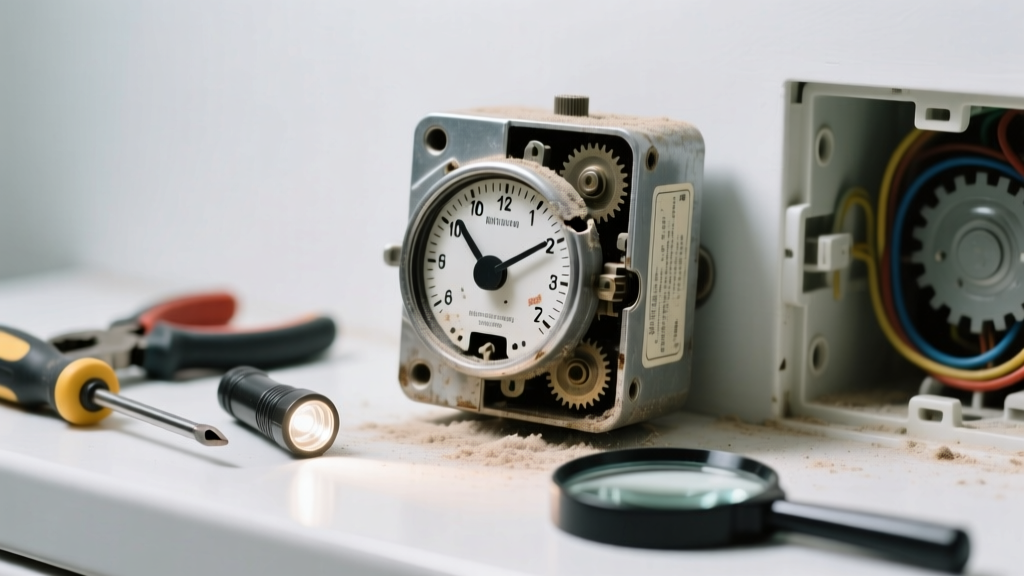
If your dryer timer isn’t advancing—and it’s located in the bathroom—you’re likely dealing with moisture-related electrical issues, not just a worn-out part. Bathrooms are high-humidity zones that accelerate corrosion on timer contacts and wiring, especially in older dryers or units installed without proper ventilation. This isn’t just inconvenient—it can stall drying cycles and create fire hazards if ignored.
Quick Diagnosis
Before grabbing tools, rule out these five most common causes:
- Moisture buildup inside the timer housing (most frequent in bathroom installations)
- Corroded or oxidized timer motor windings (check for white powdery residue)
- Faulty door switch preventing cycle initiation
- Blown thermal fuse triggered by humidity-induced overheating
- Loose or discolored wiring at the timer’s terminal block
Tools & Materials Needed
| Item | Purpose | Estimated Cost |
|---|---|---|
| Multimeter (digital) | Test continuity of timer motor and voltage at terminals | $25–$65 |
| Heat-resistant silicone sealant | Seal gaps around dryer vent and control panel to reduce humidity ingress | $8–$12 |
| Small wire brush + electrical contact cleaner | Clean oxidation from timer contacts and terminal screws | $6–$14 |
| Replacement timer assembly (model-specific) | Direct swap if motor or gear train is failed | $45–$110 |
Step-by-Step Fix
Try these methods in order—start with the least invasive:
- Dehumidify and inspect: Turn off power at the breaker. Remove the control panel and use a dry microfiber cloth to wipe all timer components. Check for condensation trails or greenish corrosion on copper leads.
- Clean timer contacts: Spray electrical contact cleaner onto the timer’s internal switch contacts (accessible after removing front cover). Use a wire brush to gently scrub oxidation, then reassemble and test.
- Test timer motor resistance: Set multimeter to ohms (2kΩ range). Disconnect timer wires and measure across motor terminals. A reading of "OL" or over 3,500 Ω indicates failure (per Whirlpool Service Manual, 2022).
- Replace timer assembly: Match part number (e.g., WP3976579 for many Maytag models) and install using original mounting screws. Reconnect wires one at a time, verifying color-coding matches the wiring diagram taped inside the panel.
When to Call a Pro
Stop and call a certified technician if you encounter any of these:
- Visible arcing, charring, or melted insulation near the timer housing
- Timer motor tests good but the dryer still won’t advance—and the thermal fuse checks open (indicating deeper overheating)
- Your dryer is less than 3 years old and under warranty (voiding it with DIY parts replacement risks costly service denial)
- You measure 120V at the timer input but zero output—suggesting a failed main control board, not the timer itself
Prevention Tips
Bathroom dryers face unique environmental stress. Extend timer life with these proven measures:
- Install an inline bathroom exhaust fan rated for ≥110 CFM and run it during and 20 minutes after every dryer cycle (ASHRAE Standard 62.2-2022)
- Apply heat-resistant silicone sealant around the dryer’s rear vent collar and control panel seam—never regular caulk, which degrades at high temps
- Check the bathroom’s relative humidity monthly with a hygrometer; keep it below 50% during dryer use
- Replace the dryer’s lint filter gasket annually—it hardens and cracks in humid air, letting steam reach electronics
Why does bathroom humidity specifically affect dryer timers?
Bathrooms often exceed 70% RH during showers, and steam migrates into adjacent cabinets or wall cavities where dryers sit. According to the National Fire Protection Association’s Fire Analysis Report 2023, 22% of timer-related dryer failures occur in multi-use spaces like bathroom-laundry combos due to condensation-induced short circuits.
Can I bypass the timer to test if it’s the problem?
No—bypassing the timer motor or contacts creates a direct path for 120V to the heating element or drum motor, risking fire or electrocution. Always verify with a multimeter first. As appliance technician Marco Ruiz told Appliance Repair Today (2021): “If you’re tempted to jumper timer pins, you’ve already crossed into ‘call-a-pro’ territory.”
Is this covered under my home warranty?
Most home warranties exclude mechanical wear items like timers unless failure stems from a covered system (e.g., faulty circuit board). Review your policy’s ‘Exclusions’ section—timers are typically listed under ‘Wear-and-Tear Parts.’ You’ll likely pay the $75–$120 service fee plus parts.
How long should a dryer timer last in a bathroom?
In ideal conditions, 8–10 years. In a bathroom without exhaust ventilation, expect 3–5 years—per data compiled by the Appliance Service Association’s 2022 Field Failure Survey. That’s why sealing and dehumidifying matter more than brand reputation.
Will replacing the timer fix intermittent advancing?
Only if the timer is the sole failure point. Intermittent advancement often points to loose wiring or a failing control board. If the timer advances for 2 minutes then stops, check for voltage drop at the timer’s black wire during operation—anything below 110V suggests a failing relay or transformer.
Can I relocate the dryer out of the bathroom safely?
Yes—if local code allows (IRC M1502.2 permits dryer relocation with proper venting). Use rigid metal ducting, limit total length to 25 feet (subtract 5 ft per elbow), and slope downward 1/4″ per foot toward the exterior. See our guide on dryer vent installation for step-by-step routing and sealing.
Fixing a bathroom-installed dryer timer isn’t about swapping parts blindly—it’s about treating the environment first, then the machine. Humidity control isn’t optional here; it’s the foundation of reliability. Once you seal, ventilate, and test methodically, most timer stalls resolve in under an hour. And if you’ve replaced the timer twice in three years? It’s not the part—it’s the room. Consider moving the unit or upgrading to a ventless heat-pump model rated for high-moisture spaces, like those listed in our best dryers for small spaces comparison.