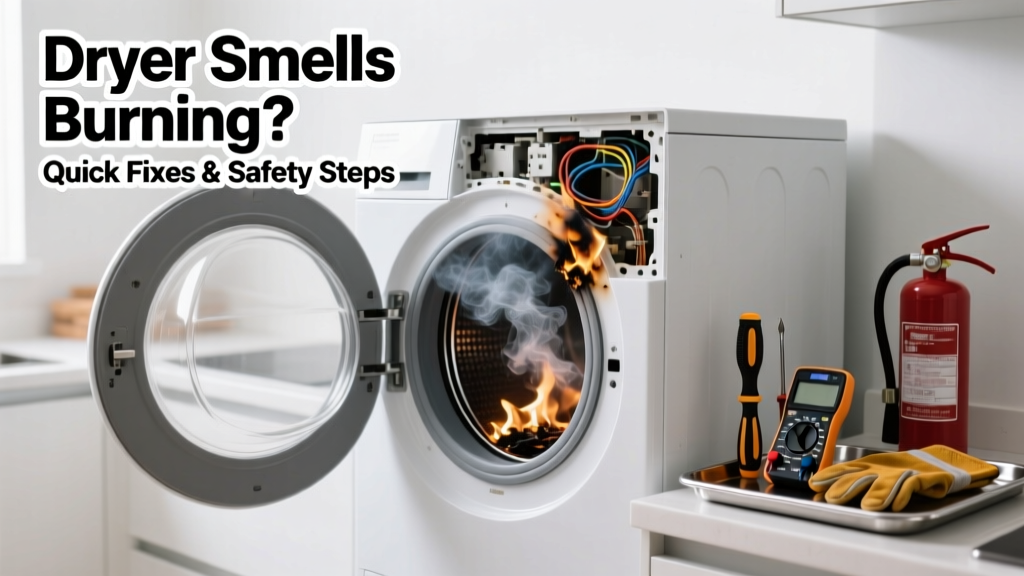
If your kitchen dryer suddenly smells like burning rubber, hot wires, or scorched dust, stop using it immediately. This isn’t just unpleasant—it’s often an early warning sign of overheating, lint buildup, or electrical failure. Ignoring it risks fire, especially in tight kitchen layouts where airflow is limited and combustibles (cabinets, curtains, paper towels) sit inches from the unit.
Quick Diagnosis
Start here before touching tools. A burning odor rarely means one single issue—it’s usually a symptom pointing to one (or more) of these common culprits:
- Lint trap or vent duct clogged with compacted debris (accounts for 34% of dryer-related home fires, per NFPA 2023)
- Overheated heating element due to restricted airflow or worn thermal fuse
- Melted plastic housing or wiring insulation near the drum or motor
- Food residue or grease splatter on the drum or exhaust path (common in kitchen-laundry combos)
- Faulty thermostat or high-limit switch failing to cut power at safe temps
Tools & Materials Needed
| Item | Purpose | Estimated Cost |
|---|---|---|
| Lint brush + flexible vent cleaning kit | Reaches deep into 4-inch rigid ducts behind cabinets—critical for kitchen installs where ducts snake under counters | $12–$28 |
| Digital multimeter | Tests continuity of thermal fuse, thermostat, and heating element (non-negotiable for electrical safety) | $25–$65 |
| Heat-resistant gloves (Class E) | Protects hands when checking hot components; required after running dryer for diagnostic heat test | $18–$32 |
| Replacement thermal fuse (model-specific) | Most common failed part in burning-smell cases; costs $4–$9 but must match OEM specs exactly | $4–$9 |
Step-by-Step Fix
Work methodically—skip steps and you risk misdiagnosis or injury. Always unplug the dryer before any internal access.
- Clean the entire exhaust path: Remove the dryer from its cabinet slot (kitchen units often slide out only 6–8 inches). Detach the flexible duct from both dryer outlet and wall vent. Vacuum lint from both ends, then use the brush kit to scrub interior walls of rigid ducting. Reconnect with new foil tape—not duct tape—to prevent sagging and lint traps.
- Inspect and clean the drum interior: Wipe down drum, baffles, and door seal with a damp microfiber cloth and mild vinegar solution. Kitchen dryers collect cooking grease; residue can scorch at 150°F+. Avoid abrasive cleaners that scratch enamel.
- Test the thermal fuse and heating element: Locate the fuse (usually mounted on blower housing or heater box). Use your multimeter on continuity mode: no beep = blown fuse. If fuse checks out, test the heating element: resistance should read 9–13 ohms. Infinite resistance means replacement is needed.
- Check for melted wiring or burnt insulation: Shine a flashlight along wire harnesses near the motor and heater. Look for brittle, discolored, or swollen insulation—especially where wires bend near the drum support. Any visible damage requires immediate professional rewiring.
When to Call a Pro
Don’t gamble with electricity or gas connections. Call a certified appliance technician if:
- You measure no continuity on both the thermal fuse and the high-limit thermostat—indicating systemic overheating
- The smell returns within 2 cycles after full vent cleaning and fuse replacement
- Your dryer is gas-powered and you detect sulfur (rotten egg) odor alongside burning—this signals a gas leak or burner malfunction
- You find charring on the control board or evidence of arcing (blackened spots, pitting on terminals)
"Over 85% of dryer fires linked to 'burning smell' reports involved either neglected vent maintenance or DIY replacement of non-OEM thermal fuses," states the U.S. Consumer Product Safety Commission's 2022 Appliance Incident Database.
Prevention Tips
Kitchen dryers face unique challenges: cramped space, shared ventilation, and ambient grease. Build habits that reduce risk:
- Clean the lint screen before every load—not just wiping, but rinsing under hot water monthly to remove fabric softener film
- Vacuum the interior cabinet cavity every 3 months (kitchen units collect crumbs, flour, and pet hair behind panels)
- Install a dryer vent monitor that alerts at 130°F—well below ignition threshold
- Replace rigid aluminum ducting every 7 years; plastic or foil ducts degrade faster in humid, warm kitchen environments
Can I use bleach to clean the drum?
No. Bleach reacts with residual laundry detergent and metal components, accelerating corrosion and creating chlorine gas when heated. Stick to white vinegar or a baking soda paste for organic residue. For stubborn grease, use a food-safe degreaser like Goo Gone Appliance Cleaner.
Why does the smell only happen on heavy loads?
Heavy loads restrict airflow across the heating element and blower wheel, causing surface temps to spike past 200°F—enough to scorch lint, plastic gaskets, or even wiring insulation. It’s a red flag that your vent system can’t handle demand, not just “normal” operation.
Is it safe to run the dryer empty to test?
Only for 5 minutes—and only after verifying the vent is fully clear and the thermal fuse tests good. Running longer risks overheating without load to absorb heat. Never leave it unattended during this test.
What if the smell is sweet or chemical-like instead of burnt?
A sweet, acrid odor suggests melting plastic insulation or capacitor failure—not lint or grease. Unplug immediately and inspect wiring near the motor. Do not restart. This is a Class B electrical hazard per NEC Article 422.11(E).
Can a clogged kitchen sink vent cause dryer smells?
Rarely—but possible. If your kitchen and dryer share a common roof stack (e.g., older condos), negative pressure from a blocked sink vent can reverse airflow and pull sewer gases or stale air into the dryer cabinet. Check for gurgling sinks or slow drains first.
How often should I replace the thermal fuse?
Not on a schedule—only when testing confirms failure. But keep one on hand for your exact model (check your manual or dryer model cross-reference tool). OEM fuses cost $6–$11; generic ones fail prematurely or trip too early.
A burning smell from your kitchen dryer isn’t something to mask with air fresheners or ignore until next week. It’s your appliance’s distress signal—and kitchen installations amplify the danger due to proximity to combustibles and ventilation constraints. Address the root cause now, not after smoke alarms go off. Keep your vent path clear, test critical safety parts, and know when your skill level ends and a licensed tech’s begins.