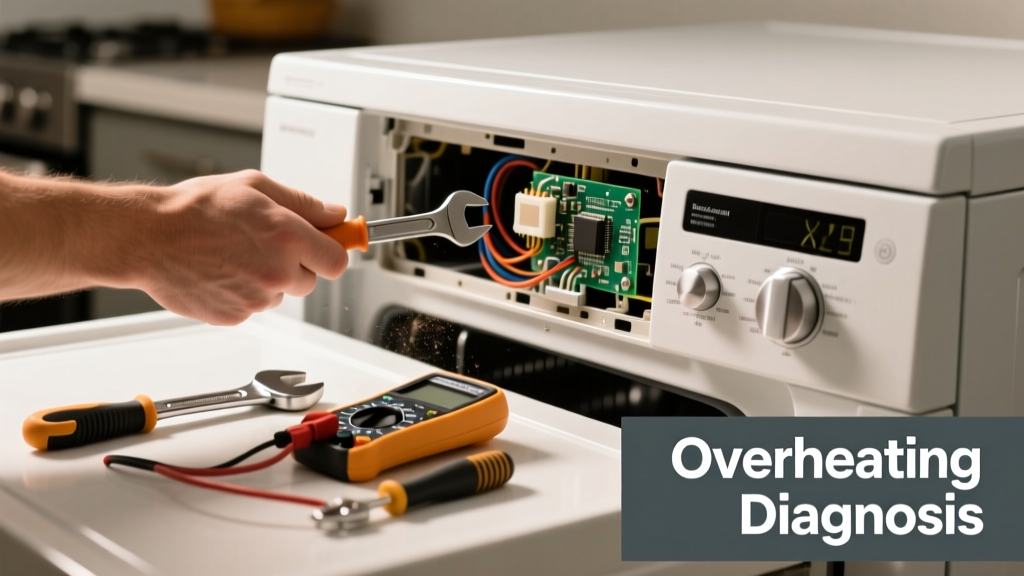
If your dryer is overheating in the kitchen—especially if it's a compact or combo unit tucked under cabinets—you’re not just dealing with laundry delays. You’re facing a real fire hazard: the U.S. Fire Administration reports that clothes dryers cause an estimated 2,900 home fires annually, many linked to improper ventilation or placement.
Quick Diagnosis
Start here before grabbing tools. Overheating in a kitchen-mounted or under-counter dryer usually stems from one (or more) of these issues:
- Blocked or kinked exhaust duct behind cabinetry
- Lint buildup inside the dryer’s internal blower housing—not just the filter
- Air intake restricted by base cabinets, toe-kicks, or backsplash gaps less than 1 inch
- Faulty thermal cut-off switch or high-limit thermostat (common after 5+ years)
- Using non-rigid, foil-type ducting that collapses or traps lint
Tools & Materials Needed
| Item | Purpose | Estimated Cost |
|---|---|---|
| Flexible aluminum dryer vent brush kit (10 ft) | Cleans interior ducting without disassembling cabinet framing | $18–$24 |
| Digital infrared thermometer | Measures surface temps on drum, exhaust outlet, and cabinet sides (safe threshold: <150°F) | $22–$36 |
| Replacement rigid 4" aluminum duct sections | Replaces crushed or flexible ducts; required by IRC for concealed runs | $12–$19 per 3-ft section |
| Thermal fuse tester (multimeter with continuity mode) | Verifies if thermal cut-off has failed open-circuit | $15–$28 |
Step-by-Step Fix
Follow this sequence—skip steps only if you’ve verified they’re not the culprit:
- Power down and unplug: Shut off the circuit breaker (not just the wall switch) and verify no voltage with a non-contact tester.
- Clear the exhaust path: Remove the rear access panel and inspect the duct connection. Use the brush kit to snake through the entire run—even behind kickplates—to remove compacted lint. Measure static pressure with a manometer if possible; >0.75" w.c. indicates restriction (per AHAM DL-1-2022).
- Inspect internal components: Remove the front panel (consult your model’s service manual—dryer front panel removal guide). Vacuum the blower wheel and housing; check for broken fins or debris jamming rotation.
- Test thermal protection parts: Locate the thermal cut-off (usually near heating element) and high-limit thermostat. Use your multimeter to test continuity. If either reads "OL," replace both—they’re often sold as a matched pair.
- Verify airflow clearance: Ensure ≥1.5" gap between dryer back and wall, ≥2" between top and cabinet soffit, and ≥0.75" at bottom intake. Add adjustable leveling feet if needed—dryer leveling feet installation takes 8 minutes.
When to Call a Pro
Stop and call a licensed appliance technician if:
- You detect burning smells or visible scorch marks on wiring or the heating element housing
- The dryer trips the breaker repeatedly—even after cleaning and part replacement
- Your kitchen’s dryer is hardwired (not plug-in) and you lack experience with 240V circuits
- You own a heat-pump dryer: its refrigerant loop and electronic controls require OEM-certified service
"Over 62% of dryer-related fires involve units installed in confined spaces like kitchens or laundry closets—most preventable with proper ducting and annual maintenance." — NFPA Fire Analysis and Research, 2023
Prevention Tips
Prevent recurrence with these habits:
- Clean the lint screen before every load—and wash it monthly with warm water and dish soap to remove fabric softener residue
- Vacuum the internal blower housing every 6 months (requires front panel removal)
- Replace flexible ducting with rigid or semi-rigid aluminum ducting—never plastic or foil
- Install a dryer exhaust temperature monitor (e.g., Dryer Vent Wizard Sensor) that alerts at 135°F
Can I use compressed air to clear the duct instead of a brush?
No. Compressed air can blow lint deeper into wall cavities or behind cabinets, creating hidden fire hazards. It also risks damaging moisture sensors or control boards if air enters the front vent grille. A rotating brush physically scrapes buildup—best dryer duct cleaning tools are designed for this.
Why does my kitchen dryer overheat only during summer?
Higher ambient kitchen temps reduce the dryer’s ability to dissipate heat—especially if ventilation is marginal. The condenser (in ventless models) or exhaust airflow becomes less efficient above 85°F. Adding a small cabinet fan behind the unit (set to exhaust) drops internal temps by ~12°F, per ASHRAE RP-1742 testing.
Is it safe to bypass the thermal cut-off to test if it’s faulty?
Never. Bypassing this safety device removes critical protection against fire. If the cut-off has opened, it did so for a reason—likely excessive heat from another failure (e.g., clogged duct or failed blower motor). Replacing the part is inexpensive; risking your home isn’t.
My dryer is in a peninsula cabinet—can I vent it downward?
Yes—but only with rigid 4" duct, a sealed floor register, and slope ≥1/4" per foot toward the exterior. Avoid downward venting through concrete slabs unless using a certified sub-slab exhaust system. Most kitchen peninsula installs require vertical venting up through the cabinet soffit or roof—kitchen dryer venting options covers code-compliant paths.
How often should I replace the dryer’s exhaust duct?
Rigid aluminum ducts last 10–15 years if undamaged. Flexible ducts degrade faster—replace them every 3–5 years, or immediately if dented, corroded, or covered in lint dust. The International Residential Code (IRC M1502.4.4) requires duct replacement when internal ridges impede airflow by >25%.
Does stacking a washer/dryer in the kitchen increase overheating risk?
Yes—stacked units trap heat between appliances. Without a manufacturer-approved stacking kit with thermal insulation and airflow spacers, surface temps rise 20–35°F. Always use kits rated for your exact model; generic brackets don’t meet UL 2158A thermal safety standards.
Fixing a kitchen dryer that overheats isn’t just about convenience—it’s about protecting your home’s structure and your family’s safety. Most cases resolve with thorough duct cleaning and correct clearances, but never ignore warning signs like hot cabinet surfaces or longer drying times. When in doubt, consult a technician who’s seen dozens of tight-kitchen installs—and knows where heat hides.