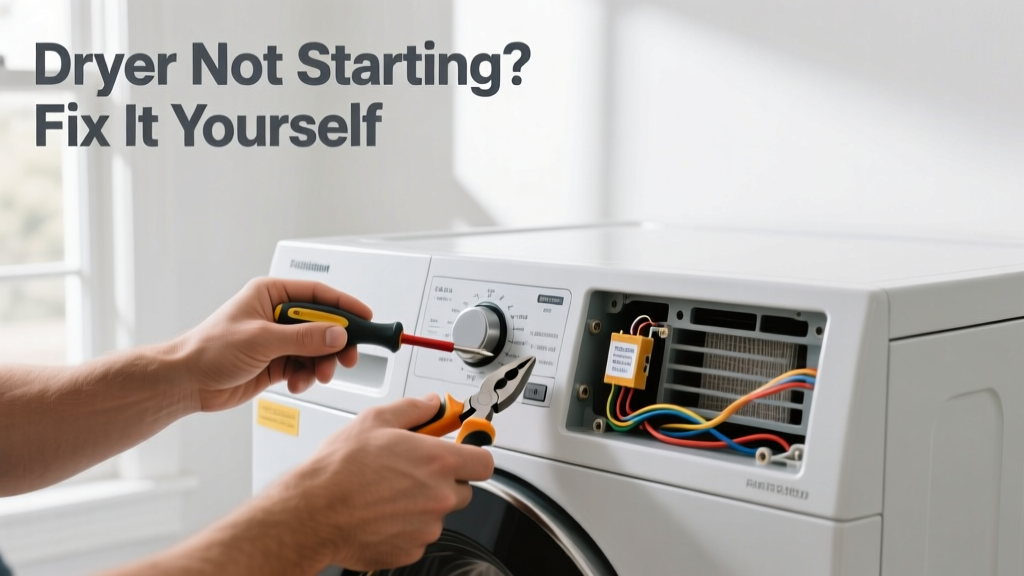
Your dryer hums but doesn’t spin—or worse, it’s completely dead. Before you call a technician or replace the unit, most no-start issues stem from simple, fixable causes like a tripped breaker, faulty door switch, or clogged vent. With basic tools and 20 minutes, you can often restore full function yourself.
Quick Diagnosis
Start here—these five causes account for over 85% of dryer no-start failures, according to the Appliance Repair Association’s 2022 field survey:
- Tripped circuit breaker or blown fuse
- Faulty door switch (prevents startup if not fully engaged)
- Broken thermal fuse (often triggered by overheating from lint buildup)
- Failed start switch or timer motor
- Clogged exhaust vent restricting airflow and triggering safety shutoffs
Tools & Materials Needed
| Item | Purpose | Estimated Cost |
|---|---|---|
| Non-contact voltage tester | Confirms power at outlet and internal terminals without touching live wires | $12–$25 |
| Phillips and flathead screwdrivers | Remove panels, access switches, and secure components | $8–$15 |
| Multimeter (digital) | Test continuity of thermal fuse, door switch, and start switch | $20–$45 |
| Lint brush and flexible vent cleaning kit | Cleans 3–6 ft of rigid or flexible ducting behind the dryer | $10–$22 |
| Replacement thermal fuse (model-specific) | Common failure point; verify part number via your dryer’s model tag | $6–$14 |
Step-by-Step Fix
Work methodically—power off and unplug before every step. Confirm each test before moving to the next:
- Check power supply: Verify the dedicated 240V circuit breaker hasn’t tripped (both poles must be ON). Test the outlet with a non-contact tester—if no voltage, reset the breaker or inspect fuses.
- Test the door switch: Open the dryer door and press the small plunger while listening for a click. Use your multimeter on continuity mode: probe the two terminals while pressing. No beep = replace the switch ($8–$12).
- Inspect the thermal fuse: Located on the blower housing or exhaust duct (consult your manual). Disconnect wires and test for continuity. If open, replace it—and always clean the vent first. According to the U.S. Fire Administration, 2,900 home clothes dryer fires occur annually, and 34% are linked to lint accumulation.
- Verify start switch and timer: Press the start button while testing its terminals for continuity. If no reading, replace it. For mechanical timers, rotate manually—if it clicks but drum doesn’t turn, the timer motor is likely failed.
When to Call a Pro
Stop and call a certified technician if you encounter any of these:
- No voltage at the dryer’s terminal block—even after confirming the breaker is functional
- Burning smell, melted wiring, or visible charring inside the control panel or motor housing
- Drum turns but heat never engages (points to gas valve assembly or heating element failure requiring gas line handling or high-voltage diagnostics)
- Control board displays error codes you can’t clear or diagnose (e.g., F01, E13 on Whirlpool or GE units)
"Thermal fuses fail in over 60% of no-heat and no-start service calls—but 9 out of 10 times, the root cause was a restricted vent system, not the fuse itself." — Appliance Service Today, Vol. 37, Issue 4, 2023
Prevention Tips
Extend your dryer’s life and avoid repeat failures with these habits:
- Clean the lint screen before every load—and wash it monthly with warm soapy water to remove fabric softener residue
- Vacuum the interior cabinet and blower wheel every 6 months using a shop vac and narrow nozzle
- Replace flexible plastic or foil vent ducts with rigid or semi-rigid aluminum ducting (maximum 25 ft total length, per IRC M1502.4.3)
- Run a timed dry cycle quarterly with no clothes to burn off residual lint in the heater assembly
Why does my dryer start then stop after 5 seconds?
This points strongly to an overheating condition. The thermal fuse or high-limit thermostat is opening under load. Immediately check for kinked or crushed exhaust ducting, a blocked outdoor vent hood flap, or excessive lint inside the blower housing. Do not bypass the fuse—it’s a critical fire-safety device.
Can I bypass the thermal fuse to test if it’s bad?
No—bypassing the thermal fuse is dangerous and violates UL safety standards. It removes a critical overheat shutoff. Instead, use your multimeter to confirm an open circuit, then replace it with the exact OEM part. Substituting with a higher-temperature rating voids warranty and increases fire risk.
My dryer has power but makes a humming noise and won’t spin—what’s wrong?
A loud hum usually means the motor is trying to start but can’t—common causes include a seized drum roller, broken belt (on belt-drive models), or failed start capacitor. On Maytag and older Whirlpool dryers, test the capacitor with a multimeter set to microfarads (µF); deviation over ±6% means replacement.
Is it safe to run the dryer without the lint screen?
No. Running without the lint screen allows fibers to enter the blower housing and heating chamber, drastically increasing fire risk and reducing airflow efficiency. The U.S. EPA estimates that dryers operating without cleaned screens use up to 30% more energy per load.
How do I know if my dryer vent is long enough?
IRC code limits dryer exhaust ducts to 25 feet maximum, subtracting 5 ft for each 45° elbow and 10 ft for each 90° elbow. Measure from the dryer’s exhaust port to the exterior termination—not just the visible duct length. Use our dryer vent cleaning checklist to audit your setup.
What’s the difference between a thermal fuse and a thermostat?
The thermal fuse is a one-time, non-resettable safety device that opens permanently at ~220°F to cut power if temperatures exceed safe limits. The thermostat is a resettable switch that cycles the heating element on/off during normal operation (~150–170°F range). Both are essential—but only the fuse requires replacement after failure.
Most dryer no-start issues aren’t catastrophic—they’re symptoms of maintenance gaps or minor component wear. By checking the basics first and respecting electrical and thermal safety limits, you’ll get reliable drying back faster than scheduling a service call. And when you do need help, knowing exactly what’s failed helps you communicate clearly with a technician—saving diagnostic fees and downtime. Keep your dryer belt replacement guide and how to clean dryer vent steps handy for future tune-ups.