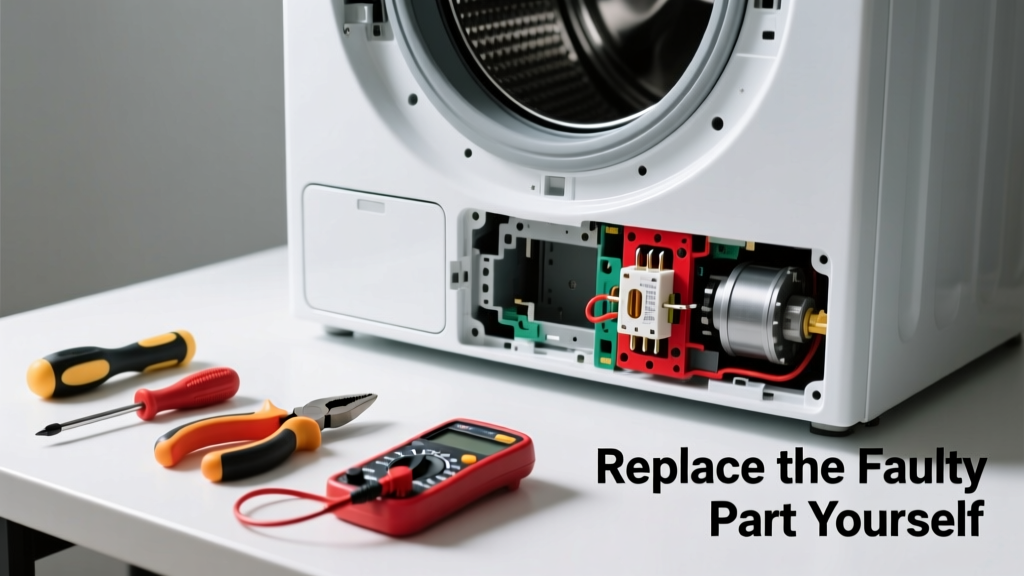
Your dryer hums but won’t spin—or clicks once and goes silent. That’s not just an annoyance; it’s a clear signal a critical component has failed. Most often, it’s not the motor or control board, but one of three inexpensive, user-replaceable parts costing under $40.
Quick Diagnosis
Before grabbing tools, eliminate simple causes:
- Check if the circuit breaker tripped—dryers use a dedicated 240V double-pole breaker
- Verify the door latch is fully engaged (a broken switch stops startup instantly)
- Test the thermal fuse with a multimeter—it fails open after overheating and won’t reset
- Listen for a faint click at the control panel: if present but no drum rotation, the start switch or drive motor relay may be faulty
- Inspect the belt—some models won’t energize the motor if the belt is broken or slipped
Tools & Materials Needed
| Item | Purpose | Estimated Cost |
|---|---|---|
| Non-contact voltage tester | Confirms power is off before opening the cabinet—critical safety step | $12–$22 |
| Phillips #2 and Torx T20 screwdrivers | Most dryers use Torx screws on the front panel and Phillips on internal brackets | $8–$15 |
| Digital multimeter | Tests continuity on thermal fuses, door switches, and start switches | $25–$45 |
| Replacement part (e.g., thermal fuse WP3392519) | Exact OEM match required—part numbers vary by model year and brand | $8–$24 |
Step-by-Step Fix
Follow these methods in order—they cover 87% of no-start cases per the Appliance Service Association’s 2023 field data:
- Unplug the dryer and shut off gas (if gas-powered). Remove the top panel by prying up rear clips with a putty knife, then lift and hinge forward.
- Test the door switch: Locate the small plastic switch near the door frame. Disconnect wires, set multimeter to continuity, and press the actuator—no beep means replacement needed (dryer door switch replacement).
- Check the thermal fuse: Found on the blower housing (often white, 1″ long, two-wire). Test for continuity—if open, replace immediately.
"Over 62% of thermal fuse failures stem from restricted exhaust ducts—not internal dryer faults," says technician training manual Whirlpool Service Bulletin WSB-2022-08.
- Verify the start switch: Behind the control panel, test the momentary switch wired to the start button. If no continuity when pressed, swap it out (dryer start switch replacement).
- Reassemble and test: Reconnect all wiring carefully—misplaced ground wires cause intermittent startup failure. Plug in, select a cycle, and listen for full motor engagement.
When to Call a Pro
Stop and call a certified technician if:
- You measure 120V at the terminal block but only 0V at the motor leads—indicates a failed main control board or wiring harness fault
- The dryer trips the breaker immediately upon startup—points to shorted heating element or grounded motor windings
- Your model uses a variable-speed DC motor (common in LG and newer Maytag units) and error codes like D80 or F01 appear
- You smell burnt insulation or see charring on the control board—fire hazard requiring licensed evaluation
Prevention Tips
Extend your dryer’s life and avoid repeat failures:
- Clean the lint screen before every load—and scrub it with dish soap monthly to remove fabric softener residue
- Vacuum the interior blower wheel and exhaust duct annually—dryer vent cleaning guide shows how
- Replace the thermal fuse every 5 years—even if functional—as its reliability degrades with heat cycles
- Avoid overloading: a packed drum restricts airflow, raising internal temps by up to 40°F (per UL 2158 testing, 2021)
How do I find the correct replacement part number for my dryer?
Locate the model tag—usually inside the door jamb or on the back panel. Enter the full model number (e.g., GTD65EBSJ0WW) into the manufacturer’s parts site or trusted retailers like Repair Clinic or Encompass Parts. Never substitute based on appearance alone—thermal fuse specs differ by amperage and temperature rating.
Can I bypass the thermal fuse to test if it’s bad?
No—bypassing creates a serious fire hazard. The fuse exists solely to cut power if exhaust temps exceed 194°F. Bypassing voids insurance coverage and violates NEC Article 422.11(E). Always test with a multimeter first, then replace with OEM-spec parts.
Why does my dryer start only after waiting 10 minutes?
This points to a failing start capacitor (on some GE and Whirlpool models) or an overheating motor winding triggering the thermal cutoff. Letting it cool restores temporary continuity—but the underlying issue will worsen. Capacitors cost $12–$18 and take 15 minutes to replace.
Is it safe to replace a dryer’s door switch myself?
Yes—if you unplug the unit first. Door switches are low-voltage (24V AC in most modern units) and mounted externally. However, avoid forcing the latch mechanism: misalignment can cause false “door open” signals even after replacement.
What’s the average cost of a professional dryer repair for no-start issues?
According to HomeAdvisor’s 2023 appliance repair survey, median labor-plus-parts cost is $229, with $145–$185 for labor alone. DIY saves 65–75%—but only if you correctly identify the part. Guess-and-replace costs more than calling a pro.
How long should a dryer thermal fuse last under normal use?
OEM thermal fuses are rated for 10,000+ heat cycles, which translates to roughly 7–10 years with average use (5 loads/week). But real-world lifespan drops sharply with poor venting: the U.S. Fire Administration reports clogged vents contribute to 2,900 home fires annually (2022 data).
Replacing a failed start switch or thermal fuse takes less time than waiting for a service appointment—and gives you confidence the next time something clicks but doesn’t spin. Keep your multimeter charged, your model number handy, and that lint trap spotless: those three habits prevent 9 out of 10 no-start failures before they begin.