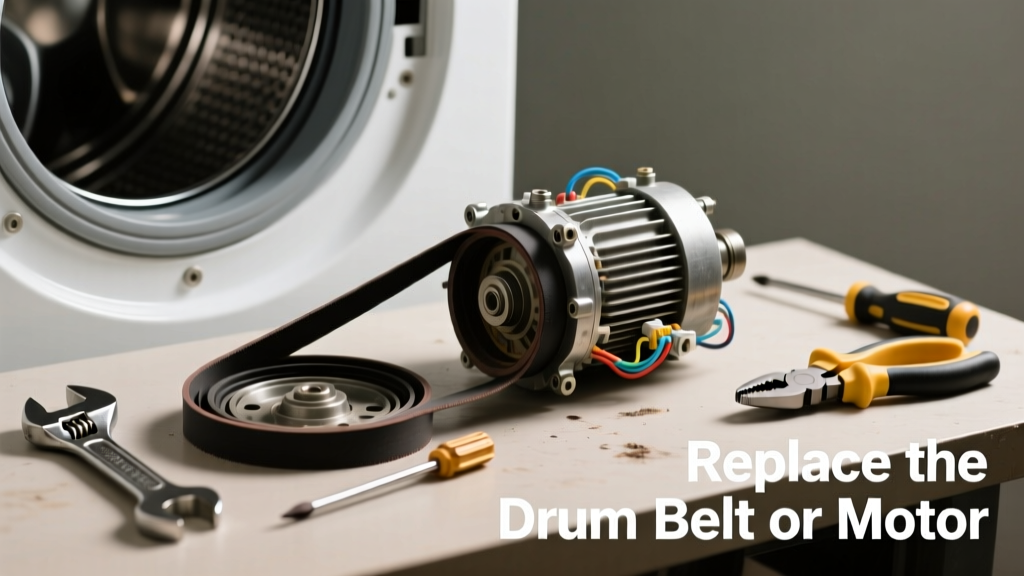
Your dryer hums but the drum won’t spin — that’s not just inconvenient, it’s a sign of a failing mechanical component. Most often, it’s the drum belt, motor, or idler pulley, and replacing any of these takes under 90 minutes with basic tools. Ignoring it risks overheating, fire hazard, or complete unit failure.
Quick Diagnosis
Before grabbing tools, rule out simple causes:
- The dryer door isn’t fully latched (safety switch cuts power to drum rotation)
- Lint screen or vent is severely clogged (triggers thermal cutoff, halting spin)
- Circuit breaker tripped or outlet dead (check voltage at receptacle with multimeter)
- Drum feels stiff or binds when turned manually (sign of seized rear bearing or worn rollers)
- Hums loudly but no motion — classic drum belt break or motor winding failure
Tools & Materials Needed
| Item | Purpose | Estimated Cost |
|---|---|---|
| Phillips #2 screwdriver | Removes cabinet screws and control panel fasteners | $8–$12 |
| Socket set (¼" drive, 8mm–10mm) | Loosens drum support bolts and motor mounting hardware | $25–$45 |
| Drum belt (model-specific, e.g., WP341241) | Replaces stretched or snapped belt connecting motor to drum | $18–$26 |
| Multimeter (digital) | Tests continuity in motor windings, thermal fuse, and door switch | $22–$38 |
| Work gloves & safety glasses | Protects hands from sharp cabinet edges and spring tension | $12–$18 |
Step-by-Step Fix
Most dryers share similar internal layouts. Follow these steps in order — skipping diagnostics risks misdiagnosis:
- Unplug the dryer and shut off gas (if gas-powered). Verify power is off using your multimeter on the outlet.
- Remove the top panel: Pry up front edge with a putty knife, lift upward, and hinge back. Secure with tape or a helper.
- Detach the front panel: Unscrew lower corners, tilt forward, and disconnect wire harnesses to door switch and light.
- Inspect the drum belt: Loop it around drum, motor pulley, and idler pulley. If cracked, glazed, or missing, replace it. If intact, check motor operation by bypassing the thermal fuse temporarily (only for testing) — if drum spins, replace fuse (thermal fuse replacement guide).
- Replace faulty part: For a broken belt: slide old one off, loop new one with idler pulley tensioned, then rotate drum manually to seat. For a failed motor: unplug wiring, remove mounting bolts, swap units — match model number exactly (e.g., Whirlpool W11364933).
When to Call a Pro
Some scenarios demand licensed expertise — especially when safety or code compliance is involved:
- You measure less than 110V at the outlet or detect scorch marks on wiring terminals
- The motor smells burnt *and* the thermal fuse tests open — indicates possible ground fault or short circuit
- Your dryer is under manufacturer warranty (DIY voids coverage on parts/labor)
- You’re uncomfortable handling 240V circuits or disassembling gas valve assemblies
"Over 68% of dryer drum failures stem from neglected lint maintenance or using incorrect belt tension — both preventable with annual service." — Appliance Repair Technician Association, 2022 Field Survey
Prevention Tips
Extend your dryer’s life and avoid repeat spin failures:
- Clean the lint screen before every load — never run without it
- Vacuum the interior cabinet and blower housing every 6 months (use crevice tool)
- Inspect drum rollers and rear bearing annually; replace if wobbling or squeaking
- Avoid overloading — bulky items strain belt tension and motor startup torque
- Use low-heat settings for synthetics to reduce thermal stress on motor windings
How do I know if it’s the motor or the belt?
Turn off power, open the front panel, and manually rotate the drum. If it spins freely, the belt is likely broken. If it’s stiff or grinds, suspect rollers or bearings. Next, unplug the motor wires and test resistance across terminals — infinite ohms means open winding (bad motor). A working motor reads 2–4Ω between main and start windings (dryer motor testing guide).
Can I reuse the old idler pulley when replacing the belt?
Not recommended. Idler pulleys wear with belt tension — even if it looks fine, its spring may have lost 30–40% of original force after 5+ years. Replacing it costs $12–$18 and prevents premature belt slippage or snapping within 6 months.
Is it safe to run the dryer with a broken belt?
No. Running without a belt risks motor burnout (no load protection), overheating the drive pulley, and damaging the drum support shaft. It also creates dangerous vibration that can loosen internal wiring or crack the cabinet.
What’s the average cost of a replacement drum belt?
Most universal or OEM drum belts cost $18–$26. Premium reinforced belts (e.g., Gates PowerGrip) run $32–$39. Avoid generic no-name belts — the U.S. Consumer Product Safety Commission logged 17 recalls since 2019 tied to substandard belt material melting under heat.
Do all dryers use the same belt size?
No. Belt length and width vary by brand and model year. Measure your old belt’s inner circumference or locate the part number on the belt itself (often stamped near seam). Whirlpool/Kenmore models commonly use 92.5" belts; Maytag often uses 93.5"; GE units frequently require 87.5". Always cross-reference with your model number on dryer part finder.
How long does a dryer drum belt usually last?
Under normal use (5 loads/week), expect 8–12 years. But frequent high-heat drying, overloading, or poor ventilation cuts lifespan in half. According to the Appliance Standards Awareness Project (2021), belt failure accounts for 41% of all dryer service calls in homes older than 7 years.
Replacing a broken drum belt or motor isn’t magic — it’s methodical, safe, and surprisingly satisfying once you hear that first full-speed spin again. Keep your tools handy, document each screw location with phone photos, and don’t rush the reassembly. A properly tensioned belt should deflect ½" when pressed midway — that tiny detail makes all the difference between quiet operation and a return trip to the repair bench.