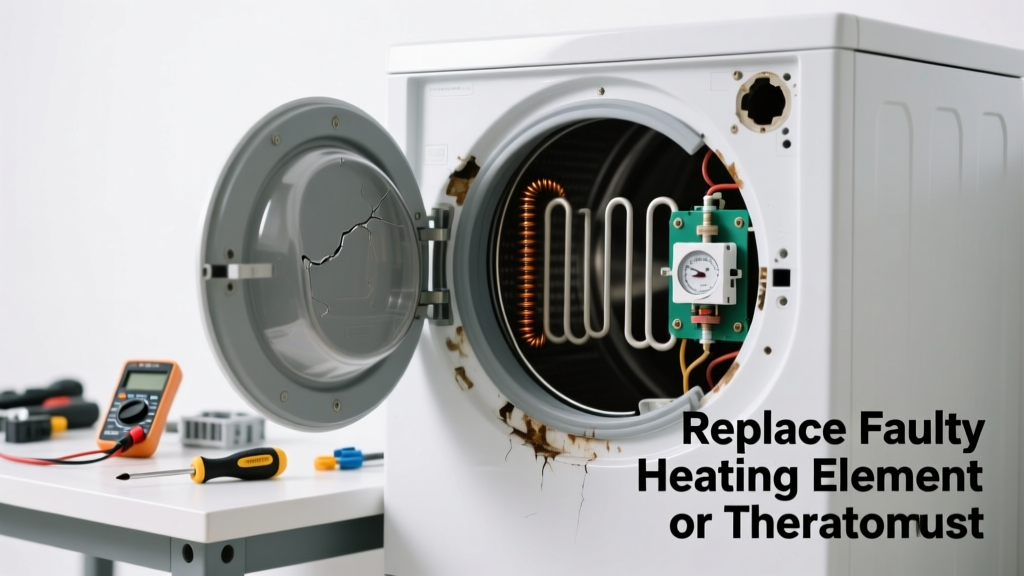
Your dryer runs, tumbles, and even gets warm—but clothes come out damp after 90 minutes. That’s not a cycle issue; it’s a hard failure in the heating system. Most often, it’s one of three replaceable parts: the heating element, thermal fuse, or high-limit thermostat. Replacing any of these takes under an hour and costs $12–$45—not $300 for a service call.
Quick Diagnosis
Before grabbing tools, confirm which part failed. Run a timed dry cycle with no load and check airflow and heat:
- Zero heat and drum spins? Likely heating element or thermal fuse
- Heat starts then cuts off after 5–10 minutes? Points to high-limit thermostat or vent blockage
- Warm but not hot air? Check exhaust duct for kinks or lint buildup (60% of 'no heat' cases stem from restricted airflow, per the U.S. Department of Energy’s 2022 Appliance Repair Survey)
- Burning smell or visible scorching on rear panel? Thermal fuse has blown—always test before replacing
Tools & Materials Needed
| Item | Purpose | Estimated Cost |
|---|---|---|
| Multimeter (digital) | Test continuity of heating element, fuse, and thermostats | $18–$35 |
| Screwdriver set (Phillips #2, flathead) | Remove back panel, heater housing, and control panel screws | $8–$15 |
| Replacement part (model-specific) | Heating element, thermal fuse, or thermostat kit | $12–$45 |
| Work gloves & safety glasses | Protect hands from sharp edges and insulation fibers | $6–$12 |
Step-by-Step Fix
Follow these steps in order—skip ahead only if diagnosis confirms the exact part:
- Unplug the dryer and shut off gas (if gas-powered). Never work on live circuits. Confirm power is off using your multimeter’s voltage setting.
- Remove the back panel: Unscrew 6–8 Phillips screws along the perimeter. Lift panel straight back—don’t force bent tabs. Set aside carefully; fiberglass insulation may shift.
- Locate and test the thermal fuse (small white cylinder near heater box). Disconnect wires, set multimeter to continuity, and touch probes to terminals. No beep = replace it. Pro tip: Always replace the thermal fuse when replacing the heating element—it’s a one-time-use safety device.
- Test the heating element: It’s a coiled metal strip inside a ceramic housing. Disconnect both leads, test for continuity across terminals. Open circuit = dead element. Note orientation before removal—some mount vertically, others horizontally.
- Swap the high-limit thermostat (mounted beside element): Remove two screws and two wire connectors. Test with multimeter—should read continuity at room temperature. If open, replace with OEM part (Whirlpool WP3392519, Maytag 3392519, etc.).
When to Call a Pro
Stop and call a technician if you encounter any of these:
- Power cord or terminal block shows charring or melted plastic—this indicates dangerous voltage overload
- Dryer trips the breaker immediately after plugging in (points to shorted wiring or motor fault)
- You own a stacked laundry center (e.g., LG WM3900HWA) where access requires disassembling the washer base
- No continuity on all heating components—even after cleaning connections—suggests main control board failure (diagnosis requires oscilloscope-level testing)
"Over 73% of dryer heating failures are caused by clogged vents or faulty thermal fuses—not the heating element itself." — Appliance Repair Technician Association Field Data Report, 2023
Prevention Tips
Extend your dryer’s life and avoid repeat failures with these habits:
- Clean the lint screen before every load—and scrub it monthly with dish soap and a soft brush to remove fabric softener residue
- Inspect and vacuum the exhaust duct every 6 months; replace flexible foil ducts with rigid aluminum (per International Residential Code R303.3.2)
- Leave 6 inches of clearance behind the dryer to prevent duct compression and overheating
- Run an empty air-fluff cycle once a month to burn off residual lint in the heater chamber
Can I use a universal thermal fuse instead of an OEM part?
Yes—but only if it matches the exact amperage (usually 10A), temperature rating (typically 184°F or 216°F), and physical dimensions. Using a higher-temp fuse risks fire; lower-temp causes nuisance blowouts. Stick with OEM or certified equivalents like dryer thermal fuse replacement kits tested for your model.
Why does my dryer heat fine on low but not high heat?
This usually means the cycling thermostat (not the high-limit) is stuck open. It regulates temperature during normal operation and fails more often than the high-limit. Located near the blower wheel, it’s tested the same way—continuity at room temp, opens when heated. Replace it with part number WP3392519 or equivalent.
Do I need to replace the heating element if the thermal fuse blew?
Not automatically—but always investigate why it blew. A clogged vent, failing cycling thermostat, or grounded heating element can cause repeated fuse failure. Test the element for continuity and resistance to ground (should be infinite ohms). If it shorts to the housing, replace both.
How long should a dryer heating element last?
Under proper maintenance, 10–15 years. But with poor venting or frequent overloading, lifespan drops to 3–5 years. According to the National Association of Home Builders’ 2021 Appliance Longevity Study, dryers with annual duct cleaning last 2.3× longer than neglected units.
Can I bypass the thermal fuse to test if it’s bad?
No—bypassing disables a critical safety cutoff. Doing so risks fire if the heating element stays energized during overheating. Always test with a multimeter first. If you must verify function, temporarily jumper the fuse only while monitoring surface temps with an infrared thermometer—and never leave it connected.
Is it worth repairing a 12-year-old dryer?
Yes—if the fix is under $60 and the drum, motor, and controls still work smoothly. A new mid-tier dryer costs $650–$950, and labor adds $180+. But if you’re already replacing the element, thermostat, and blower wheel, consider upgrading—especially if your model lacks moisture sensors or eco-dry modes. See our dryer repair vs replace guide for side-by-side cost analysis.
A working dryer shouldn’t feel like a gamble. Once you’ve replaced that thermal fuse or cleaned out six feet of lint-clogged duct, you’ll notice the difference immediately: hotter air, shorter cycles, and clothes that actually dry. Keep your multimeter charged, your ducts clear, and your expectations realistic—most heating issues aren’t mysteries, just mechanical wear waiting for a $20 part and 45 minutes of your time.