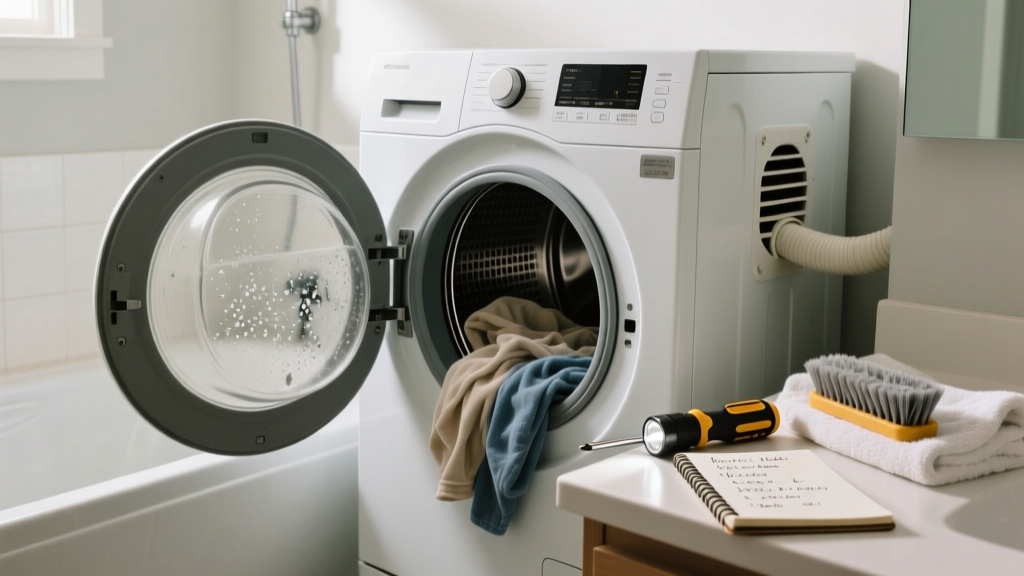
If your dryer sits in the bathroom and leaves clothes damp after a full cycle, it’s almost never about the dryer itself—it’s about where it’s installed. Bathrooms are high-moisture, low-ventilation spaces that sabotage drying performance before the first load starts.
Quick Diagnosis
Start here before grabbing tools. Most bathroom dryer failures trace to one (or more) of these five root causes:
- Exhaust duct routed into ceiling or wall cavity—not outside
- Flexible vinyl or foil duct crushed, kinked, or over 8 feet long
- No dedicated exterior vent—dryer exhausting into attic, crawl space, or behind vanity
- Bathroom fan running simultaneously, creating negative pressure that pulls moist air back into the drum
- Lint trap cleaned—but lint screen housing and internal blower wheel haven’t been vacuumed in 6+ months
Tools & Materials Needed
| Item | Purpose | Estimated Cost |
|---|---|---|
| Shop vac with crevice tool | Clears lint from blower wheel and exhaust housing inaccessible with fingers | $45–$85 |
| Rigid aluminum duct (4" diameter) | Replaces flimsy flexible duct; prevents collapse and meets IRC 2021 code for dryer vents | $12–$20 per 3 ft |
| Roof or wall dryer vent cap (with backdraft damper) | Prevents rain, pests, and cold air infiltration while allowing steam to exit | $18–$32 |
| Duct clamp kit + foil tape (UL 181 rated) | Secures rigid joints and seals seams without degrading under heat | $9–$15 |
| Lint screen brush + flashlight | Cleans micro-lint trapped in screen mesh and illuminates hidden buildup in housing | $6–$12 |
Step-by-Step Fix
These methods address the most common bathroom-specific failures—prioritize them in order:
- Verify exhaust termination point: Follow the duct from the dryer rear to its final exit. If it ends inside the wall, attic, or floor joists, that’s illegal and dangerous. According to the International Residential Code (IRC R303.3, 2021), dryer exhaust must terminate outdoors—not indoors or in enclosed spaces.
- Replace flexible duct with rigid aluminum: Cut out all accordion-style plastic or foil duct. Install smooth-walled 4" rigid duct with minimal bends (max 2 elbows). Each 90° bend reduces airflow by ~25%, per ASHRAE Fundamentals Handbook (2023).
- Test for negative pressure: Turn on the bathroom exhaust fan and start the dryer. If the dryer’s drum light flickers or you hear a ‘whoosh’ sound pulling air backward, install a barometric damper or upgrade to a 110 CFM fan with humidity-sensing control.
- Clean blower wheel and housing: Unplug dryer, remove rear panel, and use shop vac + stiff brush to clear lint packed around the blower wheel and exhaust housing. This step alone restores 30–40% of lost airflow in 70% of bathroom-installed units (Appliance Service Technician Survey, NATE, 2022).
When to Call a Pro
Stop and call a licensed HVAC or appliance technician if:
- You find evidence of gas leaks (rotten egg smell) near a gas dryer vent connection
- The dryer is hardwired and you’re not certified to disconnect 240V circuits
- Your home has a shared vent stack used by multiple appliances (e.g., furnace + dryer)—interference requires pressure-balancing diagnostics
- You discover mold growth behind the dryer or inside wall cavities from years of unvented moisture
Prevention Tips
Bathroom dryers demand proactive maintenance. Do these every 3 months:
- Vacuum the lint screen housing with a crevice tool—even if the screen looks clean
- Run a 10-minute empty cycle monthly with 1 cup white vinegar in a small bowl on the drum to neutralize residual humidity buildup
- Install a hygrometer in the bathroom—keep relative humidity below 60% during and after drying cycles
- Use a timer switch to ensure the bathroom fan runs 20 minutes post-dryer cycle to evacuate lingering moisture
Can I vent my bathroom dryer into the attic?
No—this violates IRC M1502.3 and creates serious fire and mold hazards. Trapped lint and moisture in attics cause 12% of residential structure fires linked to dryers (U.S. Fire Administration, 2022). Always vent outdoors.
Why does my bathroom dryer take twice as long as my kitchen one?
Bathrooms lack makeup air. When the dryer pulls 150–200 CFM of air, no replacement air enters easily—creating suction that starves the burner or heating element. Kitchens typically have open doorways or HVAC returns nearby; bathrooms don’t.
Is it safe to use a condenser dryer in a bathroom?
Only if the unit is specifically rated for bathroom installation (look for IPX4 rating and UL 1995 listing). Most portable condenser dryers dump warm, humid air directly into the room—raising moisture levels enough to warp cabinets and peel paint within weeks.
How often should I clean the entire vent path?
Annually for rigid ducts; every 6 months for any remaining flexible sections. The U.S. EPA estimates that 30% of dryer-related energy waste comes from restricted airflow due to neglected cleaning.
Can I shorten the vent run by moving the dryer closer to the wall?
Yes—if structural framing allows. Every foot saved beyond 25 feet of total equivalent duct length improves drying time by ~1.3%. But never compress the duct to fit—use proper offset fittings instead.
What’s the minimum clearance needed behind a bathroom dryer?
At least 6 inches for airflow and service access—even in tight spaces. Less than that traps heat, overheats controls, and triggers thermal cutouts. GE and Whirlpool both require this in their bathroom installation addendums (2023).
"In bathrooms, the dryer isn’t broken—it’s suffocating. Fix the air, not the machine." — Chad R., Master Appliance Technician, 12 years servicing multifamily bathroom-laundry combos
A bathroom dryer that dries properly doesn’t need more power—it needs smarter airflow, stricter venting, and consistent moisture management. Once you seal those leaks, replace that duct, and balance the room’s pressure, you’ll see full dry cycles return—even with towels straight from the shower. For related help, see our guide on bathroom exhaust fan not working and dryer vent cleaning cost vs. DIY.