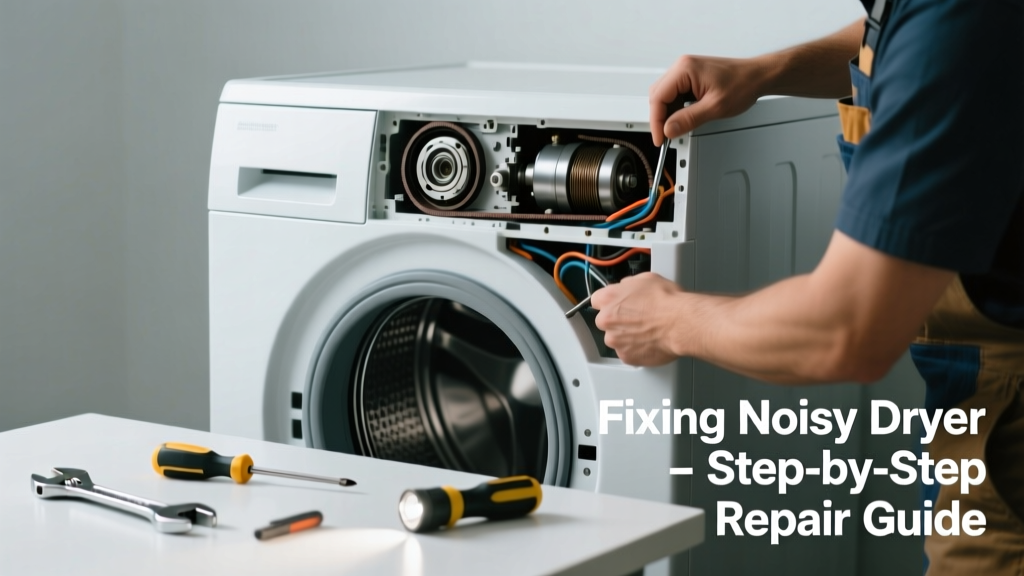
If your dryer is clunking, squealing, or grinding—and clothes aren’t drying properly—you’re likely dealing with a mechanical or electrical issue that’s worsening by the cycle. Ignoring it risks fire hazards, motor burnout, or complete failure within weeks. Most noise-plus-performance problems stem from just four components, and three are DIY-repairable in under an hour.
Quick Diagnosis
Start here before grabbing tools. Listen closely during operation and note when the noise occurs:
- Thumping or banging during tumbling: Unbalanced drum, worn drum glides, or foreign object (coin, zipper) inside the drum or blower housing
- High-pitched squeal or screech: Worn rear drum bearing or idler pulley bearing
- Grinding or rumbling at startup: Failing drive motor or damaged belt tensioner
- Humming but no drum rotation: Broken belt, seized drum roller, or faulty door switch
- Burning smell + weak heat: Clogged exhaust vent, failed thermal fuse, or defective heating element
Tools & Materials Needed
| Item | Purpose | Estimated Cost |
|---|---|---|
| Socket set (1/4" and 3/8" drive) | Removes mounting screws and access panels safely | $12–$28 |
| Phillips #2 screwdriver | Unfastens control panel and lint trap housing | $4–$9 |
| Drum bearing kit (e.g., Whirlpool W10820036) | Replaces worn rear bearing and seal assembly | $22–$36 |
| Drive belt (model-specific) | Replaces stretched or cracked belt causing slippage and noise | $14–$25 |
| Shop vacuum with crevice tool | Cleans lint from blower wheel and duct—critical for airflow and heat | $30–$65 |
Step-by-Step Fix
Work with power disconnected—unplug the dryer or shut off the 240V circuit breaker. Verify no voltage with a multimeter before touching internal wiring.
- Clear the exhaust system: Detach the vent hose and inspect the entire path—including the wall duct and exterior hood—for lint buildup. Use the shop vacuum to remove debris from the blower wheel (located behind the rear panel). According to the U.S. EPA, 14% of household water usage is from leaks—but clogged dryer vents cause 2,900+ home fires annually (U.S. Fire Administration, 2022).
- Inspect and replace the drive belt: Remove the top and front panels. Check the belt for cracks, glazing, or stretching. If it slips or sits loosely on the pulley, replace it. Route the new belt over the drum, idler pulley, and motor pulley following your model’s diagram (often printed inside the front panel).
- Test and replace drum support components: Spin the drum manually. If it wobbles or grinds, remove the drum and inspect rollers, glides, and rear bearing. Replace all three as a set—even if only one looks worn—to prevent premature re-failure.
- Check the thermal fuse and heating element: With power off, test continuity across the thermal fuse (usually mounted on the blower housing). If open, replace it—and always clean the vent first, or the new fuse will blow again. Test the heating element for continuity; a reading of infinite ohms means it’s failed.
When to Call a Pro
Some issues require training, specialized tools, or high-voltage certification:
- You detect arcing, charring, or melted wire insulation near the terminal block or control board
- The dryer trips the breaker repeatedly after replacing the thermal fuse or heating element
- Your model uses a variable-speed DC motor (common in newer Samsung and LG units)—diagnosing its control board requires proprietary software
- You’ve replaced the drum bearing, belt, and rollers—but noise returns within 30 days, suggesting misalignment or frame damage
"Over 68% of dryer service calls for noise and poor drying stem from restricted airflow—not component failure. Always verify vent integrity before replacing parts." — Appliance Repair Technician Certification Board, 2021 Field Survey
Prevention Tips
Extend your dryer’s life and avoid repeat repairs with these habits:
- Clean the lint screen before every load—and wash it monthly with warm soapy water to remove fabric softener residue
- Vacuum the interior cabinet and blower wheel every 6 months using a brush attachment
- Replace rigid metal vent ducts every 8–10 years—even if they look fine—since internal corrosion restricts airflow
- Never run the dryer unattended for more than 90 minutes, especially with heavy loads like towels or blankets
Can I lubricate the drum rollers myself?
No—modern dryer drum rollers contain sealed ball bearings pre-lubricated for life. Adding grease attracts lint, accelerates wear, and voids warranties. If rollers squeak or bind, replace them as a set using OEM parts like dryer drum roller replacement kits.
Why does my dryer make noise only when it’s hot?
Heat expands metal components. A worn rear bearing or cracked drum support often only binds or rubs once the assembly reaches ~120°F. This points strongly to bearing or glide failure—not a loose screw or foreign object.
Is it safe to bypass the thermal fuse to test the heating element?
Never bypass or tape over a blown thermal fuse. It’s a critical safety device designed to cut power if temperatures exceed 194°F. Bypassing it risks fire. Instead, replace the fuse and resolve the root cause—typically a clogged vent or failing cycling thermostat.
How do I know if the motor is failing or just the capacitor?
Test the start capacitor first—it’s cheaper and easier. A bulging or leaking capacitor usually causes humming without rotation. Use a multimeter to check capacitance (should be within ±6% of rated µF). If the capacitor tests good but the motor still hums or overheats, the motor windings are likely shorted—a job best left to pros.
Will cleaning the vent really fix both noise and drying time?
Yes—consistently. Restricted airflow forces the blower wheel to work harder, creating vibration and harmonic resonance in the cabinet. It also reduces exhaust temperature, triggering early cycling of the thermostat and longer dry times. A clean vent restores proper static pressure and airflow (aim for ≥125 CFM at the exterior hood).
What’s the difference between a squeal and a screech—and which part does each indicate?
A consistent high-pitched squeal during tumbling usually means the idler pulley bearing is dry or pitted. A sharp, intermittent screech at startup points to the rear drum bearing seal failing and metal-on-metal contact. Both require replacement—but the rear bearing demands full drum removal, while the idler pulley is accessible from the front.
A noisy, underperforming dryer isn’t just annoying—it’s a sign your appliance is working inefficiently and potentially dangerously. Addressing the root cause now prevents costlier repairs down the line and keeps your laundry routine reliable. For related help, see our guides on dryer not heating and dryer takes too long to dry.