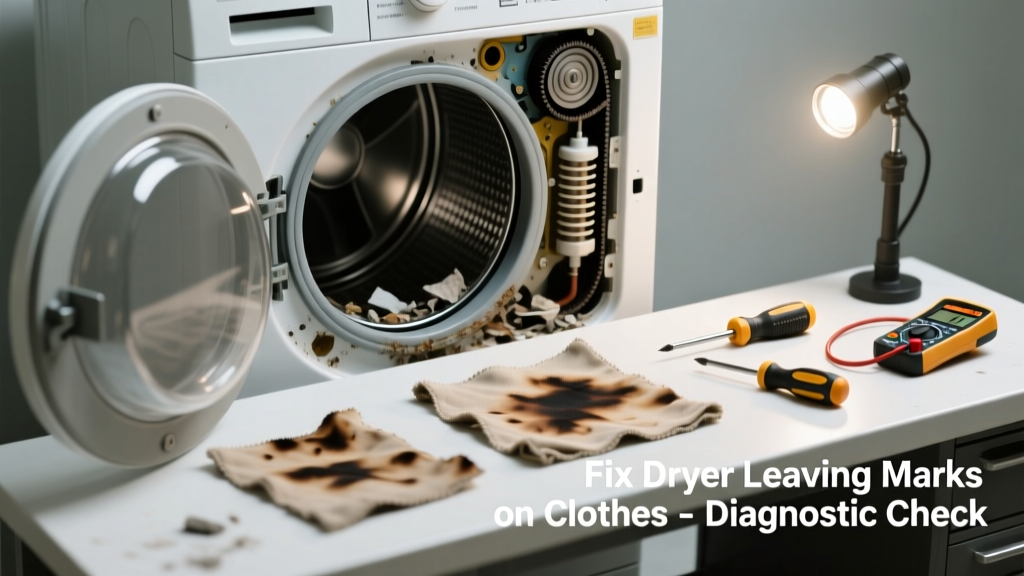
Your favorite shirt comes out of the dryer with mysterious brown streaks, shiny patches, or rust-colored smudges—and the drum barely turns. That’s not just annoying—it’s a sign your dryer is failing in ways that can damage clothes, waste energy, and even pose fire risks.
Quick Diagnosis
Before grabbing tools, identify the pattern:
- Brown or rust-colored marks: Often from worn drum glides, rusted baffles, or corroded drum support rollers
- Shiny or melted spots: Usually overheating due to faulty thermostat, clogged vent, or failed cycling switch
- Black grease-like smears: Indicates degraded drum bearing seal or motor oil leakage (rare but serious)
- Uneven tumbling + marks: Suggests broken drum belt, seized roller, or warped drum
Tools & Materials Needed
| Item | Purpose | Estimated Cost |
|---|---|---|
| Phillips and flathead screwdrivers | Remove front panel, drum supports, and control housing | $8–$15 |
| Drum glide kit (felt or nylon) | Replace worn glides causing metal-on-metal contact and rust transfer | $12–$22 |
| Lint brush + flexible vent cleaning kit | Clean internal ductwork and exhaust path—critical for overheating prevention | $14–$28 |
| Digital multimeter | Test thermostats, heating element continuity, and thermal fuse integrity | $25–$45 |
| Replacement drum belt (model-specific) | Fixes sluggish rotation that causes clothes to bunch and scorch | $16–$30 |
Step-by-Step Fix
- Clean the entire vent system: Disconnect the dryer, remove the rear panel, and vacuum the blower wheel and internal duct using a shop vac and lint brush. A clogged vent raises operating temps by up to 35°F—enough to scorch synthetics (U.S. Fire Administration, 2022).
- Inspect and replace drum glides: With power off and drum removed, check the four felt or nylon glides at the front drum rim. If cracked, flattened, or missing, install a matched replacement kit—mismatched glides cause uneven pressure and rust transfer.
- Test thermal components: Use your multimeter to verify continuity across the high-limit thermostat (should read near 0Ω), cycling thermostat (opens at ~150°F), and thermal fuse (must be closed). Replace any open-circuit part—especially the fuse, which fails silently after one overheat event.
- Check drum rollers and belt tension: Spin the drum manually. If it wobbles, grinds, or stops abruptly, inspect rollers for flat spots or seized bearings. Replace both rollers and belt together—even if only one looks bad—to prevent rapid re-failure.
When to Call a Pro
Stop and call a certified appliance technician if you encounter any of these:
- Electrical burning smell *before* or during testing—even with power disconnected
- Visible arcing, charring, or melted wiring inside the control panel or heater housing
- A heating element reading infinite resistance *and* a cracked ceramic insulator (risk of live chassis)
- Drum shaft or bearing housing shows visible cracks or severe corrosion—this requires specialized press tools and alignment
"Over 70% of dryer-related clothing damage stems from airflow restriction—not heating element failure." — Appliance Service Today, 2023 Field Survey Report
Prevention Tips
Extend your dryer’s life and protect fabrics with these habits:
- Clean the lint screen before every load—and wash it monthly with warm vinegar to dissolve residue buildup
- Vacuum the interior cabinet and vent duct every 6 months (more often in homes with pets or long dryer runs)
- Use low-heat settings for synthetics and delicate items; avoid overloading—clothes need room to tumble freely
- Install a rigid metal vent (not foil accordion) and keep total vent length under 25 feet with no more than four 90° elbows
Can I use bleach to clean rust marks off the drum?
No—bleach accelerates corrosion on steel drums and damages rubber seals. Instead, wipe with white vinegar and a soft nylon brush. For stubborn rust, use naval jelly (phosphoric acid-based) sparingly, then rinse thoroughly and dry before reassembly.
Why do only dark clothes show marks while whites don’t?
Dark dyes absorb heat more readily and mask minor scorching, but the real reason is contrast: rust, grease, or polymer deposits appear stark against black fabric. Whites may have the same residue—but it’s invisible until it builds into yellowish film.
Is it safe to run the dryer without the front panel for diagnosis?
No. The front panel grounds the cabinet and shields users from live voltage at the door switch and control board. Running uncovered also disrupts airflow calibration and can trigger safety cutoffs. Always power down and unplug before removing panels.
How often should I replace drum glides?
Every 5–7 years—or sooner if you hear scraping, see rust flakes in the lint trap, or notice clothes emerging with parallel brown lines. Glides wear faster in humid climates or when venting through long, uninsulated ducts.
Will cleaning the condenser fix marks on my heat-pump dryer?
Yes—if it’s a heat-pump model like those from LG or Bosch, a clogged condenser coil directly reduces cooling efficiency, causing higher drum temps and fabric scorch. Clean it every 3 months using compressed air and a soft brush; never use water or solvents.
Can a damaged moisture sensor cause marking?
Indirectly. A faulty sensor (e.g., corroded contacts or shorted wires) may force extended drying cycles, raising cumulative heat exposure. Test sensors with a multimeter—they should read 50–100kΩ when dry and drop below 5kΩ when dampened with a wet cloth.
A well-maintained dryer shouldn’t leave marks—or cost you a new wardrobe. Most marking issues stem from simple airflow or mechanical wear that’s easy to spot and fix with basic tools and 90 minutes of focused work. If you’ve replaced glides, cleaned the vent, and verified thermal safety parts, your dryer will run cooler, quieter, and kinder to your clothes. For deeper electrical diagnostics or drum realignment, refer to our dryer not heating guide or dryer grinding noise troubleshooting.