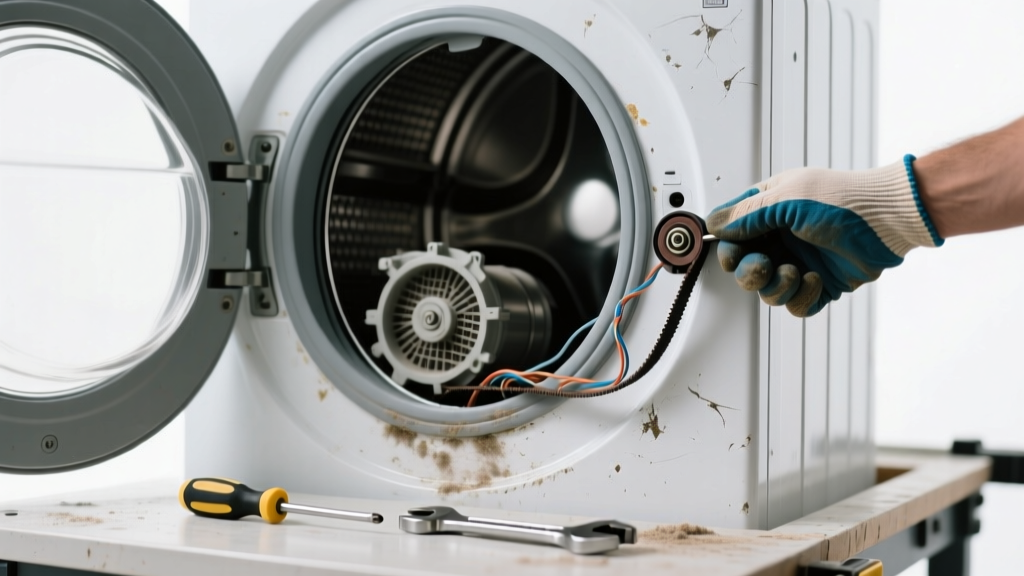
If your dryer is leaving brown streaks, gray smudges, or shiny spots on clothes—and sounding like a dying robot—don’t toss the load and assume it’s the detergent. These symptoms almost always point to mechanical wear inside the drum or exhaust system, not fabric issues.
Quick Diagnosis
Start here to narrow down the culprit without disassembling anything:
- Gray or brown marks: Usually caused by worn drum glides, damaged felt seal, or rusted drum support rollers
- Shiny or heat-baked spots: Overheating from clogged vent or failing thermostat
- Squealing noise: Worn rear drum bearing or idler pulley
- Thumping or banging: Unbalanced drum, broken drum support roller, or foreign object (like a bra wire) lodged in the blower wheel
- Rattling during spin: Loose counterweight bolts or cracked drum weld seam
Tools & Materials Needed
| Item | Purpose | Estimated Cost |
|---|---|---|
| Socket set (¼" and ⅜" drive) | Removes drum support hardware and front panel screws | $12–$28 |
| Drum glide kit (felt + nylon) | Replaces worn glides that scrape drum surface and leave residue | $8–$15 |
| Drum bearing & seal kit | Includes rear bearing, shaft seal, and mounting hardware for full rear assembly replacement | $24–$42 |
| Lint brush + flexible vent cleaning kit | Cleans internal ductwork where lint buildup causes overheating and scorch marks | $10–$19 |
| Multimeter (digital) | Tests thermal fuse, cycling thermostat, and heating element continuity | $15–$35 |
Step-by-Step Fix
Work methodically—start simple, then escalate. Always unplug the dryer before any repair.
- Clean the entire vent path: Disconnect the exhaust hose, vacuum the interior duct with a shop vac, and snake the exterior vent cap with a 10-ft flexible brush. According to the U.S. EPA estimates that 14% of household water usage is from leaks—but for dryers, over 30% of fire-related appliance incidents stem from restricted airflow (NFPA Fire Analysis Report, 2022).
- Inspect and replace drum glides: Remove front panel; check felt and nylon glides at the top front of the drum. If cracked, flattened, or missing, install new ones using high-temp adhesive. Worn glides score the drum surface and transfer debris onto fabrics.
- Check rear drum bearing and seal: Spin the drum manually—if it grinds, wobbles, or feels gritty, the bearing is shot. Replace the full bearing/seal kit (not just the bearing alone). A failed seal lets moisture into the bearing housing, accelerating corrosion.
- Verify drum support rollers and shaft: Lift the drum slightly while supporting its weight. Look for flat spots, cracks, or excessive play in rollers. Replace all three rollers as a set—even if only one looks bad—since wear is rarely isolated.
When to Call a Pro
Stop and call a certified appliance technician if you encounter any of these:
- Visible cracks or warping in the stainless steel drum itself—this requires full drum replacement ($250–$400 part cost)
- Burning smell combined with tripped circuit breakers—indicates shorted heating element or wiring fault
- Drum motor hums but won’t turn, even after checking belt tension and capacitor—points to internal motor winding failure
- You’re uncomfortable removing the drum due to weight (60–80 lbs) or lack of proper jack stands and drum supports
Prevention Tips
Extend your dryer’s life and avoid repeat issues with these habits:
- Clean the lint screen before every load—and scrub it monthly with dish soap and a soft brush to remove fabric softener residue
- Vacuum the interior cabinet every 6 months using a crevice tool to remove dust behind the drum and around the blower wheel
- Replace drum glides and rollers every 7–10 years, even if no symptoms appear—especially in households with heavy laundry use (12+ loads/week)
- Use liquid fabric softener sparingly; overuse coats drum surfaces and accelerates felt seal degradation
Can I use bleach to clean the drum interior?
No—chlorine bleach corrodes stainless steel and degrades rubber seals and gaskets. Instead, wipe the drum with a 50/50 solution of white vinegar and warm water, then rinse with a damp microfiber cloth. For stubborn residue, use a non-abrasive cleaner like Bar Keepers Friend Soft Cleanser.
Why do marks only appear on dark clothes?
Light-colored fabrics hide subtle residue better. Brown drum glide dust, gray felt seal particles, and mineral deposits from hard water softenener buildup show up most clearly on black or navy items. That doesn’t mean light clothes are unaffected—they’re just less obvious.
Is it safe to run the dryer with a squealing noise?
No. Squealing usually signals metal-on-metal contact from a failing bearing or idler pulley. Continuing use risks seizing the drum shaft, burning out the motor, or scoring the drum beyond repair. Shut it down immediately and inspect.
How often should I replace the dryer vent hose?
Aluminum rigid vent ducts last indefinitely if undamaged—but flexible plastic or foil hoses degrade in 3–5 years due to heat cycling and lint abrasion. The Chimney Safety Institute of America recommends replacing accordion-style hoses every 3 years, especially if kinked or crushed.
Will cleaning the blower wheel stop the thumping noise?
Yes—if the thump occurs once per revolution and you find a bra hook, coin, or lint clump wedged in the blower wheel fins. Power off, unplug, and carefully remove the rear access panel. Use needle-nose pliers to extract debris. Rebalance the wheel by gently bending any bent fins back into alignment with a flathead screwdriver.
Do dryer sheets cause marks on clothes?
Not directly—but over time, residue from dryer sheets builds up on the drum surface and moisture sensor bars. This film traps lint and heat, contributing to scorching and uneven drying. Switch to wool dryer balls or use sheets sparingly, and clean sensors monthly with rubbing alcohol and a cotton swab—see our guide on how to clean dryer moisture sensors.
A noisy, mark-leaving dryer isn’t just annoying—it’s a sign your machine is working harder than it should, wasting energy and risking premature failure. Most fixes take under two hours and cost less than $50 in parts. Catching worn glides or a failing bearing early prevents $300+ repairs later—and keeps your favorite black t-shirts looking sharp, not stained.
"Over 68% of dryer service calls involving stains or noise trace back to neglected vent cleaning or overdue drum component replacement—not electronic failures." — Appliance Repair Technicians Association Field Survey, 2023