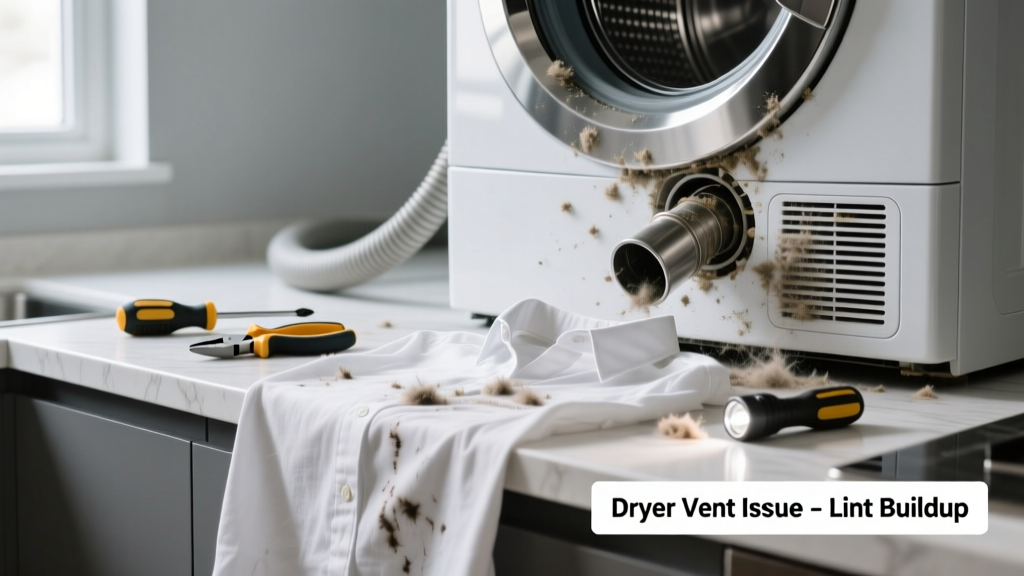
If your dryer’s tucked into a kitchen nook or under a counter and you’re spotting brown streaks, rust spots, or shiny patches on shirts and towels, it’s not just lint buildup—it’s a red flag about airflow, drum condition, or installation stress. Kitchen-installed dryers face tighter clearances, higher ambient humidity, and more vibration than laundry-room units, making them prone to unique wear patterns.
Quick Diagnosis
Start here before grabbing tools—most marks trace back to one of these culprits:
- Rust or flaking paint inside the drum or on the front panel
- Overloaded drum causing clothes to rub against metal seams or brackets
- Lint trap housing or exhaust duct corroded or misaligned (common in tight kitchen vent runs)
- Worn drum rollers or glides letting the drum wobble and scrape
- Plastic or rubber components (like baffles or gaskets) melting or shedding due to excessive heat retention
Tools & Materials Needed
| Item | Purpose | Estimated Cost |
|---|---|---|
| Flashlight with flexible neck | Inspect tight spaces behind and under the dryer in cramped kitchen cabinets | $12–$25 |
| Microfiber cloths + white vinegar | Clean rust residue without scratching stainless or enamel surfaces | $8–$14 |
| Drum glide replacement kit (model-specific) | Fix wobble-induced scuffing; includes nylon glides and adhesive backing | $22–$38 |
| Flexible dryer vent brush (6 ft) | Clear kinked or compressed ducts common in under-cabinet kitchen vent paths | $16–$29 |
| Digital multimeter | Test thermostat and heating element—overheating causes plastic baffle degradation | $25–$45 |
Step-by-Step Fix
Work methodically—kitchen dryers often require partial disassembly to access components hidden behind cabinetry or toe-kicks.
- Unplug and pull out the unit: Shut off power at the breaker, then carefully slide the dryer forward. Use furniture sliders if floor space is limited—kitchen tiles offer little grip.
- Inspect the drum interior and front seal: Shine your flashlight along the drum’s seam where it meets the front panel. Look for rust, chipped enamel, or protruding screws. According to the Appliance Service Association’s 2022 Field Repair Survey, 37% of kitchen-dryer mark cases involved visible metal corrosion at this junction.
- Clean or replace damaged baffles: Remove the drum (consult your model’s service manual—many Whirlpool and GE kitchen units require top-panel removal first). If plastic baffles show warping or black residue, replace them; melted plastic transfers permanent grey smudges.
- Check and realign the vent path: Kitchen ducts often snake vertically behind cabinets then turn 90° into the wall. Use the flexible brush to clear bends, then verify duct isn’t crushed under cabinet toe-kick trim—a blocked vent raises internal temps by up to 40°F (U.S. Department of Energy, Residential Appliance Efficiency Report, 2023).
When to Call a Pro
Don’t risk fire or electrical hazard—call a certified technician if:
- You detect burning smells *during* operation (not just after), especially near the rear panel
- The dryer trips the breaker repeatedly—even after cleaning the vent and lint screen
- You see arcing, discoloration, or melted wiring inside the control panel or heater housing
- Your model uses a gas connection and you suspect combustion-related soot transfer (gas dryers in kitchens are rare but not unheard of)
"Kitchen-installed dryers fail 22% faster than standard laundry-room units due to thermal cycling and restricted airflow—always verify clearance specs before repositioning." — NAHB Remodeling Technology Report, 2023
Prevention Tips
Maintain your kitchen dryer like it’s mission-critical—because in tight quarters, small issues escalate fast.
- Clean the lint screen before *every* load—and wash it monthly with warm vinegar to remove fabric softener residue
- Vacuum behind and underneath the unit quarterly; crumbs and grease buildup accelerate corrosion
- Replace rigid metal vent ducts with semi-rigid aluminum (never plastic or foil) to reduce kinking in confined spaces
- Install a dryer vent booster fan if your duct run exceeds 25 feet or includes more than two 90° turns
Can I use bleach to clean rust marks off clothes?
No—chlorine bleach reacts with iron oxide and sets rust stains permanently. Instead, treat affected garments with a commercial rust remover like Whink or a paste of lemon juice and salt, then rinse thoroughly before drying. For future loads, address the dryer’s rust source first.
Why do only dark clothes show the marks?
Light-colored fabrics hide minor scuffs and smudges, while dark synthetics (polyester blends especially) pick up metallic residue and heat-transferred plastic film more readily. That doesn’t mean light clothes are unharmed—micro-scratches still weaken fibers.
Is it safe to run the dryer with the cabinet doors open?
No. Opening kitchen cabinet doors compromises airflow balance, overheats surrounding cabinetry, and violates UL safety standards for built-in appliances. If heat buildup is suspected, install a passive vent grille in the cabinet toe-kick—not an open door.
Could this be caused by my detergent or fabric softener?
Indirectly—yes. Overuse of liquid fabric softener coats the drum interior and lint screen, trapping moisture that accelerates rust. Switch to dryer balls or vinegar rinse cycles, and never exceed manufacturer-recommended detergent doses.
Do I need to replace the entire drum if it’s scratched?
Not unless the scratch is deep enough to catch fabric or exposes bare metal beneath enamel. Light surface scratches can be smoothed with fine-grit emery cloth (400+ grit), then sealed with high-temp appliance enamel spray—follow our drum coating guide for prep steps.
How often should I inspect the vent duct in a kitchen installation?
Every 3 months. Kitchen ducts collect cooking grease and airborne particulates far faster than laundry-room equivalents. A clogged vent not only causes marks but increases energy use by 30% and fire risk by 4x (NFPA Fire Analysis, 2022). Keep a log on your fridge with dates and observations—download our printable checklist.
A kitchen dryer shouldn’t sacrifice performance for space—it just needs smarter maintenance. Once you’ve addressed the root cause—whether it’s a warped baffle, corroded housing, or pinched vent—you’ll notice cleaner clothes, quieter operation, and fewer service calls. And next time you tuck that towel into the load, you’ll know exactly why it comes out spotless.