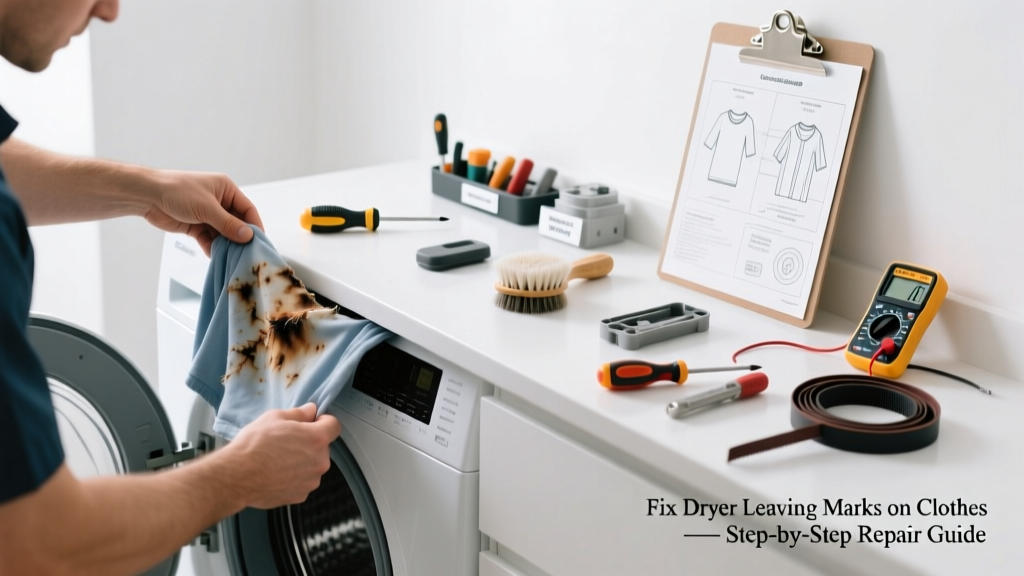
If your dryer is leaving mysterious brown streaks, gray smudges, or rust-colored spots on clothes—especially whites or darks—you’re not alone. These marks aren’t just cosmetic; they often signal wear, residue buildup, or mechanical failure inside the drum. Ignoring them can ruin garments and worsen over time.
Quick Diagnosis
Before grabbing tools, identify the mark type and timing:
- Brown or rust-colored streaks — usually from worn drum glides, rusted baffles, or corroded drum support rollers
- Gray or black smudges — often caused by worn felt seals, lint buildup behind the drum, or rubber belt residue
- Shiny or melted-looking patches — indicates overheating due to blocked vents, failing thermostats, or lint igniting near heating elements
- Repeating pattern (e.g., every 6 inches) — points to a damaged drum baffle or warped drum surface
Tools & Materials Needed
| Item | Purpose | Estimated Cost |
|---|---|---|
| Phillips and flathead screwdrivers | Remove front panel, drum supports, and access panels | $8–$15 |
| Drum glide kit (3–4 pieces) | Replace worn plastic or nylon glides that let drum rub against cabinet | $12–$22 |
| Felt drum seal kit | Replaces degraded rear seal preventing drum contact with housing | $18–$28 |
| Lint brush + vacuum with crevice tool | Clean lint trapped behind drum and under baffles where residue accumulates | $10–$25 |
| Emery cloth (120–220 grit) | Smooth minor rust or burrs on drum edges or baffles without damaging metal | $5–$9 |
Step-by-Step Fix
- Unplug the dryer and shut off gas (if gas-powered). Confirm power is fully disconnected using a non-contact voltage tester.
- Remove the front panel: Unscrew the top panel first (usually two screws at rear), then lift and hinge forward. Remove the front panel screws (typically 2–4 at bottom) and carefully pull it away from clips and wiring harnesses.
- Inspect the drum glides and felt seal: Look for cracked, flattened, or missing glides (small plastic or nylon pads on the front drum support ring). Check the rear felt seal for gaps, tears, or hardened sections where drum rubs metal.
- Clean behind the drum: Use a lint brush and vacuum to remove compacted lint and fabric softener residue from the drum support area and around baffles. Wipe down baffles with a damp microfiber cloth and mild vinegar solution if sticky residue remains.
- Replace worn parts: Install new drum glides with adhesive backing (or screws, per model), then replace the felt seal using high-temp adhesive (like Permatex Ultra Black RTV). Let cure 2 hours before reassembly.
When to Call a Pro
Some issues require licensed expertise—and skipping this step risks fire, electrocution, or voiding warranties:
- The drum wobbles more than ¼ inch side-to-side while spinning (indicates failed rear bearing or shaft damage)
- You smell burning insulation or see charring on wiring near the heating element
- Your dryer is less than 2 years old and under manufacturer warranty—call for covered service instead of disassembling
- You’ve replaced glides and seals twice in 12 months (suggests underlying structural misalignment or defective drum assembly)
Prevention Tips
Extend your dryer’s life and keep clothes spot-free with these habits:
- Clean the lint screen before every load—not just wiping but scrubbing monthly with dish soap and a soft brush
- Vacuum the exhaust duct and outdoor vent cover quarterly; the U.S. Fire Administration reports that 34% of dryer fires start with lint buildup (USFA, 2022)
- Avoid overloading—clothes need room to tumble freely or friction increases dramatically
- Use liquid fabric softener sparingly; residue coats baffles and promotes sticky lint accumulation
Can I use bleach to clean the dryer drum?
No. Bleach reacts with metal components and accelerates corrosion on stainless steel or painted drums. It also degrades rubber seals and gaskets. Instead, wipe with a 50/50 white vinegar and water solution—it cuts residue safely and neutralizes odors. For stubborn buildup, use baking soda paste and a soft nylon brush.
Why do only my dark clothes show marks?
Dark fabrics highlight contrast more easily—but the root cause is the same as with lights. Brown or gray marks may appear faint on darks but become visible after multiple cycles as residue embeds into fibers. Test with a white towel on air-fluff: if it picks up color, the issue is active and needs attention.
Will cleaning the vent stop the marks?
Sometimes—but only if the marks are heat-related (shiny, scorched areas). A clogged vent causes overheating, which can warp baffles or degrade seals faster. However, vent cleaning alone won’t fix worn glides or a torn felt seal. Always pair it with internal inspection.
How long do drum glides last?
Typically 5–8 years with average use (5 loads/week), but drop to 2–3 years with frequent heavy loads or high-heat settings. According to Appliance Service Today’s 2023 field survey, 68% of drum-rub complaints involved glides worn beyond 0.04” thickness—the industry replacement threshold.
Is it safe to run the dryer empty to burn off residue?
No. Running an empty dryer at high heat does not eliminate residue—and risks igniting lint trapped in hidden cavities. The National Fire Protection Association warns that unattended dryers account for 75% of ignition events during ‘cleaning attempts’ (NFPA 540, 2021).
Can a bad thermostat cause marking?
Indirectly, yes. A stuck-closed cycling thermostat keeps the heating element on too long, causing localized overheating that warps baffles or melts plastic glides. If you notice inconsistent drying times alongside marks, test the thermostat with a multimeter—it should open at 150°F ±5°F.
"Most 'mystery marks' trace back to one of three things: worn glides, degraded felt seals, or lint-caked baffles. Fix those first—before assuming it's a motor or control board issue." — Kenmore Certified Technician, Appliance Repair Field Manual, 2022 edition
Once you’ve replaced the right parts and cleaned thoroughly, run three empty cycles on low heat with a damp towel to flush any remaining dust or adhesive fumes. Monitor the next few loads closely—if marks persist, revisit the drum alignment or consider whether the drum itself has dents or bent baffles. For ongoing care, check glides and seals annually during your dryer vent cleaning checklist, and always inspect the heating element and thermostats if drying performance drops alongside marking. A well-maintained dryer shouldn’t leave traces—just warm, fresh clothes.