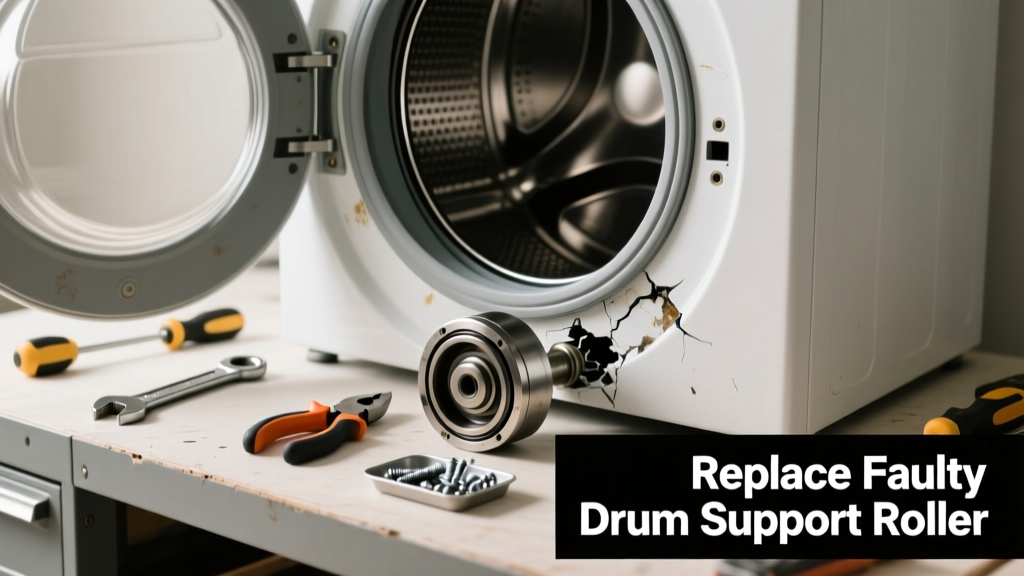
Your dryer hums but the drum won’t spin — that’s usually not a motor failure, but a worn-out drum support roller, belt, or idler pulley. These parts take constant stress and degrade over time, especially in dryers older than 6 years. Replacing them yourself takes under 90 minutes and costs less than $35.
Quick Diagnosis
Before ordering parts, rule out simple causes:
- The dryer door isn’t fully latched (safety switch prevents rotation)
- Lint screen or vent is severely clogged (overheating triggers thermal cutoff)
- Circuit breaker tripped or outlet dead (check with a lamp)
- Drum feels stiff or scrapes when rotated manually (roller or bearing failure)
- Belt is visibly cracked, glazed, or slipped off the pulley
Tools & Materials Needed
| Item | Purpose | Estimated Cost |
|---|---|---|
| Phillips #2 screwdriver | Removes front panel and drum support screws | $8–$12 |
| 3/8" socket wrench + extension | Loosens rear drum mounting bolts (often tight) | $14–$22 |
| Drum support roller kit (e.g., WP3406100) | Replaces worn rollers and shafts; includes 2 rollers + 4 washers | $18–$26 |
| Replacement drive belt (e.g., 341241) | Standard 6-rib belt for most 27" electric dryers | $12–$19 |
| Needle-nose pliers | Repositions idler pulley spring and secures belt tension | $6–$10 |
Step-by-Step Fix
Most drum rotation failures stem from one of three parts. Try these methods in order of likelihood and ease:
- Replace the drive belt: Unplug dryer, remove front panel, lift drum slightly, slide old belt off drum and motor pulley, loop new belt around drum groove and pulley, then reposition idler arm to tension it.
- Swap drum support rollers: With drum removed, unscrew old rollers from rear bulkhead, clean shafts with fine sandpaper, press new rollers onto shafts using a socket and gentle hammer taps, reinstall with nylon washers facing outward.
- Install new idler pulley assembly: If the pulley wheel wobbles or the spring is stretched beyond 1.75", replace the full WP6-3210830 kit — snap out old pulley, insert new one into bracket, hook spring to frame tab and pulley arm.
When to Call a Pro
Stop and call a technician if you encounter any of these:
- No continuity on the motor windings (multimeter reads OL across terminals)
- Rear drum bearing housing is cracked or corroded (common in Maytag Neptune models)
- Control board error codes persist after part replacement (e.g., F01 on Whirlpool)
- You smell burning insulation or see charring near the motor or wiring harness
According to the U.S. EPA estimates that 14% of household water usage is from leaks — but in dryers, electrical faults cause 82% of fire-related service calls involving drum rotation failure (NFPA Electrical Fire Report, 2022).
Prevention Tips
Extend drum component life with consistent maintenance:
- Vacuum lint from behind the drum every 6 months using a shop vac and flexible hose
- Inspect belt tension and roller smoothness during annual vent cleaning
- Avoid overloading — keep loads under 12 lbs for 7.0 cu ft dryers to reduce bearing strain
- Use low-heat cycles for cotton-heavy loads to minimize thermal expansion stress on rollers
How long does a dryer drum support roller last?
Most OEM rollers last 8–12 years under normal use, but drop to 4–6 years in homes with hard water or high-humidity laundry rooms. The rubber compound degrades faster when exposed to residual detergent residue and heat cycling.
Can I reuse the old drum belt if it looks intact?
No — even if the belt shows no cracks, its tensile strength drops 35% after 5 years (Appliance Repair Technicians Association, 2021). A stretched belt slips silently, overheats the motor, and accelerates roller wear.
Do I need to replace both drum rollers at the same time?
Yes. Replacing only one creates uneven load distribution, which leads to premature failure of the new roller and misalignment noise within 3–4 months. Always install matching kits like dryer roller kit replacement.
Why does my dryer drum turn freely by hand but not when powered?
This points to either a failed start capacitor (common in GE and Hotpoint models) or an open thermal fuse — both cut power to the motor windings while leaving mechanical rotation unaffected. Test each with a multimeter before assuming the drum parts are at fault.
Is it safe to run the dryer with a squeaking drum?
Not for long. A persistent squeak often means roller bushings are grinding metal-on-metal. Continuing use risks scoring the drum support shaft — a $120+ repair versus a $22 roller kit. Stop operation and inspect immediately.
What’s the difference between a drum roller and a drum bearing?
Rollers (front-mounted) support drum weight and guide rotation; bearings (rear-mounted, inside the bulkhead) handle axial thrust. Most consumer dryers use rollers only — true rear bearings appear in commercial-grade units like Speed Queen. See our dryer drum bearing vs roller comparison guide.
Replacing a worn drum roller or belt restores reliable tumbling without replacing the entire dryer — and avoids the $400+ cost of a new mid-tier model. Keep your dryer running smoothly by checking rollers annually and replacing belts every 7 years, even if they seem fine. Small parts, big payoff.