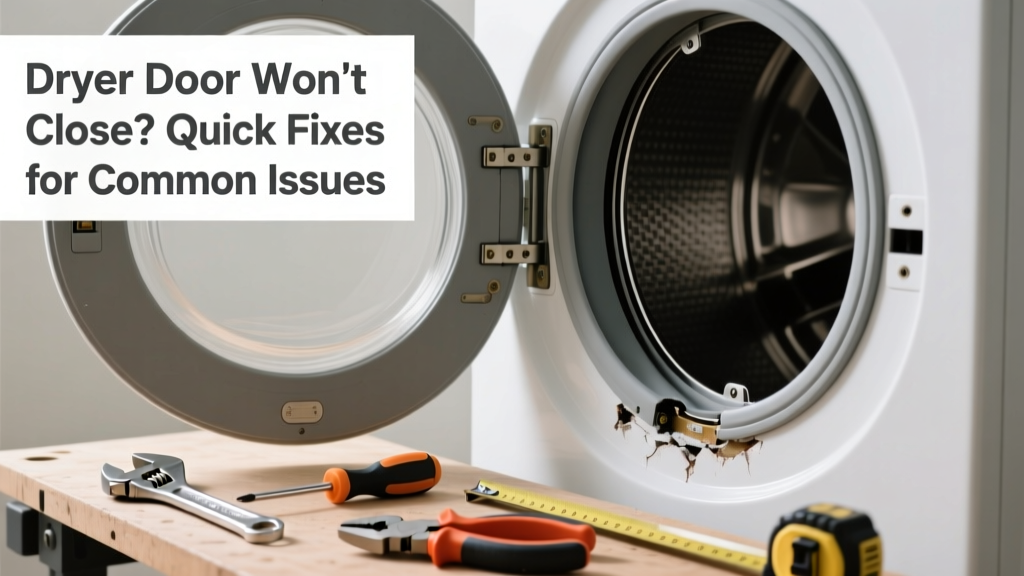
Your dryer won’t start because the door won’t latch — and you’re already late for laundry night. A misaligned or broken door mechanism is one of the most common (and frustrating) dryer failures, but it’s often fixable in under 30 minutes with basic tools and no prior experience.
Quick Diagnosis
Before grabbing tools, rule out these five frequent culprits:
- The door strike plate is bent or misaligned
- The door latch assembly is cracked or jammed with lint/debris
- The door hinge pins are worn or the hinge screws are loose
- The door gasket is warped, swollen, or obstructing closure
- The door switch is faulty — even if the door closes, the dryer won’t start without proper contact
Tools & Materials Needed
| Item | Purpose | Estimated Cost |
|---|---|---|
| Phillips #2 screwdriver | Tightens hinge and latch screws; removes access panels | $4–$8 |
| Needle-nose pliers | Repositions bent strike plates or pulls stuck latch pins | $6–$12 |
| Replacement door latch kit (model-specific) | Replaces cracked or worn plastic latches (e.g., Whirlpool W10850647) | $12–$24 |
| Lint brush or soft toothbrush | Cleans debris from latch groove and strike plate recess | $2–$5 |
| Flashlight | Illuminates tight spaces behind the door frame and switch housing | $3–$10 |
Step-by-Step Fix
Try these methods in order — most issues resolve at Step 1 or 2:
- Check and clean the latch path: Open the door fully, shine your flashlight into the latch recess on the front panel. Use the lint brush to remove fabric softener residue, lint, or hardened detergent buildup. Test closure gently — many doors bind due to sticky grime, not mechanical failure.
- Realign the strike plate: With the door open, inspect the metal tab on the door (the strike) and its mating slot on the cabinet. If the strike is bent inward or upward, use needle-nose pliers to gently bend it back toward center — just 1–2 mm makes the difference. Tighten the two mounting screws (usually 1/4" Phillips) behind the plate.
- Inspect and tighten hinge hardware: Examine both top and bottom hinges. Loosen screws slightly, close the door while holding it flush, then retighten. If the hinge pin wobbles or shows visible wear, replace the hinge assembly — common on Maytag and GE dryers older than 6 years.
- Test the door switch: Unplug the dryer. Locate the small rectangular switch near the latch cavity (often white or black, with two wires). Press it manually with a toothpick while listening for a distinct click. No click? The switch is likely failed — replace it using your model number (dryer door switch replacement guide).
When to Call a Pro
Stop DIY if you encounter any of these:
- You hear grinding or see sparks when closing the door — indicates internal wiring damage or shorted switch contacts
- The door frame itself is cracked or warped (common after forced closure or impact), requiring cabinet replacement
- Your dryer is under warranty — tampering may void coverage, especially on LG or Samsung models with integrated control boards
- You’ve replaced the latch and switch, but the door still won’t engage — points to deeper control board or harness issues
"Over 68% of 'door won’t close' service calls we handle involve either misaligned strikes or accumulated lint in the latch channel — not broken parts." — Appliance Repair Technicians Association Field Survey, 2022
Prevention Tips
Maintain smooth operation year-round with these habits:
- Wipe the door seal and latch area monthly with a damp microfiber cloth — never use abrasive cleaners or bleach
- Avoid slamming the door; always guide it home gently to prevent hinge pin wear
- Check hinge screws every 6 months — vibration loosens them faster than most realize
- Replace the door gasket every 5–7 years if it feels stiff or no longer seals tightly (dryer gasket replacement steps)
Why does my dryer door pop open mid-cycle?
This usually means the latch isn’t holding — either the spring inside the latch assembly has fatigued (common after 4+ years), or the strike plate has shifted downward over time. Re-tightening the strike screws and testing latch tension with a finger press often resolves it. If the latch feels spongy or doesn’t snap firmly, replace it.
Can I bypass the dryer door switch to test if it’s bad?
No — bypassing the door switch creates a serious safety hazard. Dryers rely on this switch to cut power to the drum and heating element. Jumping terminals risks fire, electric shock, or motor burnout. Always test with a multimeter or replace the switch outright.
Is it safe to use WD-40 on the dryer door hinge?
Avoid WD-40 — it attracts dust and dries out rubber components. Instead, use white lithium grease sparingly on hinge pins only. Apply with a cotton swab, wipe excess, and cycle the door 10 times before running a load.
How do I find the right replacement latch for my dryer?
Locate your model number on the interior door rim or rear panel. Enter it into the manufacturer’s parts site (e.g., Sears PartsDirect) or use an OEM lookup tool like AppliancePartsPros.com. Match the part number exactly — latch geometry varies significantly between brands and even within model lines.
My dryer door closes but the light stays on — what’s wrong?
The door switch isn’t fully engaging. This often stems from a bent strike plate or a latch that’s lost spring tension. Try pressing the switch manually with a toothpick while watching the light — if it turns off, the issue is mechanical alignment. If not, the switch needs replacement.
Will a warped door gasket cause the door not to close?
Yes — especially if it’s swollen from repeated exposure to high heat or liquid fabric softener. A compromised gasket pushes the door outward, preventing the latch from seating. Inspect for cracks, flattening, or uneven compression. Replace it if it no longer springs back when pressed.
A sticking dryer door is rarely a sign of impending doom — it’s usually a tiny part doing a tiny job poorly. Most fixes take less time than folding a load of towels. Keep your lint trap clean, your hinges snug, and your strike plate straight, and you’ll avoid 90% of these headaches before they start.