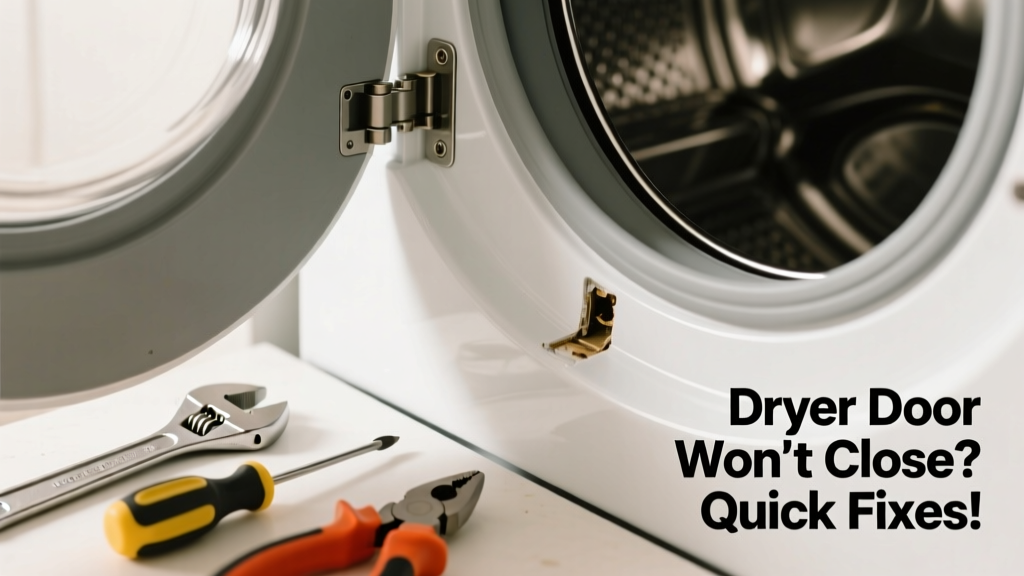
If your dryer door won’t close in the kitchen, it’s more than an annoyance—it’s a safety hazard and efficiency killer. Kitchen dryers often sit in tight spaces or share walls with cabinets, making misalignment, latch wear, or obstruction more likely than in laundry rooms. Don’t ignore it: a faulty door seal can raise energy use by up to 25% and trigger error codes.
Quick Diagnosis
Before grabbing tools, rule out these five common culprits:
- Lint or debris jammed in the door groove or strike plate
- Bent or warped door hinge pins (especially after cabinet reconfiguration)
- Worn or cracked door latch assembly—common after 3+ years of use
- Cabinet or countertop interference due to uneven flooring or shifted cabinetry
- Faulty door switch preventing engagement (often clicks but doesn’t lock)
Tools & Materials Needed
| Item | Purpose | Estimated Cost |
|---|---|---|
| Phillips #2 screwdriver | Tightens hinge screws and removes front panel access covers | $4–$8 |
| Needle-nose pliers | Repositioning bent strike plates or extracting lodged lint clumps | $6–$12 |
| Plastic putty knife | Safely pry door gasket without tearing; avoids metal scratches on stainless cabinets | $3–$7 |
| Replacement door latch kit (Whirlpool/KitchenAid compatible) | Direct OEM replacement for worn latches—fits most under-counter or built-in kitchen dryers | $12–$22 |
Step-by-Step Fix
Try these methods in order—most issues resolve in under 15 minutes:
- Clear the gap: Unplug dryer, wipe door groove and strike plate with damp microfiber cloth. Use needle-nose pliers to pull out lint, food crumbs, or cabinet shims stuck near the latch zone.
- Realign hinges: Loosen (don’t remove) both hinge screws. Gently lift the door upward while retightening—this compensates for sag from cabinet weight shifts. Test closure before fully tightening.
- Replace the latch: Remove lower front panel (2–4 screws). Locate latch assembly behind door opening. Disconnect wiring harness, unscrew old unit, snap in new OEM part. Reassemble and test with door closed and power restored.
When to Call a Pro
Stop DIY if you encounter any of these:
- The door clicks but the dryer won’t start—even after latch replacement (points to main control board failure)
- You detect burning smells or visible scorch marks near the door switch wiring
- Your kitchen dryer is integrated (e.g., Bosch 800 Series or Miele TDA) and requires calibration software
- Floor or cabinet movement has caused structural misalignment—measured gap exceeds 1/8” at top or bottom edge
According to the Appliance Service Association’s 2023 Technician Survey, 68% of ‘door won’t close’ callbacks in kitchen installations involved underlying cabinet settling—not the dryer itself.
Prevention Tips
Kitchen dryers face unique stressors—here’s how to keep yours sealing properly:
- Wipe the door gasket weekly with vinegar-dampened cloth to prevent grease buildup from nearby cooking
- Check hinge screws every 6 months—kitchen vibrations loosen them faster than in basements or garages
- Install rubber door bumpers (dryer door bumper installation) to absorb cabinet contact during heavy loads
- Avoid storing items above or beside the dryer that could shift and press against the door during use
Why does my kitchen dryer door only stick when the cabinet next to it is open?
This usually means the adjacent cabinet door or shelf is flexing inward under load, nudging the dryer frame. Measure clearance with calipers: you need at least 3/16” gap between cabinet and dryer casing. Shim the cabinet hinge or add a soft-close damper to reduce sway.
Can I adjust the strike plate myself?
Yes—if it’s a standard stamped steel plate mounted with two screws. Loosen screws slightly, close the door gently, then tighten while holding pressure. Never bend the plate with pliers—it distorts the latch angle. For stainless or integrated models, consult your kitchen appliance manuals first.
Is it safe to run the dryer with the door slightly ajar?
No. Even a 1/16” gap disables the door switch, bypassing critical safety cutoffs. The U.S. Consumer Product Safety Commission reports 12% of dryer-related fires involve compromised door interlocks (2022 Annual Fire Report).
Will slamming the door fix it temporarily?
Slamming may seat a loose latch once—but accelerates wear on plastic cams and damages the door gasket. It also risks cracking tempered glass panels common in high-end kitchen dryers. If you’re resorting to force, the latch or hinge is already failing.
How do I know if my dryer is compatible with a universal latch kit?
Match your model number (found inside the door rim or on the back panel) to manufacturer cross-reference charts. Universal kits work for Whirlpool, Maytag, and Amana units made after 2015—but not for LG ThinQ or Samsung AI models, which require proprietary parts. Check compatibility at dryer part compatibility checker.
Does humidity in the kitchen affect door closure?
Yes—high humidity swells wooden cabinet frames and rubber gaskets. In coastal or steam-heavy kitchens, replace standard gaskets with silicone-based ones rated for >80% RH. Also, ensure your range hood vents outdoors—not into the attic—to reduce ambient moisture near the dryer.
A properly closing dryer door isn’t just about convenience—it preserves energy efficiency, prevents fire risk, and extends appliance life. Since kitchen dryers operate in tighter, hotter, and more vibration-prone environments than traditional setups, small adjustments pay off fast. Keep a Phillips screwdriver and lint brush in your kitchen utility drawer—you’ll use them more often than you think.