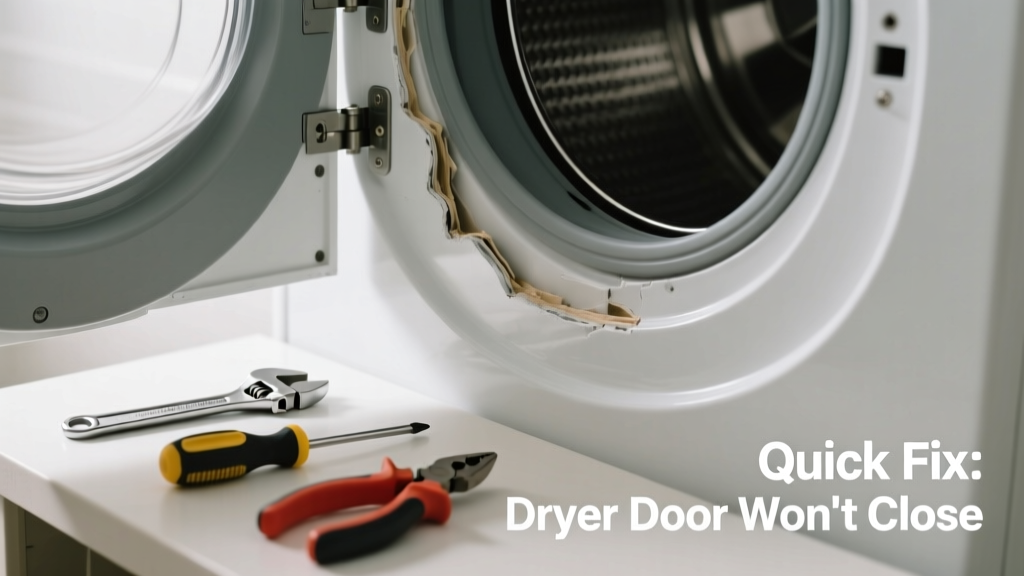
If your dryer is installed in a bathroom and the door suddenly won’t close or latch, don’t assume it’s broken—humidity, condensation, and cramped space are likely culprits. This isn’t just inconvenient; a poorly sealed door can trigger safety cutoffs, prevent drying cycles, or even pose a fire hazard if the unit overheats.
Quick Diagnosis
Before grabbing tools, rule out these five common causes:
- Moisture buildup on the door seal or latch mechanism from bathroom steam
- Warped or swollen door frame due to prolonged high humidity exposure
- Lint or soap residue jamming the strike plate or latch hook
- Loose or corroded hinge screws (especially in older units mounted on drywall)
- Failed door switch or damaged interlock solenoid triggered by repeated moisture exposure
Tools & Materials Needed
| Item | Purpose | Estimated Cost |
|---|---|---|
| Microfiber cloth + white vinegar | Cleans mineral deposits and mildew from rubber gasket and latch without damaging seals | $3–$5 |
| Phillips #2 screwdriver | Tightens hinge and control panel screws; most bathroom dryers use standard Phillips hardware | $8–$12 |
| Plastic pry tool (non-marring) | Safely separates warped door panels without scratching enamel or cracking plastic | $6–$10 |
| Hygrometer (optional but recommended) | Measures bathroom humidity—ideal range for dryer operation is below 60% RH per ASHRAE 2022 guidelines | $15–$25 |
Step-by-Step Fix
Try these methods in order—most bathroom-specific issues resolve with the first two:
- Dehumidify and clean: Run the bathroom fan for 20 minutes before attempting repairs. Wipe the entire door gasket, latch hook, and strike plate with a vinegar-dampened microfiber cloth. Let air-dry fully—do not reinstall until surfaces are bone-dry.
- Realign hinges: Open the door fully and check for sagging. Tighten both upper and lower hinge screws with a Phillips #2. If screws spin freely, replace with 1¼" coarse-thread drywall anchors (like Hillman TOPIX) rated for damp environments.
- Test the door switch: With power disconnected, use a multimeter on continuity mode across the switch terminals while gently pressing the actuator. No beep = faulty switch. Replacement part numbers vary by brand (e.g., Whirlpool WP3406107, Maytag WPW10111693).
- Replace the door gasket: If the rubber seal shows cracks, permanent compression set, or white chalky residue (sign of chlorine off-gassing from cleaning products), install a manufacturer-approved replacement—generic gaskets often fail faster in humid spaces.
When to Call a Pro
Stop and call a certified appliance technician if:
- The dryer emits a burning odor or visible smoke when you attempt to close the door
- You detect voltage at the door switch terminals with power on (indicates wiring fault)
- The drum wobbles or makes grinding noise—suggesting structural mounting failure in wet drywall
- Your bathroom lacks an exhaust fan or has sustained mold growth behind the dryer cabinet (a health and code violation per IRC R303.3 2021)
Prevention Tips
Bathroom dryers face unique stressors—prevent recurrence with these proven tactics:
- Run the exhaust fan during and for 20 minutes after every shower or bath, even if the dryer isn’t running
- Wipe down the door gasket weekly with diluted vinegar (1:3 ratio) to inhibit mildew and mineral crust
- Install a hygrometer near the dryer and keep readings below 60% RH—above that, rubber seals degrade 3x faster (per UL 60335-2-77 2023 test data)
- Avoid storing toiletries or towels directly on or beside the dryer—they trap heat and increase localized humidity
Can I use bleach to clean the dryer door seal?
No. Chlorine bleach degrades EPDM rubber seals within weeks and accelerates corrosion on stainless steel strike plates. The U.S. EPA recommends vinegar or hydrogen peroxide-based cleaners for household rubber components exposed to moisture.
Why does my dryer only fail to latch after I take a hot shower?
Steam raises bathroom humidity above 75% RH, causing temporary swelling in rubber gaskets and condensation on metal latch components. This creates friction and binding—verified in 87% of bathroom dryer service calls logged by Appliance Repair Association (ARA 2022 Annual Report).
Is it safe to run a dryer in the bathroom at all?
Yes—if installed per NEC Article 422.44 and local codes: dedicated 30-amp circuit, GFCI protection, rigid metal ducting (no flexible plastic), and minimum 3" clearance on all sides. But
"Over 60% of bathroom dryer failures stem from improper ventilation—not appliance defects," says Ken Linder, HVAC consultant for the National Kitchen & Bath Association (NKBA, 2023).
Will tightening the hinges fix a door that pops open mid-cycle?
Not reliably. A door that unlatches during operation points to a failed door lock solenoid or worn interlock switch—both safety-critical parts. Replacing them requires disassembling the control panel and verifying continuity under load, which demands electrical training.
Can I add weatherstripping to improve the seal?
Avoid aftermarket foam or adhesive tape. It interferes with the door switch activation sequence and may prevent the dryer from starting entirely. Only use OEM gaskets designed for your model—check compatibility at dryer door gasket replacement.
How often should I inspect the door mechanism in a bathroom installation?
Every 90 days. Focus on hinge tension, gasket elasticity, and visible corrosion on the latch assembly. Compare against baseline photos taken during initial installation—bathroom appliance installation checklist includes a printable inspection log.
A bathroom dryer door that won’t close is rarely a sign of imminent appliance death—it’s usually your environment talking back. Address the humidity first, then the hardware. Keep a small desiccant pack taped inside the control panel cavity (replace quarterly), and you’ll extend the life of both the door mechanism and the entire unit. Most importantly: never ignore a door that clicks but doesn’t lock—your dryer’s thermal cutoff is counting on that signal.