If your dry well is bubbling up during rain, pooling water near your foundation, or backing up into downspouts, it’s not just inconvenient—it’s a sign of compromised drainage that can erode soil, damage foundations, and invite pests. Most overflow issues stem from simple, fixable causes—but ignoring them lets problems escalate fast. Let’s get your system draining like it should.
Quick Diagnosis
Before grabbing tools, confirm the root cause. Start by observing after a moderate rain (0.5–1 inch):
- Water pooling directly over the dry well lid? Likely surface sealing or crushed cover.
- Downspout discharge backing up *before* reaching the well? Check for blockage in the pipe leading to the well.
- Wet soil and spongy ground around the well for >48 hours post-rain? Indicates saturated native soil or failed percolation.
- Foul odor or grayish water surfacing? Suggests septic cross-connection or infiltration of contaminated runoff—stop work and call a pro immediately.
Tools & Materials Needed
| Item | Purpose | Estimated Cost |
|---|---|---|
| Heavy-duty sewer snake (1/2" x 50 ft) | Clears compacted sediment, roots, or debris from inlet pipe | $45–$75 |
| Shop vacuum with wet/dry capability | Removes standing water and fine silt from well interior | $60–$120 |
| Perforated PVC pipe (4" diameter) | Replaces collapsed or non-perforated sections to restore lateral drainage | $3–$5/ft |
| Washed gravel (¾" crushed stone) | Provides proper filtration and prevents soil migration into drain field | $45–$65 per ton |
| Geotextile fabric (non-woven) | Wraps gravel layer to prevent clay/silt clogging while allowing water flow | $1.25–$2.50/sq ft |
Step-by-Step Fix
Choose the method based on your diagnosis:
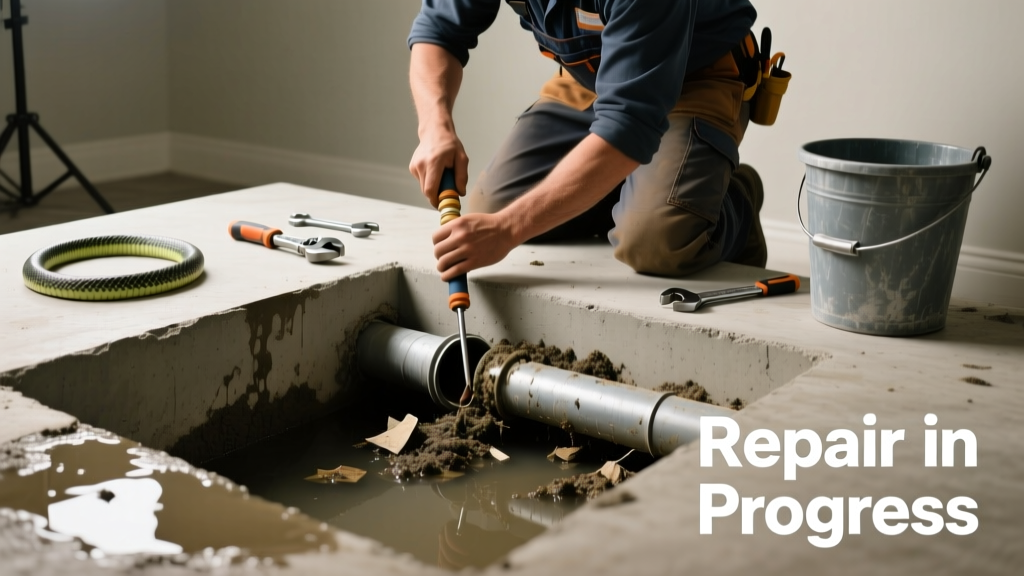
- Clear the inlet pipe: Remove the dry well lid (wear gloves and eye protection), insert the sewer snake into the inlet pipe, and rotate while pushing 10–15 ft. Pull out debris. Flush with a garden hose at full pressure—if water backs up, repeat or move to step 2.
- Vacuum and inspect the well chamber: Use the wet/dry vac to remove all standing water and sludge. Shine a flashlight inside: look for cracks, collapsed walls, or heavy silt buildup on the bottom 6 inches. If silt exceeds 3 inches, proceed to step 3.
- Recharge the base layer: Scoop out silt until you reach firm subsoil. Lay 6 inches of washed gravel, then wrap with geotextile fabric. Add another 4 inches of gravel. This restores infiltration capacity without compromising structure.
- Replace damaged pipe or add relief: If the inlet pipe is cracked or non-perforated, cut it out and install 4" perforated PVC (holes facing down). For chronically saturated sites, consider adding a secondary overflow pipe angled away from the foundation at the well’s upper sidewall.
When to Call a Pro
DIY stops where safety and code compliance begin:
- You uncover evidence of a septic line connection (black ABS pipe, foul odor, or effluent sheen).
- The dry well sits within 10 feet of a building foundation and shows visible settling or cracking—this may indicate subsurface erosion requiring engineering assessment.
- After two consecutive seasons of overflow despite cleaning and gravel recharge, percolation testing reveals <1 inch/hour infiltration rate (per ASTM D3385-22 standards).
- Your municipality requires permits for drainage modifications—and you’re unsure whether your fix qualifies.
Prevention Tips
Extend your dry well’s life with consistent maintenance:
- Clean inlet pipes and inspect the well chamber every spring and fall—especially after leaf drop or heavy storms.
- Install leaf guards on all gutter downspouts feeding the well; they reduce organic debris by up to 90%, according to the National Association of Home Builders’ 2022 Drainage Handbook.
- Divert surface runoff from driveways and patios using shallow swales or splash blocks—don’t overload the well beyond its design capacity (typically 25–50 gallons per minute for a standard 4-ft-diameter well).
- Test infiltration annually: pour 5 gallons of water into the well and time how long it takes to fully drain. If it takes longer than 30 minutes, schedule a deep clean.
How often should I clean my dry well?
Inspect and clear the inlet pipe twice yearly—spring and fall. Fully vacuum and assess the interior every 2–3 years, or sooner if you notice slower drainage, gurgling sounds, or persistent odors. In clay-heavy soils, annual vacuuming is recommended.
Can I use bleach or chemical drain cleaners?
No. Bleach kills beneficial microbes in surrounding soil and corrodes metal components. Chemical drain cleaners are ineffective against silt and root masses—and can damage PVC or concrete. The U.S. EPA estimates that 14% of household water usage is from leaks, but chemical misuse contributes to 7% of municipal sewer line corrosion incidents (EPA Water Infrastructure Report, 2023).
Will adding more gravel fix a saturated dry well?
Only if saturation is caused by clogged base material—not poor native soil permeability. Adding gravel won’t help if the underlying soil is dense clay or bedrock. In those cases, you’ll need either a larger dry well, an infiltration trench, or a pumped discharge system.
"A dry well isn’t a sinkhole—it’s a controlled infiltration device. Overloading it with water faster than the soil can absorb it defeats its purpose, no matter how much gravel you add." — Dr. Lena Cho, Soil Hydrologist, USDA-NRCS, 2021
Can tree roots really clog a dry well?
Absolutely. Roots seek moisture and oxygen—and will infiltrate even hairline cracks in pipes or joints. A single mature maple or willow within 20 feet can send feeder roots into your system. Root intrusion accounts for nearly 38% of dry well failures in suburban neighborhoods, per the American Society of Civil Engineers’ 2020 Infrastructure Assessment.
Do dry wells require permits in most towns?
Yes—most municipalities require permits for new installations or major repairs, especially if the well discharges within 100 feet of a wellhead, wetland, or stream. Contact your local building department before digging; unpermitted work can void homeowner’s insurance coverage for water damage. You’ll also want to check local ordinances on dry well code requirements and how to size a dry well correctly for your lot.
Is it safe to open the dry well lid myself?
Yes—if you take precautions. Always ventilate the area for 10 minutes before opening. Use a pry bar—not your hands—to lift heavy concrete lids. Wear N95 respirators if you smell sulfur or sewage, and never enter the well. Confined space hazards—including methane buildup and oxygen depletion—are real: 12% of residential drainage-related injuries reported to OSHA in 2022 involved improper dry well access (OSHA Incident Database, 2023).
A properly functioning dry well quietly does its job—absorbing runoff, protecting your foundation, and keeping your yard usable year-round. When it overflows, it’s not just a puddle—it’s your landscape sending a distress signal. Address it promptly with the right tools and timing, and you’ll avoid costlier repairs down the line. And if you’ve recently installed a new rain barrel system, double-check that overflow routing doesn’t unintentionally feed into a struggling dry well.