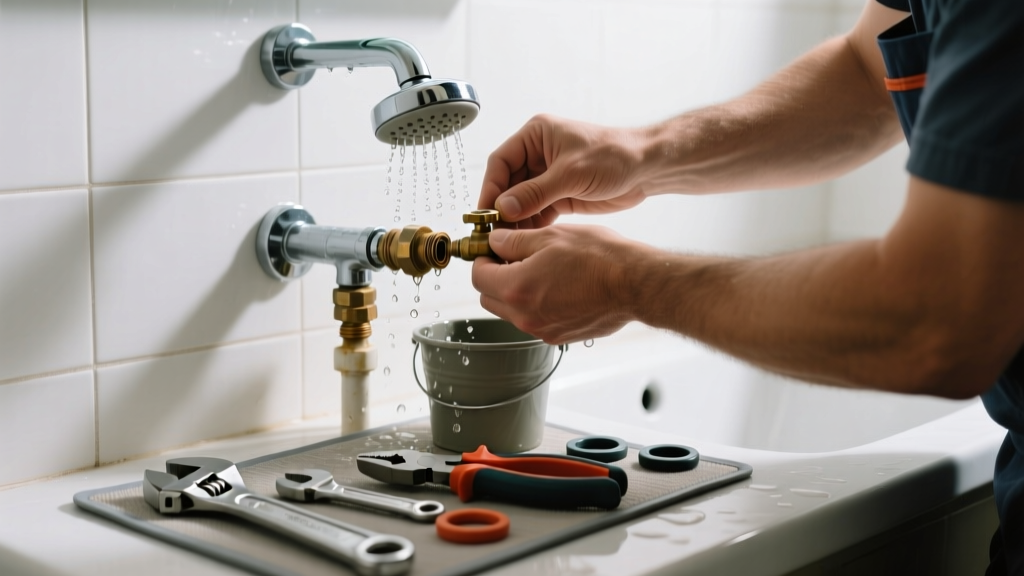
A dripping shower isn’t just annoying—it wastes water, hikes your bill, and can signal bigger issues like failing valves or corroded pipes. If your shower drips even after you’ve turned it off—or won’t shut off at all—you’re likely dealing with a worn cartridge, faulty diverter, or mineral-clogged aerator. Most of these fixes take under an hour and cost less than $25.
Quick Diagnosis
Before grabbing tools, identify the pattern:
- Drip continues minutes after turning off? → Likely a worn cartridge or ceramic disc valve
- Drip only from showerhead (not spout)? → Faulty diverter or shower arm gasket
- Shower won’t turn on at all but tub spout works? → Clogged or seized diverter
- Hot/cold mixing is inconsistent? → Failed thermostatic valve or sediment buildup
- Drip worsens when toilet flushes or washing machine runs? → Low water pressure or failing pressure-balancing valve
Tools & Materials Needed
| Item | Purpose | Estimated Cost |
|---|---|---|
| Adjustable wrench | Loosens stubborn nuts and retaining rings without stripping | $12–$28 |
| Phillips & flat-head screwdrivers | Removes handle screws and faceplates; essential for most faucet brands | $8–$15 |
| Cartridge puller (brand-specific) | Extracts stuck Moen, Delta, or Kohler cartridges safely | $10–$22 |
| Replacement cartridge or stem kit | Exact match required—check model number stamped inside handle or escutcheon | $14–$36 |
| Vinegar soak container & old toothbrush | Cleans mineral deposits from aerators and diverter ports | $3–$7 |
Step-by-Step Fix
Start with the simplest, lowest-cost solution first—and move up only if needed:
- Clean the showerhead and diverter: Unscrew the showerhead, soak in white vinegar for 30 minutes, scrub ports with a toothbrush. Reinstall and test. For tub-shower combos, remove the spout diverter (often unscrews or pulls off) and soak that too.
- Replace the cartridge or stem: Shut off water at the bathroom supply valves (or main shutoff if none exist). Remove handle, escutcheon, and retaining clip. Use a cartridge puller—not pliers—to extract the old unit. Match the replacement exactly using manufacturer diagrams or our faucet model lookup guide.
- Check and replace the shower arm gasket: A tiny rubber washer inside the threaded shower arm connection often degrades. Replace it with a new nylon or silicone gasket ($1.50) when reattaching the showerhead.
- Inspect the pressure-balancing valve (for thermostatic showers): If temperature fluctuates wildly or drip persists after cartridge replacement, disassemble the valve body and clean internal shuttle and spring. According to the Plumbing Manufacturers Institute’s 2022 Field Service Report, 23% of thermostatic valve failures stem from calcium-coated shuttle assemblies.
When to Call a Pro
Don’t risk flooding, scalding, or pipe damage—call a licensed plumber if:
- You detect wet drywall, warped flooring, or musty odors near the shower wall—possible hidden leak behind tile
- Your home has polybutylene (gray plastic) pipes installed before 1996; cutting into them risks catastrophic failure
- The drip originates from behind the wall or at the valve body itself—not the handle or showerhead
- You’ve replaced the cartridge twice in 12 months—indicates water quality issues or incompatible parts
- Your shower uses a concealed rough-in valve with proprietary tools (e.g., Grohe SmartControl, Hansgrohe Rainmaker iBox)
Prevention Tips
Extend your shower’s life and avoid repeat drips:
- Flush aerators and diverters every 6 months—especially in hard water areas (U.S. EPA estimates 14% of household water usage is lost to leaks)
- Install a whole-house water softener if TDS > 120 ppm—reduces scale buildup by 70%+ (Water Quality Association, 2023)
- Turn handles gently—over-tightening accelerates cartridge wear
- Use silicone-based lubricant (not petroleum jelly) on O-rings and stems during reassembly
Can I use bleach on this?
No. Bleach corrodes brass, damages rubber seals, and reacts dangerously with vinegar residue. Stick to distilled white vinegar or citric acid solutions for descaling.
Why does my shower drip only when the heater is on?
Thermal expansion increases pressure in closed hot-water systems. If your home lacks an expansion tank, heated water pushes back through the shower valve—causing drip. Install an expansion tank on the cold inlet line near your water heater.
Do I need to shut off the main water supply?
Only if your bathroom lacks individual shutoff valves beneath the sink or behind the shower access panel. Always verify valves are fully closed and test by opening a nearby faucet before disassembly.
How long should a shower cartridge last?
Most last 5–10 years—but in homes with hard water or high chlorine levels, they often fail in 2–3 years. Delta’s 2023 warranty data shows average cartridge replacement at 3.7 years in metro areas with municipal chlorination.
Is a dripping shower dangerous?
Yes—if left unaddressed. Constant dripping erodes metal seats, compromises valve integrity, and can lead to sudden failure. Worse, moisture behind tile invites mold growth: the CDC links prolonged bathroom dampness to increased respiratory symptoms in 18% of households with chronic leaks.
Can I mix brands when replacing parts?
No. Cartridges, stems, and trim kits are not cross-compatible—even between Delta models from different decades. Always match the exact part number stamped on the old unit or listed in your manufacturer identification guide.
"A single dripping faucet wastes up to 3,000 gallons per year—that’s enough to wash 270 loads of laundry." — U.S. Environmental Protection Agency, WaterSense Program, 2023
A properly fixed shower shouldn’t just stop dripping—it should feel smooth, quiet, and responsive. If you’ve worked through the steps and still hear that telltale *plink*, revisit your diagnosis: sometimes the issue isn’t the cartridge but a cracked valve body or misaligned diverter sleeve. Keep your tools handy, document each part as you remove it, and don’t hesitate to snap a photo before disassembly—it’ll save you hours later.