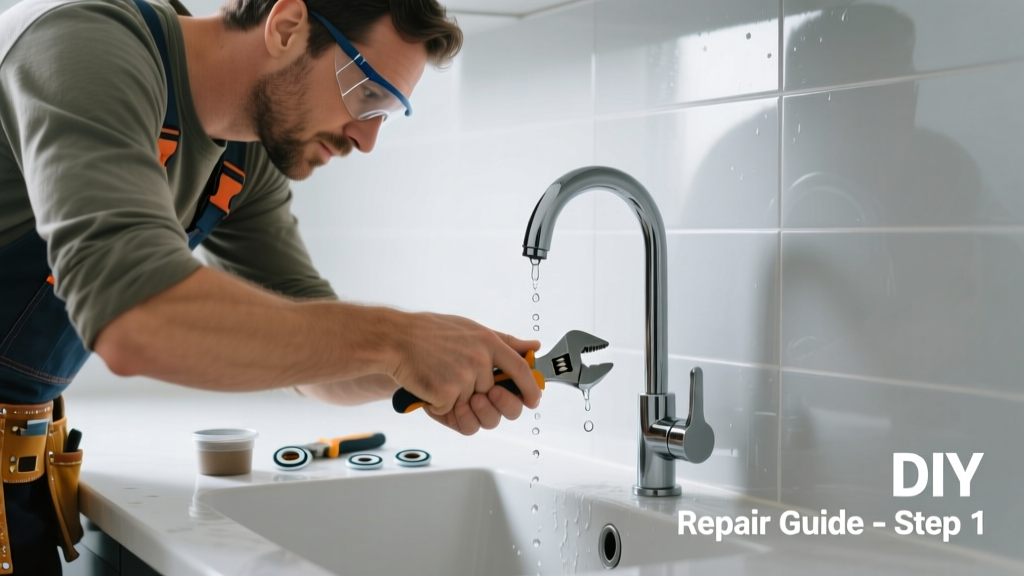
If you've spotted water dripping from a shower head mounted over your kitchen sink—or worse, puddling on the counter—you're not dealing with a bathroom issue. This is a real but often overlooked plumbing quirk: kitchen shower heads (common in prep sinks, commercial-style setups, or RVs) fail just like bathroom ones, but with higher risk of water damage to cabinetry and countertops.
Quick Diagnosis
Before grabbing tools, identify the source. A dripping kitchen shower head rarely means a broken pipe—it’s almost always one of these:
- Worn-out rubber washer or O-ring inside the handle or spout
- Mineral buildup clogging the flow diverter or internal cartridge
- Loose or corroded connection at the supply line or wall elbow
- Faulty or outdated single-lever mixing valve (especially in older farmhouse or utility sinks)
- Failed ceramic disc cartridge—common in Moen or Delta-branded kitchen fixtures
Tools & Materials Needed
| Item | Purpose | Estimated Cost |
|---|---|---|
| Adjustable wrench | Tightens or loosens brass fittings without marring surfaces | $12–$25 |
| Needle-nose pliers | Retrieves small washers or O-rings from tight valve bodies | $8–$15 |
| Vinegar soak container | Holds shower head for descaling; use a small mason jar or plastic cup | $0 (repurpose) |
| Replacement O-rings (size #10 & #12) | Standard sizes fit most kitchen shower head stems and handles | $2–$4 |
| Cartridge puller (if needed) | Removes stubborn ceramic discs without damaging valve body | $10–$18 |
Step-by-Step Fix
Most kitchen shower drips stem from either sealing failure or flow control issues. Try these methods in order—start simple, escalate only if needed:
- Shut off the water: Locate the dedicated shutoff valves under the sink (not the main house valve). Turn both hot and cold handles clockwise until snug.
- Remove and soak the shower head: Unscrew it by hand or with pliers (wrap jaws in cloth to avoid scratches). Soak in white vinegar for 30 minutes, then scrub ports with an old toothbrush.
- Replace the O-ring and washer: Disassemble the handle or diverter knob. Replace the flat rubber washer (under the handle screw) and the round O-ring (around the stem shaft). Use plumber’s grease on new O-rings before reassembly.
- Swap the cartridge (if dripping continues): Match your brand and model number (often stamped on the handle or valve body). Install the new cartridge following manufacturer diagrams—don’t force it.
- Reassemble and test: Hand-tighten all parts first, then give a quarter-turn with the wrench. Turn water back on slowly and check for leaks at every joint.
When to Call a Pro
Some situations demand licensed help—not because they’re hard, but because they risk bigger failures:
- Water continues leaking after replacing both O-rings and the cartridge
- You see green corrosion or pinhole leaks on copper supply lines behind the wall
- The drip originates from behind the wall or under the sink cabinet—not the shower head itself
- Your kitchen uses PEX-aluminum composite tubing and the fitting won’t seal after two attempts
- You’re renting and your lease prohibits altering plumbing fixtures
According to the Insurance Institute for Business & Home Safety's 2023 report, 68% of water damage claims involving kitchen fixtures stem from delayed response to slow leaks—many of which started as simple drips ignored for over a week.
Prevention Tips
Unlike bathroom showers, kitchen units get frequent on/off cycles and exposure to food particles, grease, and hard water minerals. Keep yours drip-free longer with these habits:
- Wipe down the shower head and handle after each use to prevent mineral film buildup
- Flush the system monthly: run hot water for 90 seconds, then cold for 90 seconds to clear sediment
- Install a point-of-use water softener if your home’s hardness exceeds 7 gpg (grains per gallon)
- Replace O-rings every 18 months—even if no drip is visible—to preempt seal fatigue
Can I use bleach to clean the shower head?
No. Bleach corrodes brass and damages rubber seals faster than vinegar or citric acid. It also reacts dangerously with residual mineral deposits, releasing chlorine gas. Stick to white vinegar or a 50/50 mix of water and food-grade citric acid.
Why does my kitchen shower drip only when the faucet is on?
This points to pressure imbalance—usually caused by a failing diverter valve that can’t fully redirect flow to the shower head. The valve may be cracked, warped, or gummed up with calcium. Replacing the diverter assembly (often part of the handle kit) usually resolves it.
Is it normal for a kitchen shower head to drip for 30 seconds after turning off?
A brief post-shutoff drip (under 15 seconds) is typical due to residual water draining from the hose and head. Anything longer signals a worn seal or failing cartridge—and should be addressed within 48 hours to prevent cabinet warping.
Can I replace just the shower head without touching the valve?
Yes—if the drip is coming exclusively from the nozzle and not the handle base. But first confirm it’s not cross-threaded or overtightened. A new head with integrated anti-drip technology (like aerators with vacuum breakers) can buy time—but won’t fix internal valve wear.
What’s the average lifespan of a kitchen shower head cartridge?
Most ceramic disc cartridges last 5–7 years with moderate use. However, the U.S. EPA estimates that 14% of household water usage is from leaks—including those from aging cartridges—so tracking replacement dates matters. Check your model’s spec sheet: Delta RP46463 lasts ~6 years; Moen 1225 lasts ~5.5 years.
Do I need Teflon tape on the shower head threads?
Yes—but sparingly. Wrap clockwise 2–3 times only on the male threads where the shower head screws onto the hose or wall arm. Over-wrapping causes cross-threading or cracked fittings. For stainless steel or brass-on-brass connections, use pipe dope instead of tape for better long-term seal integrity.
Fixing a dripping kitchen shower head isn’t about fancy tools—it’s about recognizing that this fixture lives in a high-stress zone where grease, heat, and rapid temperature swings accelerate wear. A 20-minute repair now saves you from replacing water-damaged plywood subcounter or mold remediation later. If you’ve tackled the O-ring swap and still hear that telltale *plink*, revisit the diverter alignment or consider upgrading to a modern sprayer with built-in shut-off—it’s more reliable and easier to maintain than legacy shower head setups.