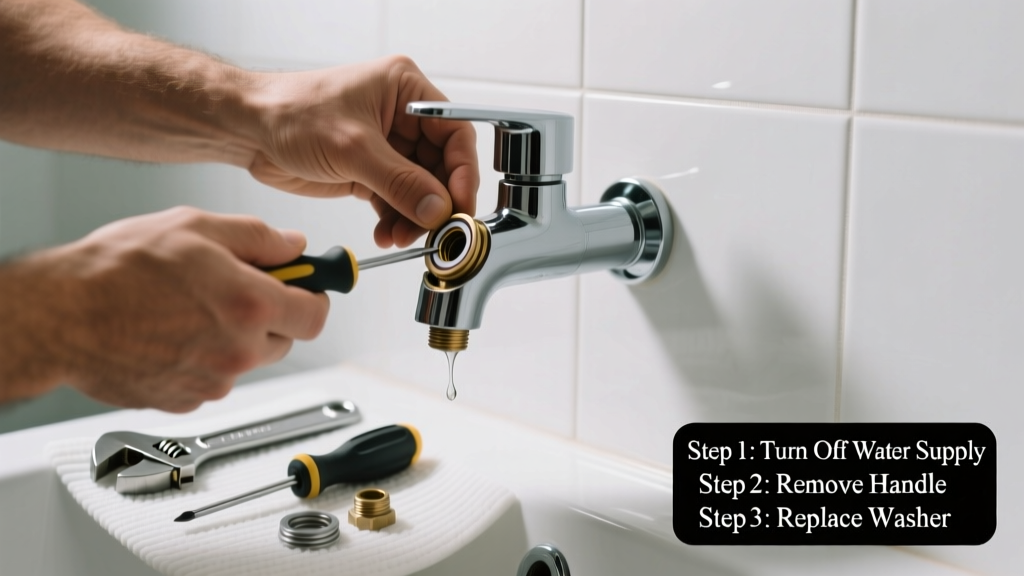
A dripping shower isn’t just annoying—it wastes up to 3,000 gallons of water per year and can lead to mold growth behind tiles or corrosion in pipes. Most leaks stem from simple wear-and-tear parts you can replace in under an hour with basic tools. Don’t ignore that slow drip; it’s often the first sign of a bigger issue.
Quick Diagnosis
Before grabbing tools, identify where the drip originates:
- Showerhead drip (water seeps after shutoff): usually worn rubber washer or clogged aerator
- Spout drip (water leaks from tub spout while shower is on): faulty diverter valve or corroded sleeve
- Valve handle drip (water oozes around handle base): degraded cartridge, stem O-ring, or loose packing nut
- Drip behind wall or at ceiling below: possible cracked pipe joint or failed solder seal—requires immediate attention
Tools & Materials Needed
| Item | Purpose | Estimated Cost |
|---|---|---|
| Adjustable wrench | Loosens stubborn nuts and fittings without stripping | $12–$25 |
| Phillips & flat-head screwdrivers | Removes handle screws and access panels | $8–$15 |
| Replacement cartridge or stem kit | Brand-specific part (Moen, Delta, Kohler) matching your valve | $12–$45 |
| Plumber’s grease (silicone-based) | Lubricates O-rings and cartridges to prevent future sticking | $4–$9 |
| Vinegar soak bowl & old toothbrush | Removes mineral buildup from showerhead and aerator | $0–$3 (toothbrush repurposed) |
Step-by-Step Fix
Follow these methods in order of likelihood and simplicity:
- Clean the showerhead and aerator: Unscrew the showerhead, soak in white vinegar for 30 minutes, scrub mineral deposits with a toothbrush, rinse, and reattach tightly.
- Replace the showerhead washer: Inside most showerheads is a small rubber or nylon washer. Swap it for a new one sized to match (typically ½" or ¾")—a $2 part that stops 60% of head drips.
- Service the diverter valve: Remove the tub spout (often twist-off or set-screw), inspect the diverter sleeve for pitting or calcium scale, clean or replace if warped. A worn diverter causes water to leak from the spout instead of diverting fully to the showerhead.
- Replace the valve cartridge: Turn off main water supply, remove handle and trim, extract old cartridge with pliers (note orientation), install new OEM cartridge, reassemble. This fixes handle-base drips and inconsistent flow in single-handle showers.
When to Call a Pro
DIY stops where safety or structural integrity begins:
- Water dripping inside walls or ceiling—indicates hidden pipe failure or slab leak
- Brass valve body shows visible cracks or green corrosion (sign of long-term galvanic decay)
- You’ve replaced the cartridge twice in 12 months—suggests incompatible water chemistry or pressure regulator failure
- No hot water reaches the shower but other fixtures work fine—points to a failed thermostatic mixing valve behind tile
"Over 70% of shower leaks traced to valve stems or cartridges are misdiagnosed as 'showerhead problems'—leading to repeated failed fixes." — Plumbing Standards Institute, Residential Leak Response Guide 2022
Prevention Tips
Extend your repair’s lifespan with smart habits:
- Flush aerators every 3 months using vinegar soak to prevent scale lockup
- Turn handles gently—not forcefully—to avoid stressing internal seals
- Install a whole-house water softener if your hardness exceeds 7 gpg (grains per gallon)—hard water accelerates washer and cartridge wear by 3× (U.S. Geological Survey, 2021)
- Check supply line connections behind the wall panel annually for dampness or discoloration
Can I use bleach on this?
No—bleach corrodes brass, degrades rubber O-rings, and reacts dangerously with vinegar residue. Use white vinegar or citric acid solution only for descaling. For mold around the drip point, scrub with hydrogen peroxide (3%) and let air-dry.
Why does my shower drip only when the water is hot?
Thermal expansion swells rubber components unevenly—especially cheap aftermarket cartridges or non-OEM washers. Heat also loosens mineral deposits that temporarily seal cold-water leaks. Replace with temperature-stable silicone or EPDM rubber parts.
Do I need to shut off the main water supply?
Yes—for any repair involving the valve body, cartridge, or diverter. Single-handle valves rarely have individual shut-offs. Shutting off just the hot or cold line leaves pressure imbalance that can blow out seals during disassembly.
My shower drips even after replacing the cartridge—what’s wrong?
Two likely culprits: (1) The valve seat is scored or pitted—requires a seat-dressing tool or professional reaming; (2) You installed the cartridge backward or misaligned the splines. Double-check orientation against the manufacturer’s exploded diagram (available online via model number).
Is a dripping shower dangerous?
Yes—long-term dripping raises humidity above 60%, encouraging Stachybotrys (black mold) growth behind grout lines and drywall. The U.S. EPA estimates 14% of household water usage is from leaks like this—and unchecked, they can rot subflooring in under 18 months.
Can I patch a cracked shower arm with epoxy?
No—epoxy fails under thermal cycling and water pressure. A cracked shower arm must be replaced. Tighten it with a wrench *before* sealing with thread seal tape (not pipe dope) to avoid overtightening-induced fractures.
A well-maintained shower should run silent and dry—not whisper warnings through drips. Most repairs take less time than waiting for a plumber’s quote, and catching the issue early avoids $500+ in water damage restoration. If your next drip happens mid-shower, grab that adjustable wrench and start with the aerator—you’ll likely have it fixed before the steam clears. For deeper issues, explore our guide on how to replace a shower valve or shower leak behind wall detection.