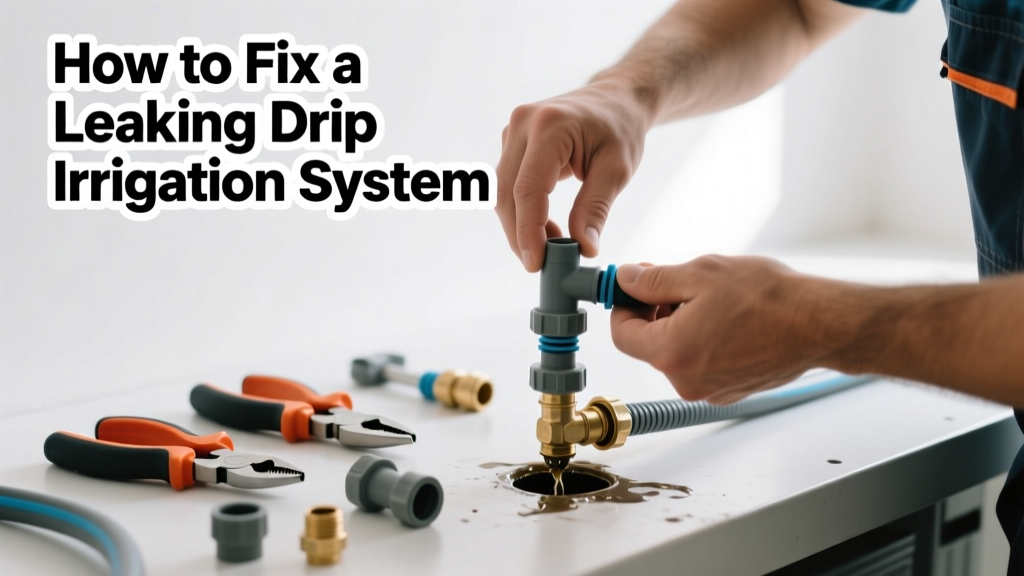
A steady drip from your irrigation line isn’t just annoying—it’s wasting gallons per day and starving nearby plants of consistent moisture. Most leaks are simple to patch in under an hour, but misdiagnosis leads to repeated failures and escalating damage. Start here before you replace the whole zone.
Quick Diagnosis
Before grabbing tools, walk the entire line during operation and note where water escapes. Common culprits include:
- Cracked or punctured polyethylene tubing (often from lawn mowers or rodent gnawing)
- Loose or cross-threaded barbed fittings at emitter or valve connections
- Worn-out or improperly seated compression couplers
- Emitters clogged and back-pressurized until they pop loose
- Frost damage in colder zones—look for bulging or milky-white tubing sections
Tools & Materials Needed
| Item | Purpose | Estimated Cost |
|---|---|---|
| Drip irrigation repair kit (with clamps, couplers, goof plugs) | Seals cracks, replaces damaged sections, and plugs unused ports | $8–$15 |
| Sharp utility knife or tubing cutter | Clean, square cuts prevent leaks at new connections | $3–$12 |
| Channel-lock pliers | Tightens barbed fittings without crushing soft tubing | $10–$22 |
| Food-grade silicone lubricant (e.g., Dow Corning 3179) | Helps barbs seat fully and reduces friction-induced micro-tears | $6–$10 |
| Pressure gauge (0–30 PSI range) | Confirms system pressure stays within 15–30 PSI—excess pressure causes repeat leaks | $14–$28 |
Step-by-Step Fix
Choose the method based on leak type and location:
- Small crack or pinhole: Dry the area thoroughly, apply a self-fusing silicone tape (like Rescue Tape) stretched tightly over the spot—wrap 2 inches beyond each side, overlapping 50%. It bonds to itself, not the tube, and lasts 2+ years outdoors.
- Split tubing or crushed section: Cut out the damaged 4–6 inch segment with a clean, perpendicular cut. Insert a straight coupler, lubricate both ends, and push firmly until tubing seats against the coupler’s center stop. Test with water before burying.
- Leaking emitter or dripper: Unscrew it, inspect the filter screen for grit (clean with a toothbrush and vinegar), then reinstall with food-grade silicone on the barb. If the body is cracked, replace it—emitters cost $0.12–$0.45 each.
- Loose manifold or valve connection: Shut off water, disconnect, wipe threads, apply Teflon tape clockwise on male threads (3 wraps), and tighten by hand plus ¼ turn with pliers—overtightening cracks plastic.
When to Call a Pro
DIY stops where safety or system integrity is at risk:
- You find multiple leaks across more than two zones—this often signals mainline pressure regulator failure or root intrusion into buried supply lines
- Leaks occur only after sunset or during high winds, suggesting intermittent air-lock or vacuum breaker issues that require flow analysis
- Your system uses polybutylene pipe (gray, stamped "PB"), which degrades internally and must be fully replaced—learn why here
- You measure >35 PSI at any emitter using your gauge—this exceeds drip system specs and points to failed pressure regulation upstream
"Over 62% of drip irrigation failures stem from improper pressure management—not faulty parts." — University of California Cooperative Extension, Irrigation Maintenance Handbook, 2022
Prevention Tips
Stop leaks before they start with these field-tested habits:
- Install a 25 PSI pressure regulator at the faucet—drip systems rarely need more, and excess pressure accelerates wear
- Bury tubing at least 4 inches deep in garden beds; use conduit or PVC sleeves where lawnmowers pass
- Flush all lines for 90 seconds every spring before first use to clear sediment buildup
- Replace all emitters and filters every 3 years—even if they seem fine—silica and iron deposits silently reduce flow and increase backpressure
- Use brass or stainless steel fittings near valves and timers; plastic fails faster under constant cycling
Can I use super glue to seal a drip line leak?
No—cyanoacrylate adhesives become brittle in UV light and fail within weeks outdoors. They also leach chemicals into water that may harm edible plants. Stick with silicone tape or proper couplers.
Why does my drip line leak only when the timer shuts off?
This is likely a 'water hammer' effect caused by rapid valve closure. Install a slow-closing solenoid valve or add a 1/2-gallon expansion tank on the main line—both absorb pressure spikes that stress joints.
Do I need to shut off the main water supply to fix a leak?
Yes—for anything beyond a tape wrap on low-pressure lateral lines. Even 25 PSI can spray water 6 feet and obscure your work area. Turn off the zone valve *and* the master shutoff, then open the lowest emitter to drain residual pressure.
Can tree roots cause drip line leaks?
Absolutely. Roots seek moisture and will penetrate thin-walled ½" poly tubing, especially near mature oaks or willows. Use root-barrier fabric when installing near trees—or switch to ¾" reinforced polyethylene rated for root resistance (e.g., Netafim Techline CV).
How do I know if my pressure regulator is failing?
Test with a gauge at three points: right after the regulator, mid-zone, and at the farthest emitter. A variance >5 PSI between readings means the regulator isn’t compensating for elevation or friction loss—and it’s time to replace it. Regulators last 5–7 years max.
Is it okay to mix different brands of drip emitters on one line?
Technically yes—but flow rates vary widely (0.2–2.0 GPH), causing uneven watering and hydraulic imbalance. Stick to one manufacturer’s full line, or use pressure-compensating emitters across the board to maintain consistency. See our emitter comparison chart.
Fixing a drip irrigation leak isn’t about perfection—it’s about restoring reliable delivery so your tomatoes get steady moisture and your water bill doesn’t creep up unnoticed. Most repairs pay for themselves in saved water within two growing seasons. Keep your repair kit in the garage, test pressure annually, and treat every leak as a clue—not just a nuisance.