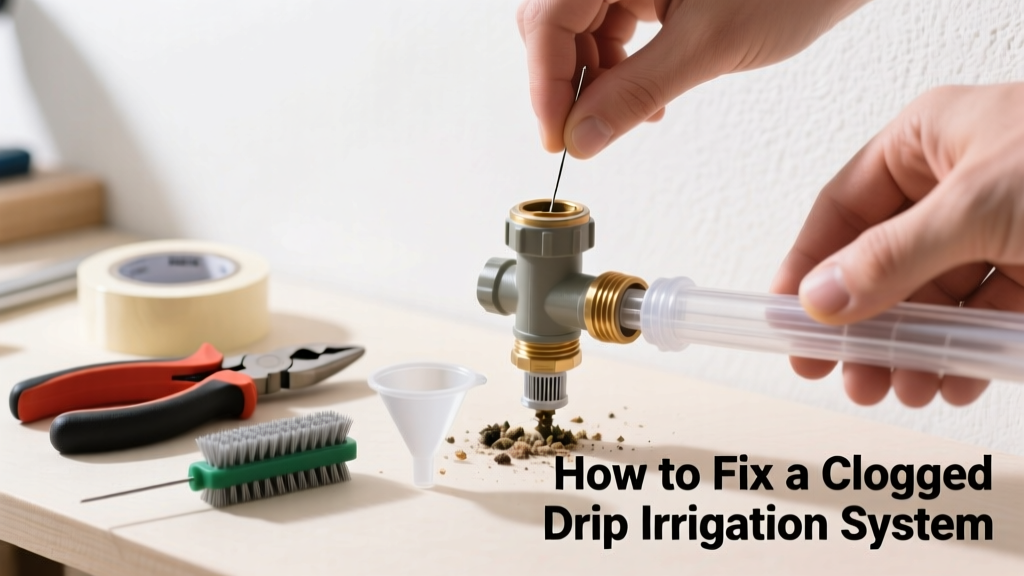
That trickle from your drip line slowing to a stop? You’re not alone — nearly 68% of residential drip systems develop clogs within the first two growing seasons, often due to sediment, algae, or mineral buildup (Irrigation Association, 2022). Left unaddressed, clogs starve roots, stress plants, and waste up to 30% of your irrigation water.
Quick Diagnosis
Before grabbing tools, confirm the issue isn’t misdiagnosed. Clogging rarely happens uniformly — look for these telltale signs:
- One or two emitters dripping slowly or not at all while others flow normally
- White crusty deposits around emitter tips (calcium or iron buildup)
- Greenish slime inside tubing or filters (algae or biofilm)
- Reduced pressure downstream but normal pressure at the valve
- Visible sand or debris trapped in the filter screen
Tools & Materials Needed
| Item | Purpose | Estimated Cost |
|---|---|---|
| 1/4-inch flush cap or end cap | Seals line for pressurized backflushing | $1.50–$3.00 |
| Inline filter (150–200 mesh) | Catches silt and rust before it reaches emitters | $8.00–$15.00 |
| Vinegar (white, 5% acetic acid) | Dissolves calcium carbonate and lime scale | $2.00–$4.00 |
| Small stiff-bristled brush (e.g., toothbrush) | Cleans emitter openings without damaging plastic | $1.00–$2.50 |
| Needle or fine-gauge pin | Dislodges stubborn particulate in emitter orifices | $0.50–$1.00 |
Step-by-Step Fix
Start simple and escalate only if needed. Most clogs resolve with Method 1 or 2.
- Flush the line: Disconnect the end of the drip line, attach a flush cap, then open the valve fully for 60–90 seconds. Repeat 2–3 times. This clears loose sediment and air pockets.
- Clean the filter: Shut off water, unscrew the filter housing, rinse the screen under running water, and scrub gently with vinegar and a soft brush. Reinstall tightly — leaks here cause pressure loss that mimics clogging.
- Soak emitters in vinegar: Remove clogged emitters (or cut out short sections), soak in undiluted white vinegar for 30 minutes, then rinse and reattach. For inline emitters, use a syringe to inject vinegar directly into the inlet port.
- Backflush with compressed air (caution): Only on polyethylene tubing rated for ≥30 PSI. Use an air compressor set to <25 PSI — never exceed tubing specs. Attach air line to downstream end, seal upstream, and pulse air in 3-second bursts.
When to Call a Pro
DIY has limits — especially when safety, system integrity, or code compliance is involved. Call a licensed irrigation specialist if:
- You suspect root intrusion deeper than 12 inches into mainline tubing (requires trenching and pipe replacement)
- Your system uses pressure-compensating emitters older than 7 years — internal diaphragms degrade and can’t be cleaned
- You detect consistent chlorine or iron levels >0.3 ppm in your water supply (requires professional water testing and filtration design)
- The entire zone fails after cleaning — points to valve failure, controller error, or buried line damage
Prevention Tips
Prevention cuts long-term maintenance by 70%, according to the University of California Cooperative Extension’s 2023 Landscape Water Management Report. Start now:
- Install a 200-mesh filter upstream of all valves — replace every 6 months in well-water systems
- Flush each zone for 90 seconds at season start and after every heavy rainstorm
- Use emitter types rated for your water quality: brown-tip emitters resist iron oxide; blue-tip resist calcium
- Keep tubing shaded — UV exposure degrades plastic and encourages algae growth inside translucent lines
Can I use bleach on this?
No. Household bleach (sodium hypochlorite) corrodes polyethylene tubing and damages rubber seals in pressure regulators and filters. It also kills beneficial soil microbes near emitters. Vinegar or citric acid are safer, food-grade alternatives that dissolve mineral deposits without harming system components.
Why do only some emitters clog?
Drip lines operate under laminar flow — tiny differences in elevation, tubing length, or internal diameter create micro-variations in pressure and velocity. Lower-pressure emitters trap particles more easily. That’s why you’ll often see clogs at the farthest or lowest point in a run. Installing pressure-regulating emitters helps equalize flow and reduce this effect.
How often should I replace drip tubing?
Standard 0.58-inch polyethylene tubing lasts 5–7 years in full sun and mild climates. In hot, high-UV zones like Arizona or Florida, replace every 3–4 years. Look for brittleness, cracks, or discoloration — brittle tubing shatters during cleaning and introduces microplastic debris into your soil.
Will flushing damage my plants?
Not if done correctly. Flush only during early morning or late evening when evaporation is low. Avoid flushing during peak heat — sudden surges of cold water can shock shallow-rooted plants like strawberries or herbs. Always direct flush water away from plant crowns to prevent crown rot.
Do I need a pressure regulator?
Yes — unless your water pressure is consistently below 25 PSI. Most drip emitters fail above 30 PSI, causing misting, uneven distribution, and premature clogging. A $12 brass pressure regulator installed at the zone valve protects your entire line and extends emitter life by 2–3 years.
What’s the best way to clean a clogged filter housing?
Disassemble completely — remove O-rings and gaskets. Soak all parts in warm vinegar for 10 minutes, then scrub the housing threads and screen seat with a nylon brush. Rinse thoroughly before reassembling. Never use Teflon tape on filter threads — it flakes into the system and causes new clogs downstream.
"Over 40% of drip irrigation failures stem from neglected filters — not emitter quality. Cleaning your filter monthly is the single highest-ROI maintenance task." — Dr. Elena Ruiz, UC Davis Department of Plant Sciences, 2021
A clogged drip system isn’t just inconvenient — it quietly undermines your garden’s health and your water budget. With regular flushing, proper filtration, and prompt attention to early signs, most clogs take under 20 minutes to resolve. If you’ve recently upgraded to a smart drip timer, pair it with seasonal filter checks to automate consistency. And for persistent mineral issues, consider adding a home water test kit to identify hardness or iron content before investing in filtration upgrades.