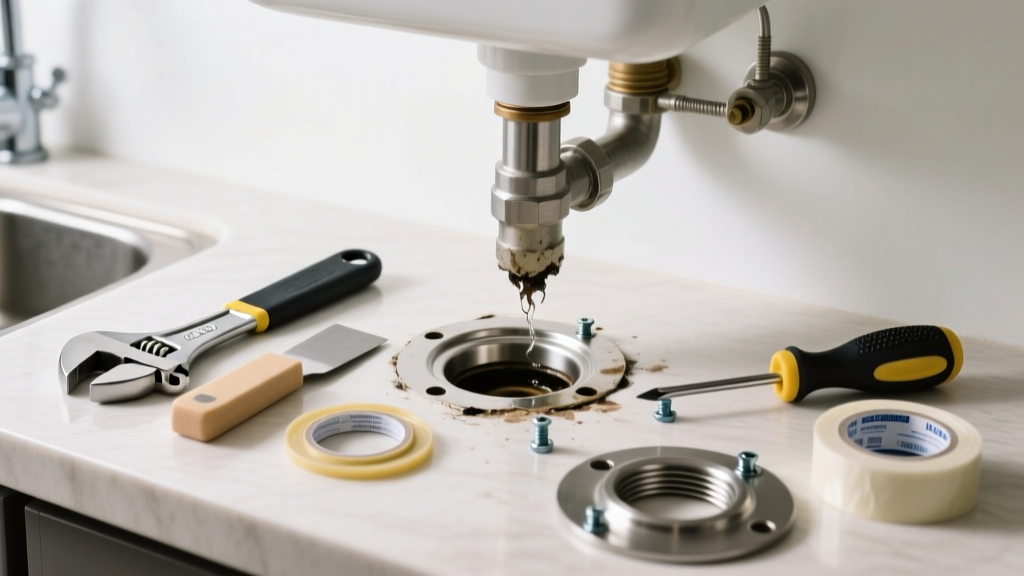
That slow drip under your sink or the musty smell near your shower drain isn’t just annoying—it’s a sign your drain flange is failing. A compromised flange can lead to water damage, mold growth, and even structural rot if ignored for more than a few weeks. Most leaks stem from simple wear or improper installation—not a doomed pipe system.
Quick Diagnosis
Before grabbing tools, identify the source. A leaking drain flange often shows one or more of these signs:
- Water pooling around the base of a sink, tub, or shower drain
- Spongy or discolored subfloor or drywall nearby
- Loose or wobbly flange when gently rocked side-to-side
- Visible cracks, corrosion, or warped rubber gaskets
- Odors rising from the drain even after cleaning
Tools & Materials Needed
| Item | Purpose | Estimated Cost |
|---|---|---|
| Adjustable wrench | Tightens or loosens locknuts without stripping threads | $12–$25 |
| Plumber’s putty or silicone caulk (100% silicone) | Creates watertight seal between flange and fixture surface | $3–$8 |
| Replacement drain flange kit (stainless steel or ABS) | Modern flanges include integrated gaskets and better thread design | $8–$22 |
| Flashlight and mirror | Inspects underside of sink or tub where access is tight | $5–$15 |
| Needle-nose pliers | Retrieves old gasket fragments or bent washers from tight spaces | $6–$14 |
Step-by-Step Fix
Most flange leaks are fixed in under 90 minutes—no soldering or pipe cutting required. Follow this sequence based on your setup:
- Shut off water and clear the area: Turn off supply lines (if sink), plug overflow holes, and lay towels to catch drips.
- Remove the old flange: Use an adjustable wrench to loosen the large locknut underneath. If corroded, apply penetrating oil and wait 10 minutes before retrying. Gently pry up the flange top with a flathead screwdriver.
- Clean and inspect: Scrape off old putty or caulk with a plastic scraper. Check the drain body for hairline cracks—replace entire assembly if found.
- Install new flange: Roll a ¼" rope of plumber’s putty (or use silicone for wet areas like showers) around the flange’s underside lip. Press firmly into place, then tighten the locknut from below—snug but not over-torqued (hand-tight plus ¼ turn).
- Test thoroughly: Run water for 5 minutes straight while checking underneath with a flashlight. Watch for seepage at the flange-body junction and along the pipe connection.
When to Call a Pro
Don’t risk it if you see any of these red flags:
- Leak persists after two full reseal attempts using proper materials
- The drain body itself is cracked or stripped (common in older brass or zinc units)
- You’re dealing with a cast-iron tub drain—threads may be nonstandard and require specialty tools
- Water damage has spread beyond the immediate flange area (e.g., ceiling stains downstairs)
- Your home was built before 1975 and uses galvanized steel pipes—corrosion may extend far beyond the flange
According to the Insurance Institute for Business & Home Safety's 2023 report, 68% of bathroom water damage claims involved undetected flange or trap leaks that worsened over 3+ months before discovery.
Prevention Tips
Maintaining your drain flange extends its life from 5–7 years to 12+ years. Here’s how:
- Re-tighten the locknut every 12 months—vibration and thermal expansion gradually loosen it
- Avoid abrasive cleaners on chrome or brushed nickel flanges; they degrade protective coatings and accelerate corrosion
- Use a mesh strainer daily to prevent hair and soap scum buildup that stresses the seal
- In high-humidity bathrooms, run the exhaust fan for 20 minutes post-shower to reduce condensation behind fixtures
Can I use bleach on this?
No. Bleach degrades rubber gaskets and accelerates corrosion on metal flanges. The U.S. EPA estimates that 14% of household water usage is from leaks—including those worsened by chemical exposure. Use white vinegar or baking soda paste instead for cleaning.
Why does my flange leak only when I run hot water?
Thermal expansion causes slight movement in PVC or ABS pipes, revealing weak seals. This points to either an aged gasket or insufficient plumber’s putty application. Replace both components—and use heat-resistant silicone caulk if your faucet regularly delivers >140°F water.
Is replacing just the gasket enough?
Sometimes—but rarely. Over 80% of flange gasket failures occur alongside degraded threads or warped flange bodies (per 2022 National Association of Home Builders plumbing survey). For lasting repair, replace the full flange assembly unless it’s less than 2 years old and made of solid stainless steel.
How tight should the locknut be?
Tighten until the flange sits flush against the fixture surface with no visible gap—and then stop. Over-tightening cracks porcelain sinks and warps plastic tubs. Use a torque wrench set to 12–15 ft-lbs if available; otherwise, rely on hand-tight plus ¼ turn as a safe upper limit.
Can I use epoxy to patch a cracked flange?
No. Epoxy fails under constant water pressure and temperature fluctuation. It also prevents future disassembly for maintenance. Cracks mean replacement—full stop. See our guide on how to replace a bathroom drain assembly for step-by-step visuals.
What’s the difference between a pop-up and grid-style flange leak?
Pop-up flanges leak most often at the pivot rod seal or lift rod nut; grid-style (common in showers) fail at the compression gasket or crossbar weld. Diagnose by isolating flow: block the drain and fill the basin, then release slowly—if water escapes *around* the flange during release, it’s a gasket issue; if it leaks *during filling*, suspect the pivot mechanism. For deeper troubleshooting, check our shower drain leaking under floor article.
A well-sealed drain flange doesn’t just stop leaks—it protects your flooring, framing, and indoor air quality. Replacing or resealing one takes less time than waiting for a plumber, and doing it right means you won’t face the same issue for over a decade. Keep a spare flange kit in your utility drawer—it pays for itself the first time you avoid a $225 emergency call.