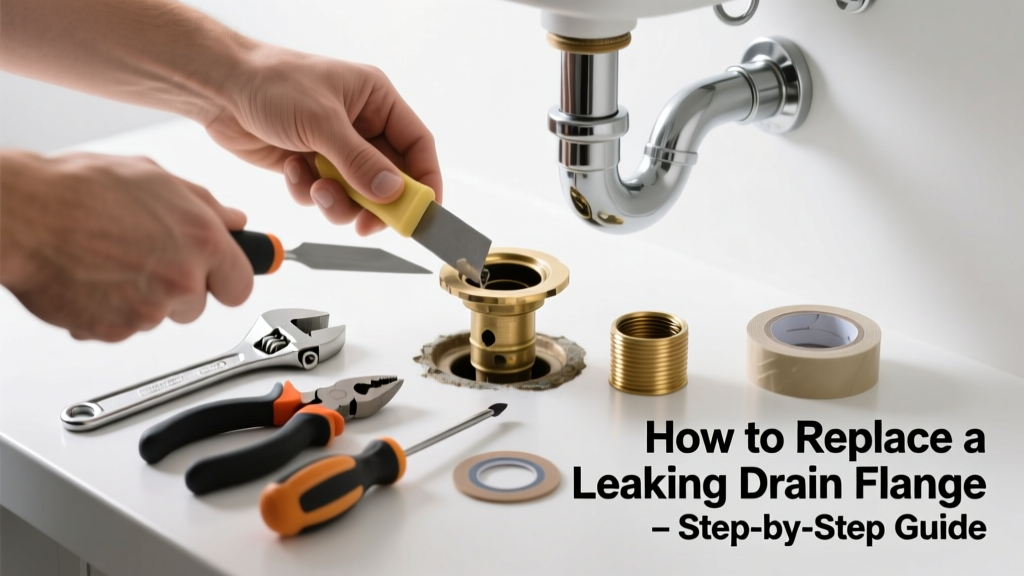
That slow drip under your bathroom sink or the damp spot spreading across your shower pan isn’t just annoying—it’s a warning sign. A leaking drain flange usually means the compression gasket, rubber washer, or threaded flange itself has failed, and patching won’t cut it. You need the right replacement part, installed correctly.
Quick Diagnosis
Before grabbing tools, confirm the leak source isn’t misdiagnosed. Most flange leaks stem from one of these four causes:
- Cracked or warped plastic or metal flange body (common in older ABS or brass units)
- Deteriorated rubber or silicone compression gasket beneath the flange
- Stripped or cross-threaded drain pipe connection at the flange’s underside
- Corroded or bent mounting screws that no longer hold the flange tight against the surface
Tools & Materials Needed
| Item | Purpose | Estimated Cost |
|---|---|---|
| Adjustable wrench or basin wrench | Loosens stubborn nuts in tight spaces under sinks or tubs | $12–$28 |
| Plumber’s putty or silicone caulk (100% silicone) | Creates watertight seal between flange and fixture surface | $3–$9 |
| Replacement flange kit (match material: PVC, ABS, brass, or stainless steel) | Includes flange, gasket, locknut, and sometimes tailpiece | $8–$45 |
| Utility knife or scraper | Removes old putty, caulk, or mineral buildup from mounting surface | $2–$6 |
| Flashlight and small mirror | Helps inspect hard-to-see connections under vanities or tubs | $5–$15 |
Step-by-Step Fix
Follow these steps in order—skipping prep leads to re-leaks:
- Shut off water supply and plug the drain to prevent small parts from falling in. For showers/tubs, place towels around the base to catch drips during disassembly.
- Remove the old flange: Use a basin wrench to loosen the locknut underneath. If it’s seized, apply penetrating oil and wait 10 minutes before retrying. Gently twist and lift the flange upward while rocking side-to-side.
- Clean the drain opening thoroughly. Scrape away all old putty, rust, or biofilm. Wipe dry with a lint-free cloth—moisture prevents proper adhesion of new sealant.
- Install the new flange: Roll a ¼" rope of plumber’s putty around the underside lip (or use silicone if installing on stone or acrylic). Press firmly into place, then thread the locknut by hand before tightening snugly—don’t overtighten, or you’ll crack the flange or warp the gasket.
- Test for leaks: Run water for 5 minutes straight, checking both above and below the flange. Watch for seepage at the seam and along the pipe joint.
When to Call a Pro
DIY is safe only when the drain pipe is accessible and structurally sound. Call a licensed plumber if:
- The drain pipe is cracked, corroded, or set in concrete (e.g., basement floor drains)
- You’re replacing a flange on a cast-iron tub drain—thread compatibility and torque specs require specialty tools
- Leak persists after two attempts with correct parts, suggesting hidden pipe misalignment or subfloor rot
- Your home was built before 1978 and you suspect lead solder or asbestos-wrapped pipes near the drain assembly
Prevention Tips
Extend flange life with simple habits backed by real-world data. According to the Insurance Institute for Business & Home Safety's 2023 report, 68% of bathroom water damage claims involve neglected drain components. Here’s how to avoid becoming a statistic:
- Inspect flange seals annually—look for discoloration, cracking, or softness in rubber gaskets
- Never pour grease, paint thinner, or harsh chemical drain cleaners down the drain; they degrade rubber and PVC over time
- Tighten flange mounting screws every 18 months—vibration and thermal cycling loosen them gradually
- Use a mesh strainer to catch hair and debris, reducing pressure buildup that stresses the flange seal
"Over-torquing a drain flange is the #1 cause of premature failure in DIY repairs—most brass flanges fail at just 22 ft-lbs, but homeowners often exceed 40." — Plumbing Systems Handbook, 4th ed., McGraw-Hill, 2022
Can I reuse the old gasket with a new flange?
No. Gaskets compress permanently and lose elasticity after removal. Even if it looks intact, microfractures allow slow leaks. Always install the gasket included in your replacement kit—or buy a matching OEM gasket. Generic rubber washers may not match the flange’s groove depth or durometer rating.
What size flange do I need for my bathtub?
Most standard tubs use a 1.5-inch outlet, but measure the inner diameter of the existing drain opening—not the visible flange face. Older clawfoot tubs often use 1.25-inch, while some European models require metric threads (e.g., M42 x 1.5). Check manufacturer specs or bring the old flange to a plumbing supply store for direct comparison.
Is plumber’s putty or silicone better for sealing?
Plumber’s putty works best on porcelain, ceramic, and metal fixtures—it stays pliable and doesn’t cure. Silicone is required for natural stone, acrylic, or fiberglass surfaces because putty can stain or soften those materials. Never mix them: cured silicone prevents putty adhesion, and uncured putty contaminates silicone bonds.
Why does my new flange still leak after installation?
Most often, it’s due to an uneven mounting surface or insufficient sealant coverage. Check for gaps between the flange base and fixture using a flashlight and angled mirror. Also verify the locknut is fully seated—not just finger-tight—and that the tailpiece isn’t binding or misaligned. A slight wobble during installation creates micro-gaps that leak under pressure.
Can I replace a pop-up drain flange without removing the sink?
Yes—if it’s a standard pivot-ball assembly. Shut off water, remove the pivot rod nut under the sink, disconnect the rod, then unscrew the flange’s mounting nut. Some modern push-button or magnetic pop-ups require partial sink removal or access panel entry. For details, see our pop-up drain replacement guide.
How long does a quality drain flange last?
A properly installed brass or stainless-steel flange lasts 20–30 years; PVC/ABS units average 10–15 years. But lifespan drops sharply with exposure to chlorine-based cleaners or frequent hot-water dumping (above 140°F), which accelerates gasket degradation. The U.S. EPA estimates that 14% of household water usage is from leaks—including those caused by failing flanges—so timely replacement saves both water and money.
Replacing a leaking drain flange isn’t about brute force—it’s about precision, patience, and using the exact part designed for your fixture. Get the seal right the first time, and you’ll skip the soggy subfloor, warped cabinetry, and mold inspections down the road. If you’ve tackled this repair, consider checking your shower drain clog fix next—it’s often the hidden accomplice to flange stress.