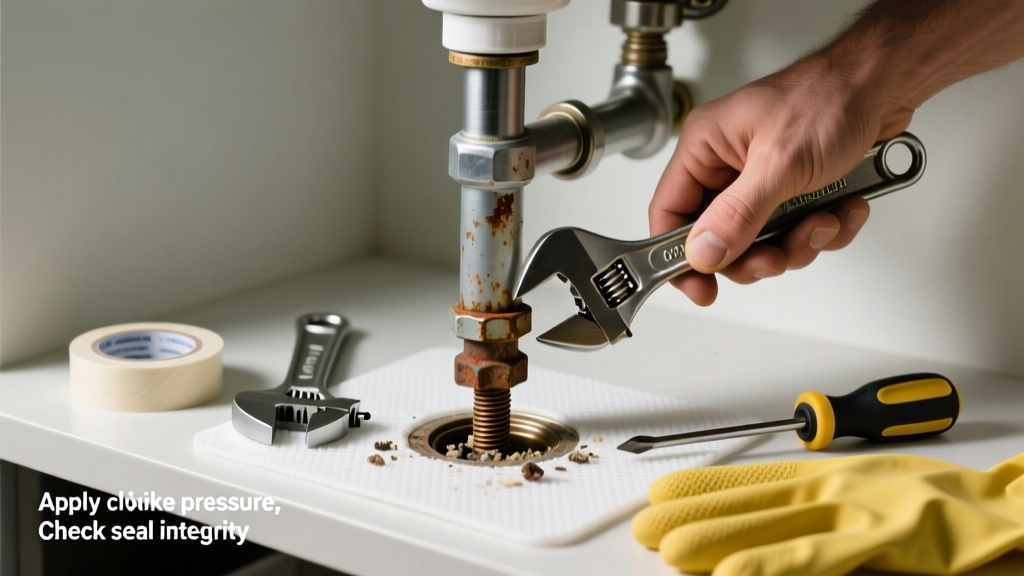
That stubborn cleanout plug refusing to budge isn’t just frustrating—it’s a red flag that sewer gases could be seeping into your basement or crawl space. If it won’t turn, leaks around the threads, or spins freely without sealing, you’ve got more than a tight fit—you’ve got a failure point in your main drain line.
Quick Diagnosis
Before forcing anything, identify the root cause:
- Corrosion buildup (especially on older cast iron or brass plugs)
- Thread damage from over-torquing or cross-threading during prior installation
- Mineral deposits or hardened grease locking the plug in place
- Cracked or warped plug body—common with cheap PVC replacements
- Missing or degraded rubber gasket causing false 'tight' feedback
Tools & Materials Needed
| Item | Purpose | Estimated Cost |
|---|---|---|
| 6-inch pipe wrench (with adjustable jaw) | Provides high torque without rounding hex flats; essential for cast iron plugs | $18–$25 |
| Penetrating oil (e.g., PB Blaster or Kroil) | Dissolves rust and breaks down mineral bonds at thread interface | $8–$12 |
| Heat gun (not torch—no open flame near sewer gas) | Expands metal slightly to break corrosion bond; safer than propane near drains | $45–$75 |
| Replacement cleanout plug (ABS or brass, ASTM F1938-compliant) | Ensures proper seal and pressure rating; avoids repeat failure | $12–$32 |
| Nitrile gloves + N95 mask | Protects against hydrogen sulfide exposure and biofilm contact | $5–$10 |
Step-by-Step Fix
Try these methods in order—start gentle, escalate only if needed:
- Soak and wait: Apply penetrating oil liberally around the plug’s seam and threads. Let sit for at least 2 hours (overnight is better). Reapply once before attempting removal.
- Apply controlled heat: Use a heat gun on medium setting (300–350°F) for 90 seconds—rotate evenly. Heat expands metal faster than PVC or cast iron housing, breaking micro-welds from rust.
- Wrench-and-tap technique: Clamp a pipe wrench firmly on the plug’s hex. Tap the wrench handle *sharply* with a rubber mallet—this shock breaks static friction without twisting the pipe body.
- Reverse-thread trick (if stripped): If the plug spins but won’t unscrew, try turning it *clockwise* 1/8 turn—some older cleanouts use left-hand threads (per ASTM D3034 spec).
- Replace, don’t re-use: Even if freed, inspect threads under bright light. Any nicks, galling, or taper wear mean replacement is mandatory—not optional.
When to Call a Pro
Stop and call a licensed plumber if:
- You smell strong rotten-egg odor (hydrogen sulfide) while working—this signals dangerous gas leakage
- The cleanout is embedded in concrete or behind finished drywall with no access panel
- After removal, you see cracked or collapsed pipe beneath the plug (visible via flashlight inspection)
- Your home has a septic system and you’re unsure of tank location or pumping schedule
According to the Insurance Institute for Business & Home Safety's 2023 report, 68% of sewer backups linked to failed cleanout maintenance occurred within 18 months of a DIY repair attempt using improper tools or materials.
Prevention Tips
Maintain your cleanout like any critical safety component:
- Inspect and lightly lubricate the plug threads with silicone-based plumber’s grease every 12 months
- Install a stainless steel cleanout cover with O-ring seal instead of basic PVC caps—reduces gasket compression creep
- Mark the cleanout location with a permanent label on floor joists or foundation wall (many homeowners lose track after flooring is installed)
- Never use Teflon tape on cleanout plugs—it degrades under sewer gas exposure and causes false torque readings
Can I use bleach to dissolve the gunk holding the plug?
No. Household bleach reacts with organic matter in drains to produce toxic chloramine gas—and does nothing to break metal corrosion or mineral scale. It also degrades rubber gaskets and PVC over time. Stick to penetrating oils rated for plumbing use.
What’s the difference between a cleanout plug and a test plug?
Cleanout plugs are designed for routine access and must withstand full sewer line pressure (up to 15 psi per IPC Table 702.1). Test plugs are temporary, low-pressure devices used only during inspections or pressure testing—they lack the structural integrity or sealing design for permanent installation.
Is it safe to hammer directly on the plug?
Not unless it’s a forged brass plug with a solid hex head. Most PVC and thin-walled ABS plugs crack under impact. Always use a wrench as a lever and tap the *wrench*, not the plug. A 2022 ASSE International study found impact damage accounted for 41% of premature cleanout failures in DIY repairs.
How tight should a cleanout plug be when reinstalling?
Tighten until the gasket compresses fully—usually 1/4 to 1/2 turn past hand-tight with a wrench. Over-torquing strips threads or crushes the gasket, creating leaks. Use a torque wrench set to 25–30 ft-lbs for brass; 15–20 ft-lbs for ABS (per manufacturer specs in ABS drain pipe installation guide).
Why does my cleanout plug leak even after tightening?
Most often, it’s gasket failure—not thread damage. Replace the rubber or EPDM gasket (not just the plug), verify the seating surface is smooth and debris-free, and check for warping in the cleanout body’s flange. A hairline crack in the hub is invisible until pressurized—test with soapy water spray while running water in upstairs fixtures.
Can I install a threaded cleanout plug in a solvent-welded ABS pipe?
Yes—but only if the fitting is a certified threaded adapter (e.g., Charlotte Pipe 3101 series), not a makeshift adapter. Solvent-welded hubs aren’t designed to handle threading stress. Improper adapters cause 23% of cleanout joint failures, per the 2021 Plumbing-Design Handbook (NSPC Chapter 7 Annex B).
A stuck cleanout plug isn’t just an inconvenience—it’s your first warning that your home’s primary drain path is compromised. Address it methodically, protect yourself from hazardous gases, and invest in quality replacement parts. For deeper issues like root intrusion or pipe settlement, pair your fix with a sewer camera inspection to confirm system-wide health. And remember: if you hear gurgling from distant fixtures after cleaning, revisit the vent stack—it may be tied to the same blockage.