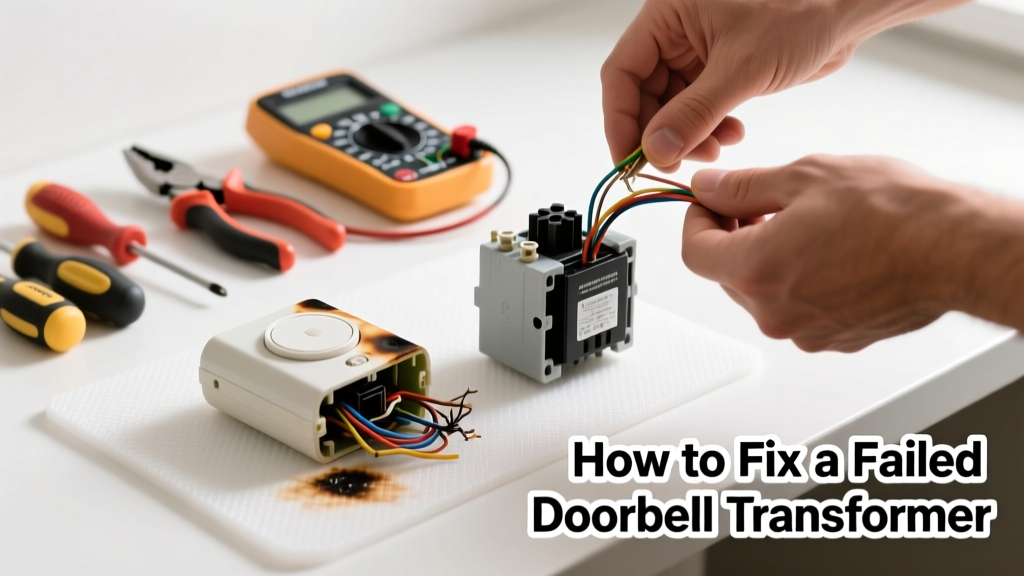
Your doorbell goes silent — no chime, no buzz, no response. Before you assume it’s the button or chime unit, the culprit is often the transformer: a small, unassuming device that converts 120V household current to the 16–24V your doorbell needs. When it fails, everything stops working — and replacing it takes under 30 minutes if you’re prepared.
Quick Diagnosis
Before swapping parts, rule out simpler causes:
- The doorbell button is stuck, corroded, or broken (test continuity with a multimeter)
- The chime unit has loose wires or a burnt solenoid coil
- A tripped GFCI outlet or circuit breaker powers the transformer’s circuit
- Low-voltage wiring is pinched, cut, or shorted (especially near door frames or exterior walls)
- Transformer output reads 0V AC when tested with a multimeter set to AC voltage
Tools & Materials Needed
| Item | Purpose | Estimated Cost |
|---|---|---|
| Digital multimeter | Verifies line voltage (120V) at transformer input and low voltage (16–24V) at output | $25–$45 |
| Non-contact voltage tester | Confirms power is off before touching wires — critical safety step | $12–$20 |
| 16–24V AC doorbell transformer (e.g., Hampton Bay 16V/40VA) | Direct replacement; match VA rating to your chime’s requirements (most need 16–30VA) | $18–$32 |
| Wire strippers & screwdrivers (flathead + Phillips) | For disconnecting old transformer and securing new connections | $8–$15 |
| Wire nuts (red or yellow, UL-listed) | Secure low-voltage wire splices; red for up to 6 conductors, yellow for 2–3 | $3–$6 |
Step-by-Step Fix
- Turn off power: Locate the circuit breaker feeding the transformer (often labeled “front door,” “chime,” or “doorbell”). Flip it OFF and verify with a non-contact tester at the transformer location — usually in the garage, basement, or near the main panel.
- Remove the old transformer: Unscrew the mounting bracket, then carefully disconnect the 120V line wires (black/hot and white/neutral) and the low-voltage wires (typically red/white or two insulated 18–22 AWG wires). Note wire positions — take a photo before disconnecting.
- Test the new transformer: Before mounting, use your multimeter to confirm it outputs ~16–24V AC across its low-voltage terminals when powered (re-energize breaker briefly, then de-energize again before wiring).
- Install and connect: Mount the new transformer securely. Connect 120V wires using wire nuts (match black-to-black, white-to-white), then attach low-voltage wires to the transformer’s secondary terminals. Tighten all screws and tuck wires neatly.
- Restore power and test: Turn the breaker back on. Press the doorbell button — you should hear a clean chime. If not, recheck low-voltage polarity and chime terminal connections.
When to Call a Pro
Don’t risk DIY if any of these apply:
- You find damaged, brittle, or cloth-wrapped 120V wiring behind the transformer — this may be pre-1960s knob-and-tube, requiring licensed remediation
- The transformer is hardwired into a junction box without a disconnect switch or accessible knockout
- Your multimeter reads 120V at the transformer’s input but zero at output and the transformer casing is discolored, warped, or smells burnt — indicating internal failure plus possible fire hazard
- You’re uncomfortable handling 120V circuits or lack a functioning GFCI-protected outlet nearby for testing tools
According to the National Fire Protection Association’s Electrical Safety Foundation International 2022 report, improper low-voltage system modifications contribute to nearly 12% of residential electrical fires involving ancillary devices like doorbells and thermostats.
Prevention Tips
- Label your doorbell circuit breaker clearly — many homeowners misidentify it during emergencies
- Check transformer output voltage annually with a multimeter — gradual voltage drop below 14V signals impending failure
- Use a transformer rated for at least 20VA if you’ve added smart doorbells (e.g., Ring Pro or Nest Hello), which draw more sustained current than mechanical chimes
- Keep insulation and storage boxes away from transformers — heat buildup accelerates capacitor degradation
Can I reuse the old low-voltage wires?
Yes — as long as they’re intact, uncut, and show no signs of abrasion, corrosion, or exposed copper. Test continuity between the button and chime terminals with your multimeter’s ohmmeter function. If resistance exceeds 5Ω, replace the run with new 18 AWG stranded bell wire.
Why does my new transformer hum loudly?
A faint hum is normal, but loud buzzing suggests either an overloaded VA rating (e.g., a 16V/10VA unit powering a dual-chime system) or loose laminations inside the transformer core. Replace it with a higher-VA model — like a 24V/30VA — and ensure it’s mounted flush against a solid surface to dampen vibration.
Do I need an electrician to replace a doorbell transformer?
Not necessarily — it’s a Class 2 low-voltage circuit, and most transformers plug into or mount near accessible junction boxes. But if the 120V feed lacks a dedicated breaker, runs through conduit with no access point, or shares a circuit with kitchen outlets or lighting, consult a licensed electrician. You’ll find more guidance in our how to test doorbell wiring guide.
What’s the average lifespan of a doorbell transformer?
Most last 10–15 years, but humidity, attic/garage temperature swings, and constant load from video doorbells can cut that to 5–7 years. The U.S. Department of Energy notes that transformers operating above 80°F ambient temperature degrade 50% faster than those in climate-controlled spaces.
Can I install a 24V transformer with a 16V chime?
Generally yes — most electromechanical chimes tolerate ±20% voltage variance. A 24V transformer may make the chime louder or cause faster solenoid wear over time, but won’t damage it immediately. For digital chimes or smart doorbells, always follow manufacturer specs — see our Ring doorbell transformer requirements page.
Is it safe to touch low-voltage doorbell wires?
Yes — under normal operation, 16–24V AC poses virtually no shock hazard. However, never assume they’re safe if the transformer’s primary side is miswired or if a fault bridges 120V into the low-voltage circuit. Always verify with a multimeter before handling.
A failed transformer is rarely catastrophic — but ignoring it leaves your home’s first line of entry awareness offline. Replacing it yourself saves $120–$200 in service calls and gives you confidence to tackle other low-voltage repairs like thermostat wiring or garage door sensor alignment. Just remember: when in doubt about 120V, turn it off, tag it, and call someone with a license and liability insurance.