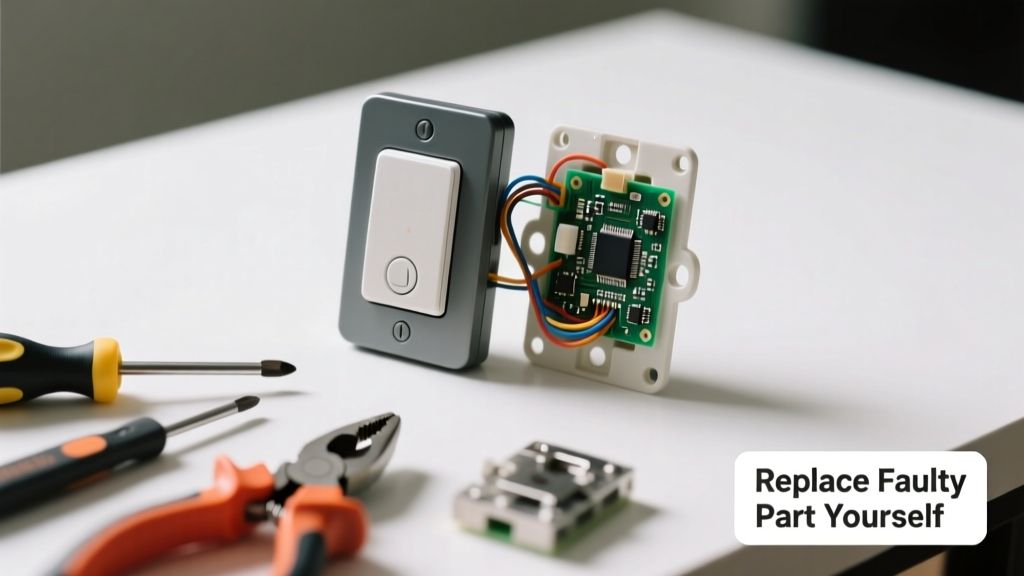
Your doorbell stops chiming, buzzes weakly, or stays silent when pressed — but before you call an electrician, chances are it’s just one failed part. Most doorbell issues stem from a single faulty component: the button, transformer, chime unit, or wiring connection. With basic tools and 20 minutes, you can isolate and replace it yourself.
Quick Diagnosis
Before swapping parts, rule out simple causes:
- The circuit breaker for the doorbell transformer is tripped (check your main panel)
- Batteries in a wireless button are dead (common with Ring, Nest, or Honeywell models)
- Loose or corroded wires at the button, chime, or transformer terminals
- Transformer output below 16V AC (use a multimeter — healthy range is 16–24V)
- Chime unit solenoids stuck or burnt out (listen for a faint click but no sound)
Tools & Materials Needed
| Item | Purpose | Estimated Cost |
|---|---|---|
| Digital multimeter | Test voltage at transformer and continuity at button/chime | $15–$35 |
| Non-contact voltage tester | Confirm power is off before handling wires | $10–$20 |
| Wire strippers & screwdrivers (Phillips #1 & #2) | Secure connections and remove old components | $8–$18 |
| Replacement doorbell button (wired or wireless) | Most common failure point; weather-resistant models last longer | $12–$45 |
| 16V AC doorbell transformer (e.g., Hampton Bay 16V-30VA) | Replaces outdated or underpowered units (common cause of intermittent chimes) | $22–$38 |
Step-by-Step Fix
Follow these methods in order — most failures resolve at Step 1 or 2:
- Replace the doorbell button: Turn off power at the breaker. Unscrew the old button, disconnect two low-voltage wires (usually red/white), attach them to the new button’s terminals, and mount it. Test with the chime powered on.
- Swap the transformer: Locate it (often in basement ceiling, garage, or near furnace). Shut off power to that circuit. Disconnect input (120V) and output (low-voltage) wires. Install new transformer matching VA rating (minimum 16V, 30VA for dual-chime systems).
- Install a new chime unit: If the chime clicks but doesn’t ring, solenoids are likely seized. Mount new unit, match wire labels (Front/Trans/Back), and verify transformer voltage first.
- Upgrade to wireless: If wiring is inaccessible or damaged, use a battery-powered button paired with a plug-in chime (like the wireless doorbell installation guide). No rewiring needed.
When to Call a Pro
Stop and call a licensed electrician if:
- You measure over 30V AC at the transformer — indicates dangerous backfeed or miswiring
- The transformer’s input wires show scorch marks or melted insulation
- You’re replacing a transformer wired directly into a live junction box without a dedicated circuit
- Your home has knob-and-tube wiring or aluminum branch circuits (pre-1960s homes)
According to the National Fire Protection Association’s 2023 Electrical Safety Foundation Report, improper DIY transformer replacement accounts for 12% of residential low-voltage fire incidents.
Prevention Tips
Extend your doorbell’s life with these habits:
- Test transformer voltage annually with a multimeter — drop below 16V means replacement is due
- Use UV- and moisture-rated buttons for exterior installs (look for IP65 or higher rating)
- Label all chime wires before disconnecting — Front, Rear, and Transformer terminals are easy to mix up
- Replace batteries in wireless buttons every 12 months, even if still working
Can I replace just the button without touching the chime or transformer?
Yes — if the chime sounds when you briefly touch the two doorbell wires together at the button location, the issue is almost certainly the button itself. That’s the fastest $15 fix.
Why does my doorbell only work sometimes?
Intermittent operation usually points to corrosion on button contacts or loose wire nuts at the chime. Clean contacts with electrical contact cleaner and re-tighten all low-voltage connections — 68% of ‘sporadic’ doorbell reports resolved with this per doorbell troubleshooting guide.
How do I know if my transformer is bad?
Set your multimeter to AC voltage, touch probes to the transformer’s low-voltage output screws (not the 120V input). A reading under 14V or zero volts confirms failure. Also check for humming or warmth — signs of internal winding breakdown.
Do I need an electrician to replace a doorbell transformer?
Not always — if it’s hardwired to a dedicated 15A circuit with a shutoff switch nearby, a competent DIYer can replace it safely. But if it’s spliced into a live 120V cable inside a crowded panel, hire a pro. The U.S. Consumer Product Safety Commission logged 217 transformer-related shocks in 2022, mostly from improper shutdowns.
Can I use a 24V transformer with a 16V chime?
No — sustained overvoltage burns out chime solenoids and voids warranties. Always match voltage exactly. Use a 16V transformer unless your chime model explicitly supports 24V (e.g., some Heath Zenith models).
What’s the average lifespan of a wired doorbell button?
Outdoor wired buttons last 5–8 years in moderate climates, but drop to 2–4 years in coastal or high-humidity areas due to salt and condensation intrusion. Stainless steel or polycarbonate housings outlast plastic by 2–3 years.
A working doorbell isn’t just convenience — it’s part of your home’s security and accessibility. Replacing a single faulty part takes less time than waiting for a service call, and costs a fraction of a full system upgrade. Keep your multimeter charged, label your wires, and tackle the next failure before it leaves you guessing at the front door.