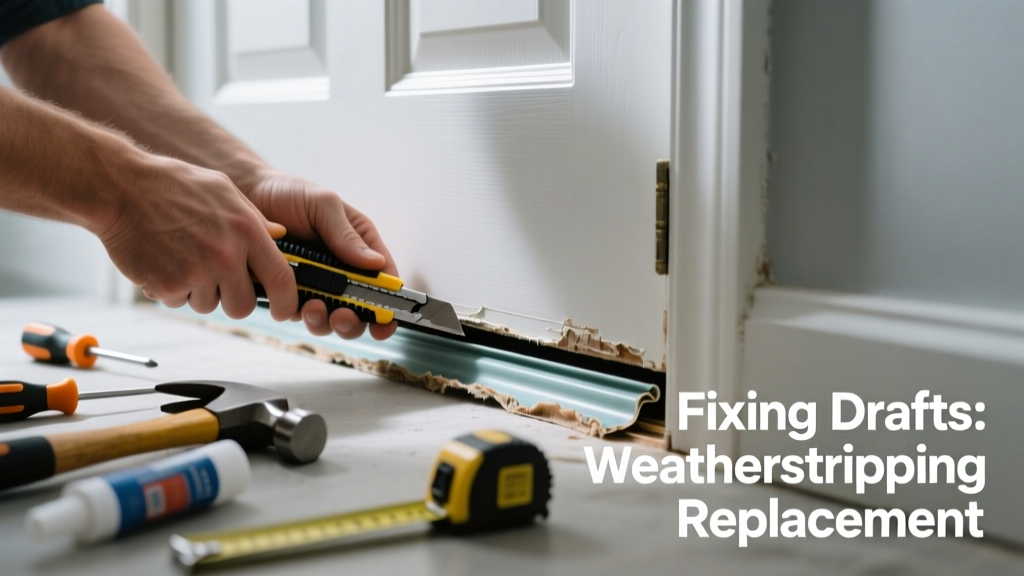
If your front or exterior door lets in cold air, whistles in wind, or lets light shine through the gap, your weatherstripping is likely worn out — and it’s probably costing you money on heating and cooling bills. Most homeowners wait until winter’s first draft to notice, but by then, the seal has been failing for months. The good news? This is one of the fastest, most cost-effective home repairs you can do yourself.
Quick Diagnosis
Before replacing anything, confirm the issue isn’t misalignment or a warped door. Check these common culprits:
- Cracked, brittle, or flattened foam or vinyl strips (especially along the latch side and bottom)
- Gaps larger than 1/8 inch between door edge and frame when closed
- Door rubbing only at top or bottom — indicating sag or hinge wear
- Weatherstripping pulled away from the frame or door with visible adhesive failure
- Moisture staining or mold growth near the threshold — sign of long-term air/water infiltration
Tools & Materials Needed
| Item | Purpose | Estimated Cost |
|---|---|---|
| Utility knife with fresh blades | Cuts old stripping cleanly; prevents tearing frame paint or wood | $3–$8 |
| 3M Super 77 Spray Adhesive or PL Premium Construction Adhesive | Bonds new stripping securely — especially critical for high-traffic doors | $5–$12 |
| Vinyl or silicone bulb weatherstripping (0.375" or 0.5" diameter) | Replaces worn kerf-mounted or nail-on types; flexible, durable, compresses well | $8–$18 per 18-ft roll |
| Door sweep with aluminum mounting plate | Seals bottom gap; adjustable height prevents dragging on uneven floors | $12–$25 |
| Small pry bar or stiff putty knife | Removes stubborn staples or nails without gouging jamb wood | $6–$14 |
Step-by-Step Fix
Most failures stem from one of three locations: the vertical jambs, the header, or the threshold. Here’s how to address each:
- Remove old stripping carefully: Score adhesive residue with utility knife, then peel or pry. For staple-mounted types, use needle-nose pliers to pull staples flush before extraction.
- Clean and prep the surface: Wipe jamb and door edge with isopropyl alcohol. Let dry fully — any oil or dust ruins adhesion.
- Measure and cut new stripping: Use a tape measure and mark length with pencil. Cut vinyl or silicone bulb strip with sharp utility knife — cut ends square, not angled, for tight corner seals.
- Install jamb and header strips: Peel backing, press firmly starting at top corner, smoothing downward with thumb to eliminate air pockets. Overlap ends slightly at corners — don’t leave gaps.
- Mount door sweep: Position sweep so brush or vinyl fin just kisses floor (no drag). Drill pilot holes, secure with #8 x 1" screws, and recheck door swing clearance.
When to Call a Pro
DIY works for standard slab doors with intact frames — but call a licensed contractor if you see any of these:
- Door sags more than 1/4 inch at handle — indicates hinge mortise wear or structural settling
- Threshold is rotted, cracked, or sits more than 1/8 inch below interior flooring (water intrusion risk)
- You need to replace kerf-cut metal channels embedded in the door edge — requires specialized router bit and precision fit
- Multiple exterior doors fail simultaneously — suggests foundation movement or framing shift
According to the Insurance Institute for Business & Home Safety's 2023 report, improperly sealed doors contribute to up to 25% of residential heating loss — yet 68% of homeowners delay repair until after their first $100+ winter utility bill.
Prevention Tips
Extend the life of new weatherstripping with these habits:
- Inspect all exterior door seals twice yearly — spring and fall — using a lit incense stick to detect drafts
- Wipe down stripping monthly with damp microfiber cloth (never abrasive cleaners or solvents)
- Replace door sweeps every 2–3 years — foot traffic wears them faster than jamb strips
- Use a silicone-based lubricant (not WD-40) on vinyl strips annually to prevent drying and cracking
How often should I replace door weatherstripping?
Most high-quality vinyl or silicone bulb stripping lasts 3–5 years under normal use. In high-sun or coastal climates, expect 2–3 years due to UV degradation and salt exposure. Replace sooner if you notice compression set — when the strip no longer springs back after pressing with your finger.
Can I reuse old adhesive backing on new weatherstripping?
No — never rely on leftover adhesive. Residue attracts dust and loses tack within months. Always use fresh 3M Super 77 or PL Premium. The U.S. EPA estimates that 14% of household water usage is from leaks — and poor door seals indirectly increase water heater runtime too.
What type of weatherstripping works best for steel entry doors?
For steel doors, use magnetic or fin-seal vinyl weatherstripping — it bonds tightly to metal surfaces and handles temperature swings better than foam. Avoid rubber gaskets unless specifically rated for metal expansion/contraction cycles.
Why does my new weatherstripping make the door hard to close?
It’s likely over-compressed. Trim 1/16" off the bulb diameter with a utility knife, or adjust the door sweep upward. A properly installed seal should offer gentle resistance — not require shoulder pressure to latch.
Do I need different weatherstripping for sliding glass doors?
Yes — sliding doors require pile fabric or brush-style seals mounted on the stationary panel’s edge. Standard bulb stripping won’t work. See our sliding glass door weatherstripping replacement guide for specifics.
Can I install weatherstripping in freezing temperatures?
Adhesives lose bonding strength below 40°F. If installing in cold weather, warm the jamb surface with a hair dryer (not heat gun) to 50–60°F before applying. Let adhesive cure 48 hours before heavy use — per 3M’s Technical Data Sheet (2022).
A tight door seal doesn’t just keep out drafts — it protects your home’s structural integrity, reduces strain on HVAC systems, and even deters pests seeking warmth. Replacing worn weatherstripping takes under an hour, costs less than $30, and pays for itself in energy savings within one heating season. For related fixes, check our door gap too big and adjust door hinges sagging guides.