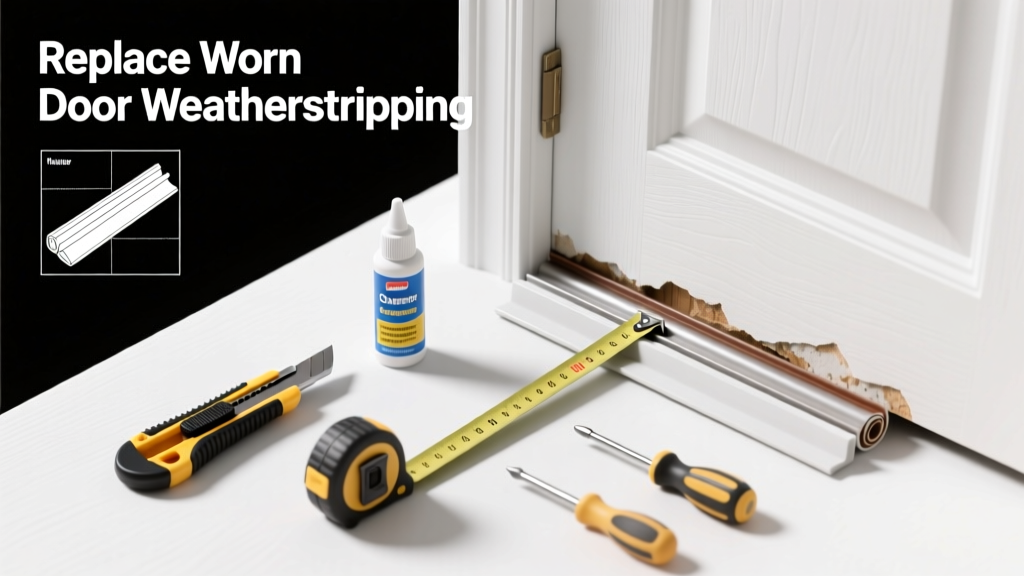
That drafty gap at your door’s bottom isn’t just annoying—it’s costing you money. Up to 20% of a home’s heating and cooling loss happens through poorly sealed doors, according to the U.S. Department of Energy’s 2022 Residential Energy Consumption Survey. Replacing just the worn section of weatherstripping—not the whole unit—is faster, cheaper, and often all you need.
Quick Diagnosis
Before grabbing tools, confirm which part is failing. Most wear occurs in predictable spots:
- The bottom sweep (most common—gets scuffed, cracked, or detached)
- Side jamb seals (compressed or torn where door latches)
- Top header strip (dried out or pulled loose from nails/staples)
- V-strip or bulb seal corners (splitting at bends due to repeated flexing)
Tools & Materials Needed
| Item | Purpose | Estimated Cost |
|---|---|---|
| Utility knife with fresh blades | Cuts cleanly through old adhesive and vinyl without tearing surrounding material | $5–$12 |
| 3M Super 77 Spray Adhesive | Bonds foam, rubber, and vinyl securely; dries fast and stays flexible | $8–$11 |
| Replacement weatherstrip (exact match) | Must match profile (e.g., kerf-mount, nail-on, adhesive-backed) and thickness | $4–$18 |
| Staple gun + 3/8" galvanized staples | Secures jamb strips where adhesive alone won’t hold long-term | $15–$25 |
| Steel wool (fine grade #000) | Removes old adhesive residue without scratching wood or metal | $3–$6 |
Step-by-Step Fix
Target the damaged section only—don’t rip off intact parts. Here are three proven methods based on location and type:
- Bottom sweep replacement: Pry up the old sweep with a flathead screwdriver, scrape adhesive residue, measure length, cut new sweep 1/8" longer, apply 3M Super 77 to back and door edge, press firmly, weight overnight.
- Jamb seal patch: Cut out only the torn 2–3 inch section, clean surface, apply adhesive, press in matching replacement strip, staple ends if it’s nail-on type (staple every 2 inches).
- V-strip corner repair: Remove entire V-strip from one side using needle-nose pliers, replace with same-profile strip—cut ends at 45° angles and butt them tightly at the corner, secure with adhesive and two staples per end.
When to Call a Pro
DIY works for isolated wear—but skip it if:
- Your door has significant warping (gap exceeds 1/4" at any point)
- The threshold is rusted, rotted, or misaligned (requires structural adjustment)
- You’re replacing weatherstripping on a fire-rated or ADA-compliant commercial door
- Multiple sections fail within 6 months—suggests improper installation or incompatible materials
According to the National Association of Home Builders’ 2023 Remodeling Impact Report, 68% of weatherstripping failures traced to incorrect product selection—not poor technique.
"Most DIYers over-tighten screws or use generic foam tape on metal-clad doors—that compresses unevenly and fails in under a year." — Mike R., Certified Door Technician, DoorTech Alliance (2022)
Prevention Tips
Extend weatherstripping life with simple habits:
- Clean seals monthly with damp microfiber cloth—no solvents or abrasives
- Inspect twice yearly: before winter and after summer humidity peaks
- Apply silicone lubricant (not oil-based) to bulb seals every 9 months to prevent cracking
- Install a heavy-duty door stop to prevent slam damage to jamb seals
How do I know which weatherstripping profile matches my door?
Remove a 2-inch section of existing strip and take it to a hardware store. Compare cross-sections under magnification—or snap a macro photo and use our weatherstripping profile chart. Kerf-mounted strips fit into grooves; nail-on types have pre-punched holes; adhesive-backed have peel-and-stick backing.
Can I mix brands when replacing just one section?
Yes—if dimensions and compression force match. Measure thickness, height, and deflection resistance (psi). A mismatch causes uneven sealing or premature wear. Check manufacturer specs online: compatibility chart lists tested pairings for 12 top brands.
Is it okay to glue weatherstripping over old adhesive residue?
No. Residue creates weak bonding points. Use fine steel wool and isopropyl alcohol to scrub until the surface feels tacky and uniform. Test adhesion by pressing tape on cleaned area—if it lifts easily, re-clean.
Why does my new weatherstripping squeak when the door opens?
Squeaking means friction between moving parts—usually the bulb seal rubbing against the door edge. Lightly coat the contact surface with dry silicone spray (not WD-40). If noise persists, the bulb may be oversized; trim 1/32" off the tip with a utility knife.
How long should quality weatherstripping last?
Properly installed, high-grade EPDM rubber lasts 8–12 years; silicone lasts 15+ years. Vinyl degrades faster—especially in sun-exposed entries—and rarely exceeds 5 years. Replace sooner if you notice visible cracks, permanent compression set (>25% thickness loss), or air leakage confirmed with incense smoke test.
Do I need to remove the door to replace the top header strip?
Almost never. Access the header from inside the room: loosen hinge pins, lift door slightly, and slide the new strip behind the stop molding. For tight fits, use a thin putty knife to gently pry the stop away just enough to insert the strip—then re-nail it. See our stop molding guide for details.
A well-repaired weatherstrip doesn’t just silence drafts—it cuts your energy bills, reduces HVAC runtime, and keeps pests out. Most replacements take under 45 minutes and cost less than $25. The trick isn’t doing more work—it’s doing the right work, in the right spot, with the right material.