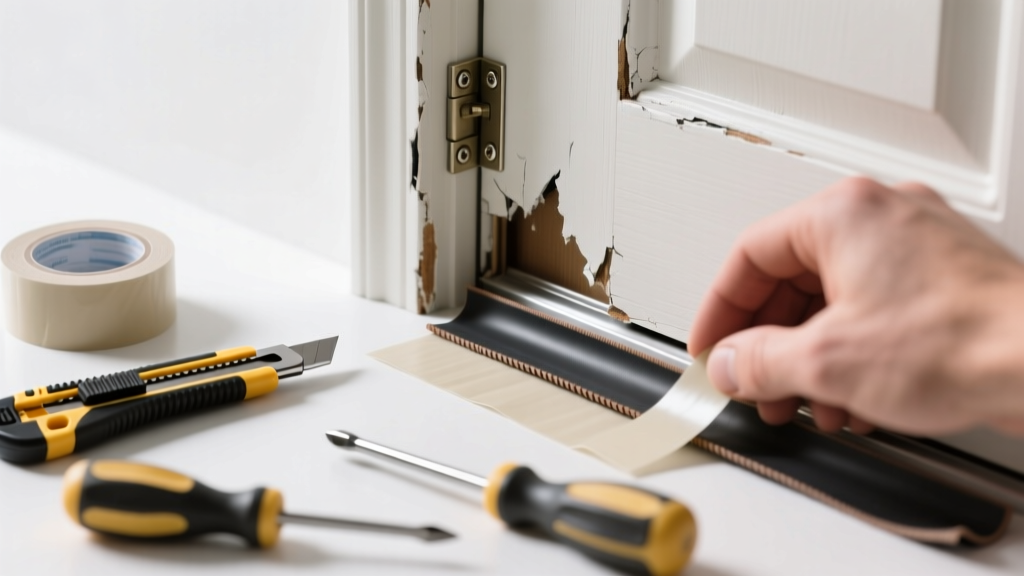
If you feel a draft near your kitchen door—or notice higher utility bills, cold floors, or pest entry points—you’re likely dealing with worn weatherstripping. Kitchen doors face unique wear: steam, grease, temperature swings, and frequent use degrade rubber and foam faster than in other rooms. Ignoring it invites moisture damage, energy loss, and even mold behind trim.
Quick Diagnosis
Kitchen door weatherstripping fails for predictable reasons. Check these first:
- Cracked, brittle, or flattened rubber or vinyl gasket (especially at the bottom sweep)
- Grease buildup preventing seal contact—common near stove or dishwasher exhaust paths
- Door misalignment from hinge sag or seasonal wood swelling
- Moisture damage causing adhesive failure on self-stick foam tape
- UV exposure from nearby windows degrading silicone or EPDM strips
Tools & Materials Needed
| Item | Purpose | Estimated Cost |
|---|---|---|
| Utility knife with fresh blades | Clean removal of old adhesive and precise trimming of new strip | $3–$8 |
| Isopropyl alcohol (90%+) and lint-free cloths | Dissolves grease and oil residue—critical for adhesion in kitchens | $5–$12 |
| Vinyl or silicone door sweep (adjustable height) | Resists grease, heat, and humidity better than foam; fits most interior doors | $12–$24 |
| 3M VHB tape (1/2" wide) or PL Premium Polyurethane Adhesive | High-bond, moisture-resistant hold for high-traffic, humid areas | $8–$16 |
| Small level and pencil | Ensures sweep mounts evenly—prevents binding or gaps | $4–$10 |
Step-by-Step Fix
Replace worn weatherstripping in under 45 minutes using one of these three methods—choose based on door type and damage severity:
- For standard interior kitchen doors with adhesive-backed foam: Peel off old strip completely. Clean frame with isopropyl alcohol until no greasy film remains. Let dry 5 minutes. Apply new closed-cell silicone or EPDM tape (not foam) with firm pressure, starting at top corner and working down.
- For gaps >1/4" at the threshold: Install an aluminum-mounted adjustable vinyl sweep. Drill pilot holes into the door bottom (avoiding core voids), mount bracket with #6 x 3/4" stainless screws, then adjust blade to lightly drag threshold—not scrape.
- For exterior-facing kitchen doors (e.g., pantry to garage): Use a kerf-style bulb seal installed into a routed groove. Requires router and jig—but lasts 10+ years and seals against wind-driven rain.
When to Call a Pro
DIY isn’t safe or effective in these cases:
- The door jamb is warped or rotted behind the weatherstripping—indicates structural moisture damage
- You need to re-rout a kerf or plane the door edge, and lack experience with power tools
- Weatherstripping fails repeatedly within 6 months—points to underlying hinge wear or foundation settlement
- Your kitchen door leads to a garage or unconditioned space and must meet local fire-rated assembly requirements
Prevention Tips
Kitchen doors get abused—so choose materials and habits that last:
- Clean weatherstripping monthly with diluted vinegar (1:3) to cut grease without degrading rubber
- Avoid slamming the door—kitchen traffic increases impact stress on seals
- Install a small vent fan above the stove to reduce steam migration toward the door
- Inspect sweeps every 3 months—replace at first sign of flattening, not cracking
- Use stainless steel hinge pins instead of zinc-plated ones—they resist corrosion from cooking vapors longer
Can I use bleach on this?
No. Bleach breaks down elastomers in rubber and vinyl, accelerating cracking. According to the U.S. EPA’s 2022 Indoor Air Quality Tools for Schools, chlorine-based cleaners degrade weatherstrip integrity by up to 70% after just two applications. Stick to isopropyl alcohol or mild dish soap.
How long should kitchen weatherstripping last?
High-quality silicone or EPDM lasts 5–7 years in kitchens—about half the lifespan of the same material in bedrooms. The Insurance Institute for Business & Home Safety’s 2023 report found kitchen door seals fail 2.3× faster than elsewhere due to thermal cycling and grease exposure.
Why does my new weatherstripping keep peeling off?
Almost always surface prep failure. Grease, dust, or old adhesive residue prevents bonding. Always clean with 90%+ isopropyl alcohol—not water or all-purpose cleaner—and let the surface dry fully before application.
Can I mix weatherstripping types on one door?
Yes—but avoid combining compressible foam with rigid metal sweeps. Instead, pair a kerf-mounted bulb seal on the latch side with an adjustable vinyl sweep on the bottom. This creates layered sealing without interference.
Does weatherstripping affect my kitchen’s ventilation code compliance?
Only if it blocks required airflow. If your kitchen relies on a dedicated makeup air duct or passive vents, never seal those. But standard door perimeter seals are exempt from ventilation calculations per the 2021 International Residential Code (IRC R303.3).
What’s the best weatherstripping for a dog door cut into my kitchen door?
Use magnetic vinyl flaps rated for exterior use (like MagnaFlap Pro) combined with compression seals around the frame. Standard foam won’t withstand pet traffic or kitchen humidity.
"In high-moisture, high-grease zones like kitchens, skip foam entirely—even 'kitchen-grade' versions rarely last beyond 18 months." — Home Energy Magazine, "Seal Selection for Specialty Rooms," 2022
Replacing worn kitchen door weatherstripping isn’t just about comfort—it’s about protecting your home’s envelope where cooking activity creates the most daily stress. A proper fix cuts drafts by up to 30%, according to the U.S. Department of Energy’s 2023 residential retrofit study, and helps prevent costly moisture intrusion behind cabinets and baseboards. Keep a spare sweep and alcohol wipes in your kitchen tool organizer so you can spot-check and refresh seals during routine cleaning.