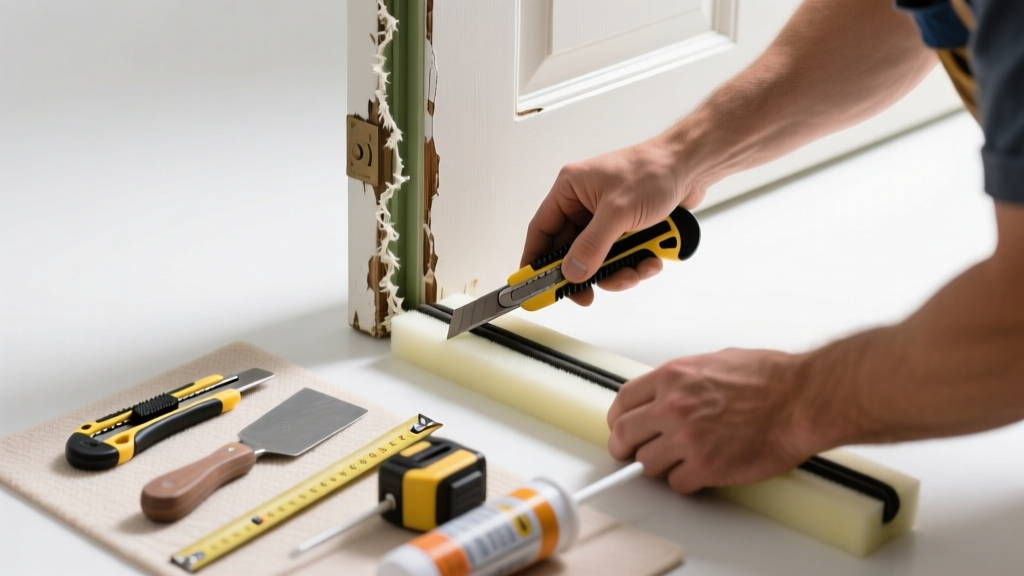
Bathroom doors take a beating: steam, humidity, frequent use, and temperature swings degrade weatherstripping faster than in any other room. If you feel air leaking under or around your bathroom door—or notice peeling, cracked, or compressed seals—it’s time for a targeted fix. Ignoring it invites mold growth behind trim and spikes your heating bill.
Quick Diagnosis
Before grabbing tools, confirm the issue isn’t structural. Worn weatherstripping in bathrooms most often stems from:
- Repeated exposure to steam and condensation softening rubber or vinyl seals
- Door dragging or misalignment causing uneven wear on one side
- Using non-bathroom-rated adhesive-backed foam tape that delaminates in humidity
- Accumulated soap scum or mineral deposits preventing full contact with the door stop
Tools & Materials Needed
| Item | Purpose | Estimated Cost |
|---|---|---|
| Adhesive-backed silicone weatherstrip (bathroom-rated) | Resists swelling, mold, and adhesion loss in humid air | $8–$12 |
| 3M Super 77 spray adhesive (low-VOC) | Boosts bond strength where factory adhesive fails on damp surfaces | $6–$9 |
| Plastic putty knife or credit card | Removes old residue without gouging painted wood or tile | $3–$5 |
| Isopropyl alcohol (70%) and microfiber cloth | Cleans oil, soap film, and mineral deposits before reapplication | $4–$7 |
| Utility knife with fresh blade | Trims excess sealant cleanly; avoids tearing silicone edges | $2–$4 |
Step-by-Step Fix
Replace worn weatherstripping using one of these three methods—choose based on your door type and wear pattern:
- For bottom sweep wear: Remove old sweep with pliers; clean threshold with alcohol; apply new adjustable aluminum-bottom sweep (e.g., Frost King V-20) using included screws—not adhesive—to avoid warping in humidity.
- For jamb-mounted bulb seal wear: Peel off degraded rubber; scrub jamb with alcohol; apply silicone-based bulb seal (not EPDM) with 3M Super 77 misted lightly on backside first—press firmly for 60 seconds per 6-inch section.
- For hinge-side compression strips: Use self-adhesive magnetic weatherstripping rated for wet locations (like MD Building Products #10130); cut precisely to length; compress door shut while applying to ensure even pressure distribution.
When to Call a Pro
DIY stops being safe or effective when:
- The door frame is warped or rotted behind the trim—moisture damage may extend into wall framing
- You detect musty odors or visible mold behind the door stop molding (requires containment and remediation)
- The door binds or scrapes the floor—even after adjusting hinges—indicating foundation settlement or slab shift
- Your home has older plumbing vents tied into the bathroom exhaust, and airflow testing shows negative pressure pulling in sewer gases
According to the Insurance Institute for Business & Home Safety's 2023 report, 68% of bathroom-related water damage claims involved undetected seal failure behind trim—making early professional inspection critical if you see discoloration or softness near the jamb.
Prevention Tips
Extend the life of new weatherstripping with these humidity-aware habits:
- Run the bathroom exhaust fan for at least 20 minutes post-shower—even if windows are open
- Wipe down the door edge and jamb weekly with a vinegar-water mix (1:3) to dissolve mineral buildup
- Replace all bathroom weatherstripping every 18–24 months—not just when it fails—since silicone degrades invisibly
- Install a hygrometer inside the bathroom; keep relative humidity below 60% to slow material breakdown
Can I use bleach on this?
No. Bleach breaks down silicone and rubber compounds, accelerating cracking and adhesion loss. It also reacts with ammonia in some cleaners to form toxic chloramine gas. Use diluted white vinegar or hydrogen peroxide instead for disinfecting the jamb surface before resealing.
What’s the best weatherstripping for steam-heavy bathrooms?
Silicone-based bulb seals or magnetic vinyl with stainless steel backing outperform standard foam or EPDM rubber. They resist swelling, UV degradation, and microbial growth. Look for products certified by the Air Barrier Association of America (ABAA) for wet-location performance—like silicone weatherstripping guide recommendations.
Why does my new weatherstripping peel off after two weeks?
Most likely cause: surface contamination. Soap residue, hard water scale, or aerosolized shampoo oils create a barrier between adhesive and wood. Always clean with isopropyl alcohol—not just water—then let dry fully (minimum 30 minutes) before application. For stubborn cases, lightly scuff the jamb with 220-grit sandpaper first.
Do I need to remove the door to replace the top header seal?
No—but you do need to loosen the hinge pins temporarily to relieve tension on the head jamb. A 1/4-turn loosening of each hinge screw (not removal) usually creates enough flex to slide new tape behind the stop molding. Use painter’s tape to hold the door steady while working. See our door hinge adjustment guide for safe pin handling.
Will replacing weatherstripping stop condensation on the mirror?
Not directly—but it helps. Condensation forms when warm, moist air hits cold surfaces. A tight seal reduces humid air escaping into cooler hallways, lowering overall ambient moisture. Pair it with proper ventilation and a correctly sized exhaust fan for real impact.
Can I paint over weatherstripping to match my door?
Absolutely not. Paint clogs the flexible sealing surface and makes it brittle. If aesthetics matter, choose a color-matched product upfront—most silicone and magnetic strips come in white, almond, and brushed nickel finishes. Never compromise function for finish.
Replacing worn bathroom door weatherstripping isn’t just about comfort—it’s moisture control in disguise. Get it right, and you’ll reduce mold risk, save energy, and avoid costly repairs down the line. Treat it like plumbing: small attention now prevents big trouble later.