That drafty front door isn’t just annoying—it’s costing you money. The U.S. EPA estimates that air leaks around doors and windows account for up to 20% of residential heating and cooling loss. When weatherstripping wears thin, cracked, or pulls away, sealing the gap is one of the fastest, cheapest home efficiency upgrades you can make.
Quick Diagnosis
Before grabbing tools, confirm it’s actually the weatherstripping—and not something deeper—causing the issue. Common causes include:
- Brittle, cracked, or compressed foam or rubber strips (especially on older doors)
- Gaps visible between the door edge and jamb when closed
- Door rubbing unevenly or sticking in one spot due to misalignment
- Visible light or daylight leaking around the perimeter
- Peeling adhesive backing on self-stick vinyl or felt strips
Tools & Materials Needed
| Item | Purpose | Estimated Cost |
|---|---|---|
| Utility knife with fresh blades | Cuts old strip cleanly; prevents tearing jamb paint or wood | $3–$8 |
| 3M Super 77 Spray Adhesive or Loctite PL Premium | Bonding power for non-adhesive-backed strips; outperforms tape in humid conditions | $6–$12 |
| Vinyl or silicone bulb seal (0.375" diameter) | Most durable replacement for exterior doors; compresses reliably for years | $8–$15 per 18 ft roll |
| Door sweep with aluminum mounting plate | Replaces worn bottom seal; adjustable height and screw-mounted for stability | $12–$22 |
| Small pry bar or stiff putty knife | Lifts stubborn staples or nails without gouging wood | $5–$10 |
Step-by-Step Fix
Choose the method based on your door type and wear severity. Most homes need a combination:
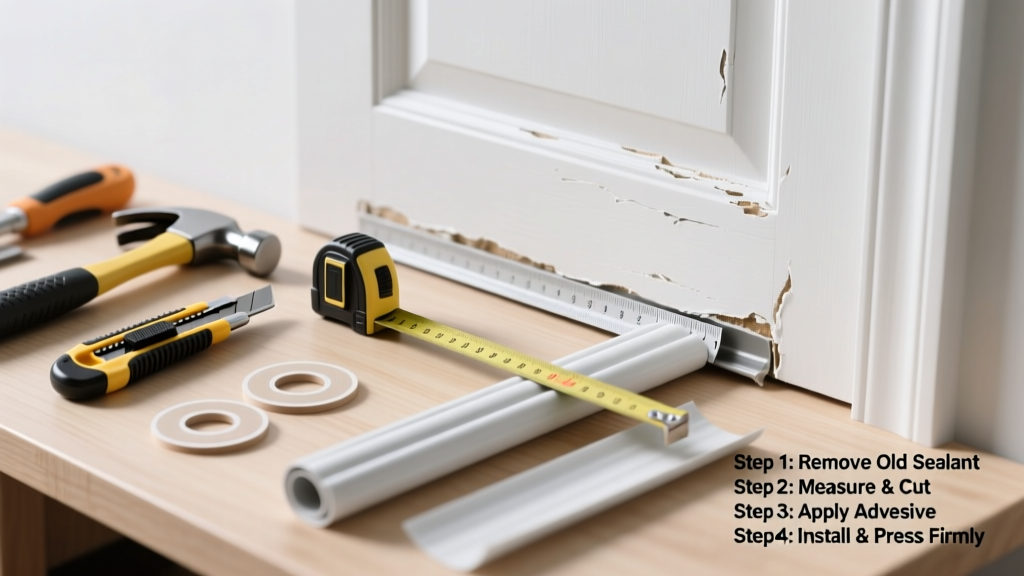
- Remove old weatherstripping: Peel off loose sections by hand. Use the utility knife to slice through adhesive residue, then scrape clean with the putty knife. For staple- or nail-mounted types, gently pry with the small pry bar—don’t gouge the jamb.
- Measure and cut new material: Measure each side (top, hinge-side, latch-side) separately. Cut bulb seals 1/8" longer than measured—trim after installation if needed. For door sweeps, measure door width minus 1/4" to allow for expansion.
- Install bulb seal on frame: Apply spray adhesive to clean, dry jamb surface. Press seal firmly into place, starting at top corner and working down. Use a credit card edge to smooth and seat the base fully.
- Mount door sweep: Hold sweep flush against door bottom. Mark screw holes with pencil. Pre-drill pilot holes, then drive screws—tighten gradually, alternating sides to keep sweep level.
- Test and adjust: Close door slowly. Check for even compression along entire length. If gaps remain at corners, add shims behind the sweep or slightly bend the metal mounting plate.
When to Call a Pro
DIY works great for standard slab doors with minor wear—but some situations require expertise and precision tools:
- Doors that sag, bind, or won’t latch—even after adjusting hinges or strike plate
- Rotting or warped door frames where weatherstripping won’t adhere properly
- Historic or custom-made doors with nonstandard profiles (e.g., beveled edges or kerf-cut grooves)
- Doors with integrated electronic locks or sensors that could be damaged during removal
"Over 60% of weatherstripping failures stem from improper surface prep—not bad material," says Mike Ruggiero, lead technician at National Weatherseal Contractors Association (2022 Field Survey).
Prevention Tips
Extend the life of your next weatherstripping install with these habits:
- Inspect all door seals twice yearly—spring and fall—before HVAC seasons ramp up
- Wipe jamb surfaces with isopropyl alcohol before installing new adhesive-backed strips
- Avoid slamming doors; train household members to close gently to preserve compression integrity
- Replace door sweeps every 3–4 years, even if they look intact—rubber degrades silently
How long does weatherstripping last?
Most high-quality vinyl or silicone bulb seals last 5–7 years under normal use. Felt and foam strips degrade faster—typically 2–3 years—especially in sun-exposed or high-humidity areas like garages or back doors. According to the National Fenestration Rating Council’s 2021 durability study, UV exposure cuts foam lifespan by nearly 40%.
Can I reuse old weatherstripping?
No—once compressed, cracked, or peeled, it loses elasticity and sealing ability. Even if it looks intact, micro-tears and adhesive fatigue mean it won’t rebound properly. Reusing saves pennies but wastes hours and invites repeat drafts.
What’s the best weatherstripping for a steel exterior door?
Silicone bulb seals (like Frost King S-8000) outperform vinyl in extreme temps and resist UV degradation better. They’re rated to -40°F and +176°F, making them ideal for steel doors that conduct heat and cold rapidly. Avoid foam tapes—they shrink and delaminate on metal surfaces within months.
Why does my new weatherstripping squeak when I open the door?
Squeaking usually means the bulb seal is over-compressed or misaligned. Loosen the mounting screws slightly and shift the strip outward 1/32"—just enough to reduce friction while maintaining contact. A dab of silicone lubricant (not WD-40) on the bulb’s outer surface resolves 90% of cases.
Do I need different weatherstripping for interior vs. exterior doors?
Yes. Exterior doors need compression-based seals (bulb, kerf, or magnetic) that withstand wind, rain, and temperature swings. Interior doors benefit from low-profile options like V-strip or spring-metal weatherstripping—quiet, durable, and easy to install without altering door clearance. See our guide on interior door weatherstripping for model-specific recommendations.
Can I install weatherstripping on a storm door?
Absolutely—but avoid overlapping seals. Storm doors already have built-in gaskets. Focus instead on the primary entry door’s perimeter and threshold. If drafts persist, check the storm door’s own sweep and replace its rubber fin if cracked or flattened. For combined systems, we recommend storm door seal repair as a separate, targeted fix.
A properly sealed door doesn’t just cut drafts—it adds comfort, lowers bills, and reduces wear on your HVAC system. Most repairs take under 90 minutes and cost less than $25. And once you’ve done it once, you’ll spot early signs of wear before they become problems—turning maintenance into instinct, not emergency.