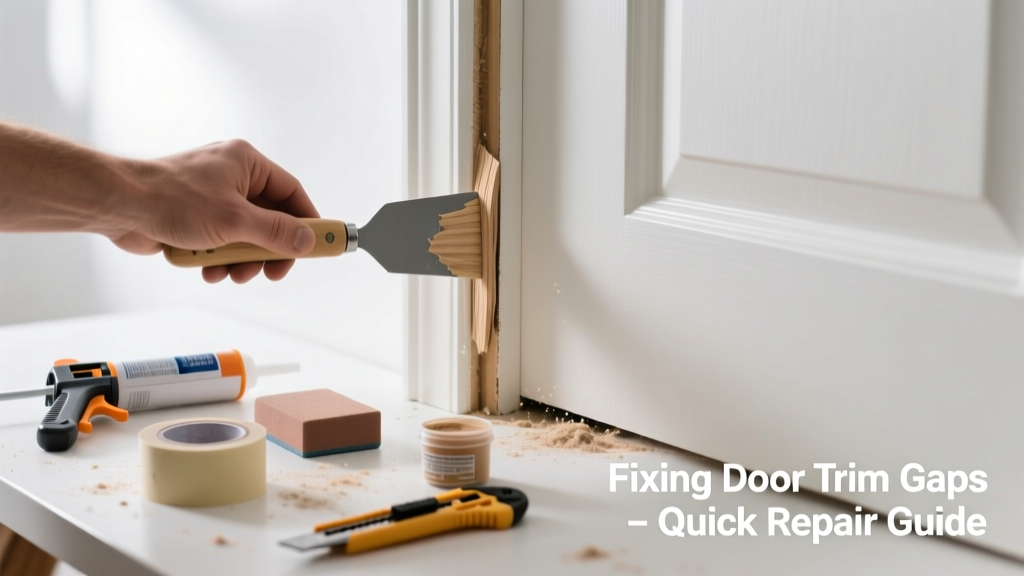
That gap between your door casing and the wall isn’t just ugly—it’s a sign of shifting framing, poor installation, or seasonal wood movement. If it’s wider than 1/8 inch, lets drafts through, or shows visible nail pops, it’s time to act—not ignore it.
Quick Diagnosis
Before grabbing tools, identify the root cause. Most door trim gaps stem from one (or more) of these issues:
- Shrinking or swelling of solid-wood trim due to humidity swings (common in older homes)
- Loose or missing finish nails near the gap location
- Wall drywall compound cracking or pulling away from the trim edge
- Structural settling—especially if gaps appear near the top corner or along the entire jamb side
- Incorrectly sized trim installed over uneven drywall or plaster
Tools & Materials Needed
| Item | Purpose | Estimated Cost |
|---|---|---|
| 16-gauge finish nails (1-1/4") | Secure loose trim without splitting wood | $4–$7 |
| Nail set & hammer | Drive nails below surface for filler concealment | $8–$12 |
| Painter’s caulk (paintable, acrylic-latex) | Fills small gaps (≤1/4") and seals air leaks | $3–$6 |
| Wood shims (tapered, 1/16"–1/4") | Re-level trim where wall is out-of-plumb | $2–$5 |
| Minwax Wood Filler (stainable) | Repair larger gaps before sanding and painting | $5–$9 |
Step-by-Step Fix
Use this sequence based on gap size and cause. Start conservative—don’t over-tighten or force trim into place.
- Tap and test: Lightly tap along the trim with a rubber mallet. If it flexes or makes a hollow sound, nails are loose. Mark those spots with pencil.
- Re-nail strategically: Drive new 1-1/4" finish nails every 8–10 inches along the loose section. Angle nails slightly toward the stud behind the drywall (not straight in). Set each nail 1/16" below surface using a nail set.
- Fill & seal: For gaps ≤1/8", use painter’s caulk applied with a caulk gun and smoothed with a damp finger. For gaps 1/8"–1/4", embed a thin wood shim behind the trim first, then caulk over the seam.
- Repair large gaps (>1/4"): Apply stainable wood filler into the void, let cure per label (usually 2–4 hours), sand flush with 120-grit paper, then prime and paint.
When to Call a Pro
DIY stops where structural integrity begins. Call a licensed carpenter or general contractor if:
- The gap widens more than 1/4" over two weeks—even after re-nailing
- You see diagonal drywall cracks extending from the door frame into adjacent walls
- The door itself binds, sticks, or won’t latch properly (sign of shifted framing)
- Trim gaps coincide with sloping floors or windows that no longer operate smoothly
According to the Insurance Institute for Business & Home Safety's 2023 report, 62% of homes with persistent trim gaps had underlying foundation movement confirmed by professional inspection.
Prevention Tips
Trim gaps recur when environmental and installation factors aren’t managed. Prevent future issues with these habits:
- Maintain indoor humidity between 35–55% year-round using a hygrometer and dehumidifier/humidifier as needed
- Use kiln-dried hardwood or MDF trim in high-moisture areas like bathrooms and laundry rooms
- Leave a 1/16" expansion gap at the bottom of baseboard and casing during install—never butt tight to flooring
- Prime all trim edges (including backside) before installation to slow moisture absorption
Why does my door trim gap get worse in winter?
Cold, dry air pulls moisture from wood trim, causing it to shrink. This exposes gaps previously hidden by summer swelling. The U.S. EPA estimates that indoor relative humidity drops below 20% in 40% of U.S. homes during January—well below the 35% minimum recommended for wood stability.
Can I glue the trim instead of nailing it?
No—adhesive alone won’t hold long-term. Construction adhesive (like PL Premium) can supplement nails in hard-to-reach spots, but never replace them. Trim must be mechanically fastened to resist seasonal movement and door vibration.
What’s the maximum acceptable gap size for painted trim?
For painted interior trim, the industry standard (per National Association of the Remodeling Industry guidelines, 2022) allows up to 1/8" gap at corners and 1/16" along straight runs—anything larger requires correction before final paint.
Will caulk alone fix a wavy or bowed trim board?
No. Caulk hides—but doesn’t correct—bowing. A bowed board means the wood warped or was improperly acclimated. Remove and replace it, or plane the high spot if minor. See our guide on how to fix warped wood trim.
Do I need to remove the door to fix trim gaps?
Rarely. Most trim gaps occur on the casing—not the jamb—and don’t require door removal. Only pull the door if you’re replacing the entire jamb assembly or correcting severe plumb issues. For routine gap repair, work around the closed door.
Can I use expanding foam to fill behind trim?
Avoid canned spray foam behind interior trim. It expands unpredictably, warps thin boards, and is nearly impossible to remove. Use rigid wood shims or low-expansion window & door foam (like Great Stuff Door & Window) only if backing out a severely recessed section—and cut excess foam flush before caulking.
Fixing a door trim gap isn’t about perfection—it’s about function, comfort, and catching small problems before they become big ones. A tight, consistent reveal tells guests your home is cared for; a drafty, uneven gap whispers neglect. Tackle it now, and you’ll feel the difference every time you close that door.