If your door trim has a visible gap—especially near the floor, hinge side, or strike plate—it’s likely not just cosmetic. That gap often points to a failed or warped part: the door stop, jamb extension, or compression seal. Ignoring it leads to drafts, noise, pest entry, and energy loss—up to 20% of heating/cooling costs can leak through poorly sealed doors (U.S. Department of Energy, 2022).
Quick Diagnosis
Before grabbing tools, confirm what’s actually failing. A gap isn’t always about missing trim—it’s usually one of these:
- The door stop molding is cracked, loose, or pulled away from the jamb
- The jamb itself is bowed or shifted due to foundation settling or improper shimming
- The weatherstripping or kerf-mounted seal is compressed, torn, or missing entirely
- A pre-hung door’s expansion gap filler (foam or shim pack) has degraded or collapsed
Tools & Materials Needed
| Item | Purpose | Estimated Cost |
|---|---|---|
| Trim removal tool (or 5-in-1) | Prevents gouging wood while prying off old stop or casing | $8–$15 |
| 16d finishing nails + nail set | Secures new stop without visible nail heads | $4–$7 |
| Wood glue (Titebond III) | Bonds mitered joints and reinforces nail hold in pine or poplar stops | $3–$6 |
| Replacement door stop (1/2" x 1-1/4", pine or PVC) | Standard size fits most interior doors; PVC resists swelling in humid rooms | $2–$5 per 8-ft piece |
| Minwax Wood Filler (stainable) | Fills gaps between new stop and jamb before sanding and painting | $5–$9 |
Step-by-Step Fix
Most gaps stem from a failed door stop—the thin strip that the door closes against. Replacing it takes under an hour if the jamb is sound.
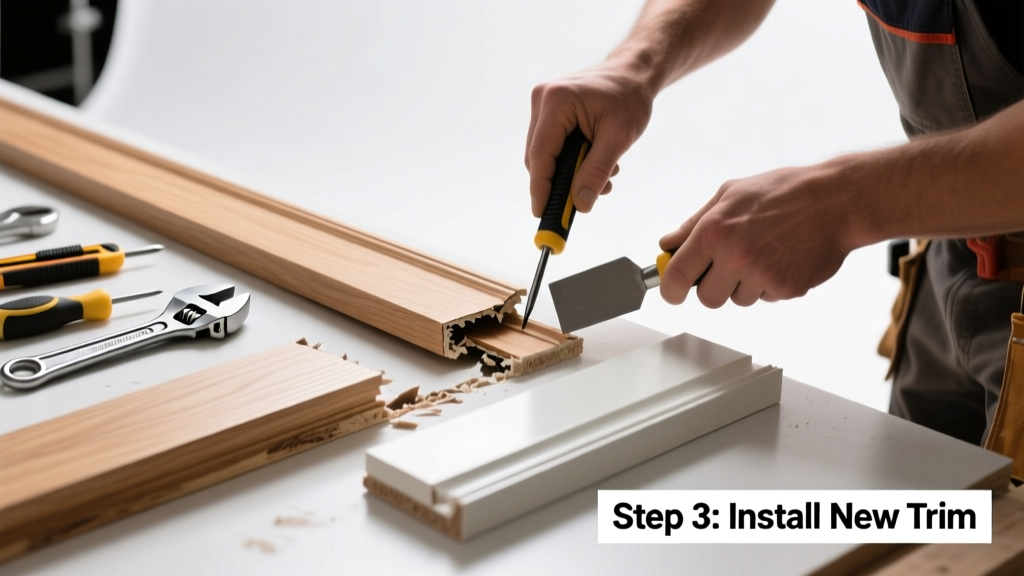
- Remove the old stop: Slide a trim tool behind the stop at a corner, gently lever it out. Pull nails with pliers; fill old holes with wood filler.
- Cut and dry-fit the new stop: Miter both ends at 45° for clean corners. Hold it tight to the jamb—check for consistent 1/8" gap along the door edge using a feeler gauge.
- Glue and nail: Apply wood glue to the back, press into place, then drive 16d nails every 12 inches. Set each nail slightly below the surface with a nail set.
- Fill, sand, and finish: Let glue cure 2 hours. Fill nail holes and seam gaps with stainable filler. Sand smooth with 120-grit, then prime and paint to match.
When to Call a Pro
DIY works only if the jamb is plumb and solid. Call a licensed carpenter if you find any of these:
- The door jamb is visibly racked (diagonally twisted) or moves when pushed
- Gaps persist after replacing the stop—and the door itself binds or scrapes the frame
- You discover rot in the jamb or subfloor beneath the threshold (common in bathrooms or exterior doors)
- The gap appears only after seasonal humidity changes and reopens yearly despite repairs
Prevention Tips
Long-term performance starts with smart materials and installation habits:
- Use PVC door stops in high-moisture areas like laundry rooms or basements—they won’t swell or crack
- Shim the jamb fully during initial install: 3 shims per hinge location, checked with a level and 4-ft straightedge
- Apply a bead of silicone caulk behind the stop’s top and bottom ends before nailing to block air infiltration
- Inspect trim gaps twice yearly—once before heating season and once before AC season—to catch early movement
Can I reuse the old nails when reinstalling the door stop?
No. Old nails lose holding power and may split new wood. Always use fresh 16d finishing nails—pre-drilling pilot holes helps prevent splitting in hardwood jambs.
Do I need to remove the entire door casing to fix the gap?
Almost never. The door stop sits *inside* the casing and is independent. Removing casing risks damaging wallboard or requiring full repainting—only do it if the casing itself is warped or detached.
What’s the ideal gap between the door edge and the stop?
According to the National Association of Home Builders’ 2023 Residential Construction Performance Guidelines, the functional gap should be 1/8" ± 1/32". Too tight causes binding; too wide lets air leak and reduces latch engagement.
Can I glue the stop instead of nailing it?
Glue alone isn’t sufficient—it’s a supplement. Wood glue provides shear strength but zero pull-out resistance. Nails anchor the stop against repeated door impact. Skip nails, and the stop will peel within months.
Is caulk enough to fix a trim gap?
Caulk masks symptoms but doesn’t solve root causes like misalignment or warping. It’s acceptable for tiny seams (<1/16") after proper repair—but never as a standalone fix for structural gaps. As contractor Mike Rafferty notes in Remodeling Magazine (2021): “Caulk is bandage tape for carpentry problems—not a cure.”
How long does replacement door stop material last?
Pine stops last 10–15 years indoors with stable humidity; PVC lasts 25+ years and handles bathroom moisture without degrading. Avoid MDF stops—they swell instantly on contact with water and delaminate within 2 years in damp spaces.
A properly replaced door stop restores quiet, comfort, and efficiency—not just appearance. If your door now closes smoothly with no rattle or draft, you’ve nailed the core issue. For deeper jamb or threshold problems, check our guide on door jamb repair or how to adjust door gap without replacing trim.