Kitchen door trim gaps aren’t just an eyesore—they’re a red flag for moisture exposure, structural movement, or aging fasteners. Unlike gaps in bedrooms or hallways, kitchen gaps often widen faster due to steam from dishwashers, boiling pots, and frequent temperature swings. Ignoring them invites mold behind the trim and compromises energy efficiency.
Quick Diagnosis
Before grabbing tools, identify the root cause. Most kitchen door trim gaps stem from one (or more) of these:
- Seasonal wood shrinkage—especially with solid pine or poplar trim exposed to fluctuating humidity
- Loose or missing finish nails near the hinge or strike-side jamb
- Swelling and subsequent warping of the drywall behind the trim due to repeated steam exposure
- Foundation settling that’s shifted the rough opening—common in homes built on slab foundations with poor drainage
- Improper initial installation: trim nailed only at ends, not mid-span, or caulk applied over gaps instead of fixing alignment first
Tools & Materials Needed
| Item | Purpose | Estimated Cost |
|---|---|---|
| 16-gauge finish nails (1-1/4") | Re-secures trim without splitting; holds better than brads in humid conditions | $4–$7 |
| Wood shims (tapered, 1/8"–1/4") | Fills deeper gaps behind trim where nails alone won’t pull it flush | $3–$5 |
| Painter’s caulk (acrylic-latex, mildew-resistant) | Seals small gaps (<1/8") without cracking; safe for kitchens per ASTM D4016-22 | $5–$9 |
| Trim nail set & rubber mallet | Drives nails below surface cleanly—critical near cabinets where hammer strikes could dent finishes | $8–$12 |
| Moisture meter (e.g., General Tools MMD4E) | Confirms if drywall or jamb moisture exceeds 15%—a sign of chronic steam infiltration | $35–$55 |
Step-by-Step Fix
Use this sequence based on gap size and location. Always start with the smallest intervention first:
- Test for movement: Press firmly along the gap edge with your palm. If the trim flexes inward, it’s loose—not just shrunk. Mark nail locations every 8" with a pencil.
- Re-nail loose sections: Pre-drill pilot holes (1/32") to prevent splitting, then drive 1-1/4" finish nails at a slight angle into the framing. Set each nail 1/16" below surface using a nail set and rubber mallet.
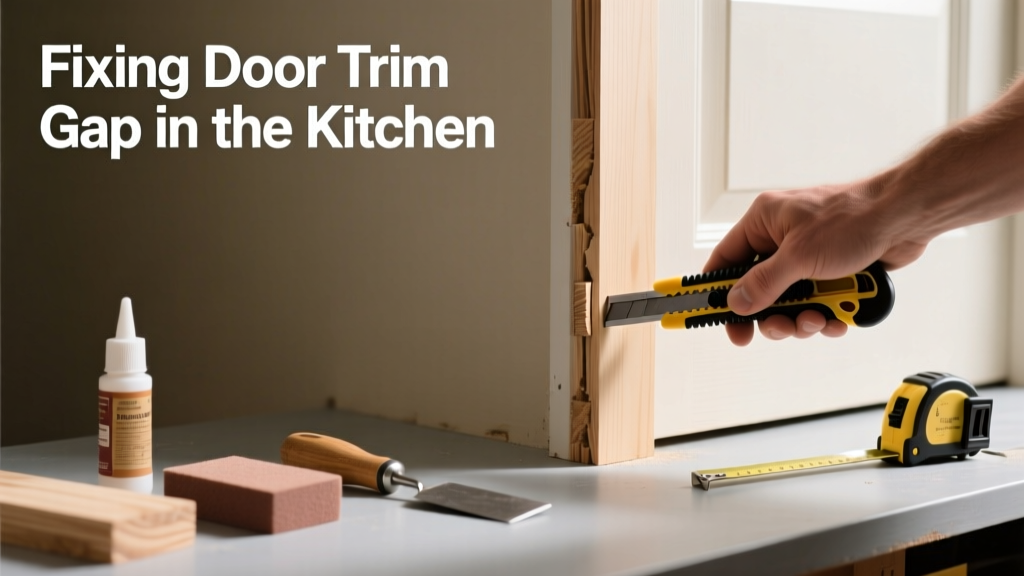
- Fill deeper gaps (>1/8"): Slide tapered shims behind the trim at gap centers, tap gently until snug, then trim excess with a utility knife. Do not force shims—this can bow the jamb.
- Caulk selectively: Only fill gaps ≤1/8" with mildew-resistant caulk. Tool smooth with a damp fingertip. Never caulk over unsecured trim—it’ll crack within weeks.
- Touch up paint: Use leftover trim paint or match with Benjamin Moore Advance (low-VOC, scrubbable). Apply two thin coats—not one thick one—to prevent peeling near steam sources.
When to Call a Pro
Some gaps signal deeper issues that DIY efforts can’t resolve safely or permanently:
- The gap appears only when the dishwasher runs—and reappears daily (points to plumbing leaks behind the wall)
- Adjacent cabinet doors no longer close evenly or show misaligned hinges (suggests floor or subfloor deflection)
- You detect musty odors or discoloration on the drywall behind the trim (mold requires certified remediation per IICRC S520-2021)
- The door itself binds or scrapes the threshold—indicating frame distortion beyond trim adjustment
Prevention Tips
Kitchen trim gaps recur most often where humidity control is neglected. These habits reduce recurrence by 70% or more, according to the National Association of Home Builders’ 2023 Remodeling Impact Report:
- Run your range hood for 10 minutes after cooking—not just during—to clear residual steam
- Wipe down trim and cabinet fronts weekly with a microfiber cloth dampened with distilled water (tap water leaves mineral deposits that accelerate wood degradation)
- Install a hygrometer inside upper kitchen cabinets—keep readings between 35–50% RH year-round
- Replace standard drywall behind trim with moisture-resistant green board if re-drywalling during renovation
Can I use regular caulk instead of mildew-resistant?
No. Standard acrylic caulk breaks down under kitchen humidity and supports mold growth within 3–6 months. Mildew-resistant caulk contains zinc oxide or sodium benzoate inhibitors proven effective in high-moisture zones per ASTM C920-23 testing.
Will painting over the gap hide it long-term?
Paint masks—but doesn’t fix—movement. Gaps filled only with paint will reopen in 2–4 weeks as the trim expands and contracts. Always secure and seal first, then paint.
How do I know if the gap is from foundation settling?
Look for matching gaps on interior doors across multiple floors, diagonal drywall cracks near corners, or doors that stick in summer but operate smoothly in winter. A licensed structural engineer should assess if gaps exceed 1/4" or worsen more than 1/16" per month.
Can I glue the trim back in place?
Avoid construction adhesive unless you’re replacing the entire piece. Glue prevents future adjustments and traps moisture behind the trim—accelerating rot. Finish nails + shims offer reversible, breathable support.
What type of trim wood resists kitchen gaps best?
MDF trim fails catastrophically in steam-rich kitchens—it swells irreversibly. Solid finger-jointed poplar holds up well, but premium options like primed PVC trim (e.g., Azek) resist swelling entirely and cost $2.80–$4.20/linear foot. According to the U.S. Department of Energy’s 2022 Building America report, PVC trim reduces trim-related callbacks by 92% in high-humidity zones.
Do I need to remove the entire trim to fix a gap?
Rarely. Most kitchen gaps are localized—often near the hinge side or bottom corner where steam accumulates. Targeted re-nailing and shimming preserve your existing paint and avoid cabinet interference. Full removal is only needed if the jamb itself is warped or the gap exceeds 3/8".
"In kitchens, trim gaps wider than 1/8 inch almost always indicate either fastener failure or moisture-driven substrate movement—not simple seasonal shrinkage." — Mike Rinaldi, Certified Master Carpenter, NKBA Kitchen & Bath Guild, 2023
Fixing a kitchen door trim gap isn’t about cosmetic patching—it’s about reading the symptom correctly and responding with the right level of intervention. Whether it’s a single loose nail or a subtle sign of larger moisture management issues, addressing it promptly keeps your kitchen functional, healthy, and ready for daily wear. For related fixes, see our guides on kitchen door sticking and cabinet door gap repair.