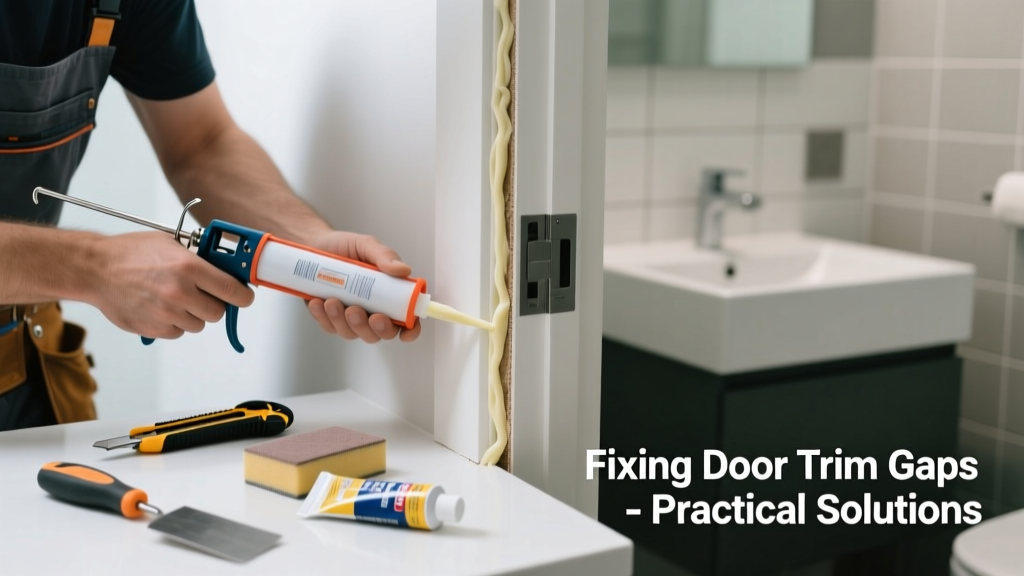
Bathroom door trim gaps aren’t just ugly—they’re a red flag for moisture intrusion, energy loss, and potential mold growth behind the wall. Unlike gaps in dry rooms, bathroom gaps swell, shrink, and degrade faster due to humidity swings and steam exposure. If you’ve noticed a widening gap near your bathroom door jamb or baseboard, don’t wait until paint blisters or caulk cracks.
Quick Diagnosis
Before grabbing tools, identify the root cause. Most bathroom door trim gaps stem from one (or more) of these:
- Wood swelling or warping from chronic humidity exposure
- Shrinkage of framing lumber as the house settles or dries out
- Improper installation—trim nailed only at top/bottom, not mid-height
- Subfloor movement due to water leaks beneath the bathroom floor
- Rot or decay in the bottom of the door jamb or stud behind the trim
Tools & Materials Needed
| Item | Purpose | Estimated Cost |
|---|---|---|
| 100-grit sandpaper + sanding block | Smooth swollen trim edges before re-caulking or resetting | $4–$8 |
| 100% silicone caulk (mold-resistant) | Seals gaps where moisture is present; won’t crack or mildew like acrylic | $5–$9 |
| Finishing nails (1½" galvanized) | Re-secures trim without rusting in humid air | $3–$6 |
| Small pry bar & nail set | Safely removes loose trim without gouging drywall or tile | $12–$18 |
| Moisture meter (optional but recommended) | Confirms if underlying wood is damp (>15% moisture = possible rot) | $35–$75 |
Step-by-Step Fix
Choose the method that matches your gap size and cause. For gaps under ⅛", re-caulking may suffice. For gaps over ¼" or recurring separation, structural re-securing is required.
- Assess moisture first: Use a moisture meter on the jamb and subfloor. If readings exceed 15%, investigate leaks before proceeding.
- Remove loose trim: Gently pry off warped or detached sections using a small pry bar. Pull nails with a cat’s paw; avoid damaging adjacent tile or drywall.
- Prep the surface: Sand rough or swollen edges flush. Wipe clean with vinegar-water (1:1) to remove soap scum and inhibit mold spores.
- Reset and fasten: Apply construction adhesive to the back of trim, press into place, then secure every 8" with galvanized finishing nails. Set nails slightly below surface.
- Seal strategically: Use mold-resistant silicone only at the top and side seams—not the bottom edge—to allow minor expansion and prevent trapped moisture.
When to Call a Pro
Some gaps signal deeper issues that require licensed expertise—not just carpentry skill.
- The gap widens more than ⅛" within 2 weeks after repair
- You detect soft, spongy drywall or flooring near the door frame
- There’s visible black mold behind the trim or musty odor that lingers
- The door itself binds, scrapes, or no longer latches—indicating structural shift in the rough opening
According to the Insurance Institute for Business & Home Safety's 2023 report, 68% of bathroom-related water damage claims involved undetected framing rot behind trim—often misdiagnosed as simple cosmetic gaps.
"In high-humidity zones like bathrooms, trim gaps are rarely just aesthetic. They’re often the first visible symptom of moisture migration behind walls." — Home Repair Standards Handbook, 4th ed., National Association of the Remodeling Industry (NARI), 2022
Prevention Tips
Stop gaps before they start—or return—with these proactive steps:
- Run your bathroom exhaust fan for at least 20 minutes after every shower (not just during)
- Install a hygrometer; keep relative humidity between 30–50% (ideal range per ASHRAE 2023 guidelines)
- Use MDF or PVC trim instead of solid pine in future replacements—it resists swelling
- Apply vapor barrier tape behind trim joints where it meets tile or drywall
Can I use regular acrylic caulk instead of silicone?
No. Acrylic caulk breaks down in sustained humidity and supports mold growth. The U.S. EPA estimates that 14% of household water usage is from leaks—including micro-leaks around improperly sealed trim. Only 100% silicone or specialty bathroom sealants meet ASTM C920 standards for wet-area adhesion.
Why does my bathroom trim gap come back every summer?
Summer humidity causes wood trim to absorb moisture and expand—then contract in winter. This repeated cycling fatigues fasteners and adhesive bonds. That’s why galvanized nails and flexible silicone (not rigid glue) are essential in bathrooms.
Is it safe to nail into tile near the door frame?
Not without precautions. Drill pilot holes with a carbide-tipped masonry bit first, and use plastic anchors rated for ceramic tile. Better yet, anchor into the stud behind—locate it with a stud finder and confirm with a small inspection hole behind the trim.
How long should silicone caulk cure before showering?
Allow full 72-hour cure time before exposing to direct steam or water spray—even if the surface feels dry. Humidity slows curing. Rushing this step compromises adhesion and invites early failure.
Can I paint over silicone caulk?
Standard silicone isn’t paintable—but some hybrid formulations (e.g., GE Advanced Silicone 2) are labeled "paintable" and contain silicone-acrylic blends. Always test a small area first and wait 7 days after application before painting.
What if the gap is behind the baseboard, not the jamb?
That usually points to subfloor movement or improper shimming during initial install. Remove the baseboard, check for gaps between subfloor and bottom plate, and fill with closed-cell foam backer rod before reattaching with construction adhesive and screws (not nails) into the floor joists.
A well-sealed bathroom door trim doesn’t just look better—it extends the life of your framing, prevents hidden mold, and keeps your HVAC system from working overtime to manage humidity. Tackle the gap now, not when you spot discoloration on the ceiling below.