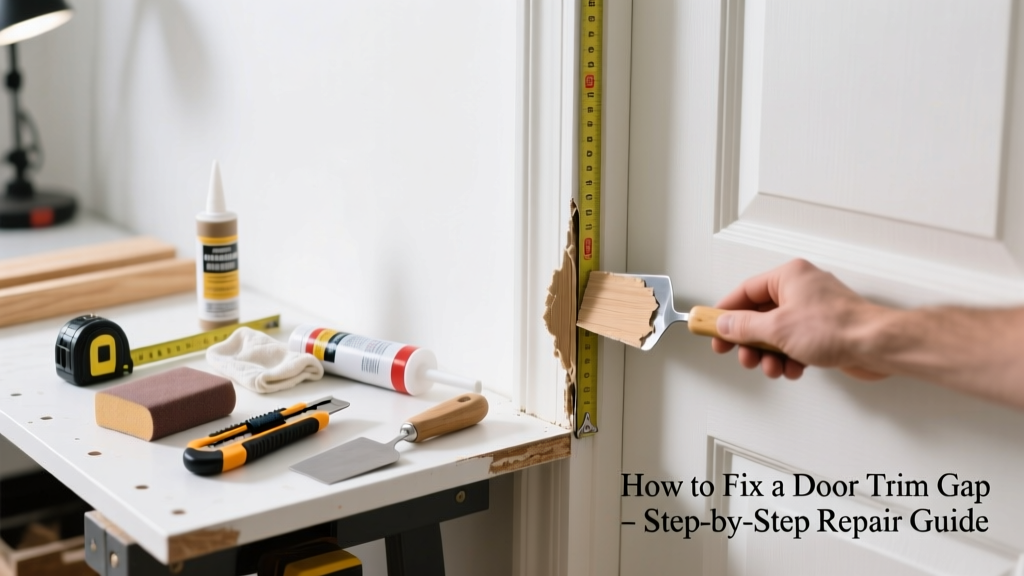
A gap between your door trim and the wall isn’t just an eyesore—it’s a sneaky source of drafts, dust, and higher energy bills. Most gaps under 1/4 inch are simple fixes; larger ones often point to deeper framing or settling issues. Let’s get it sealed right, without guesswork.
Quick Diagnosis
Before grabbing tools, identify the root cause. Gaps rarely appear out of nowhere—they’re symptoms. Here are the most common culprits:
- House settling shifting the rough opening or trim nails pulling loose
- Shrinkage in green lumber or seasonal wood movement (especially pine trim)
- Poor initial installation—trim not fully nailed, caulk omitted, or drywall compound applied too thickly behind trim
- Moisture damage warping jamb or trim, creating visible separation
- Door hinge wear causing the door to sag and pull trim away from the wall
Tools & Materials Needed
| Item | Purpose | Estimated Cost |
|---|---|---|
| 100-grit sandpaper | Smooths rough edges before caulking or painting | $3–$5 |
| Painter’s caulk (paintable acrylic latex) | Fills small gaps (≤1/8") without cracking; accepts paint | $4–$7 |
| Backer rod (¼" diameter) | Supports caulk in gaps >1/8", prevents sinking and shrinkage | $6–$9 |
| Trim nail set & finish nails (1½") | Re-secures loose trim without splitting wood | $8–$12 |
| Wood filler (vinyl spackling) | Fills nail holes and minor cracks; sands smooth | $5–$8 |
Step-by-Step Fix
Choose the method based on gap size and stability:
- For hairline gaps (≤1/16"): Clean with a damp cloth, let dry, then apply painter’s caulk using a fine-tip nozzle. Smooth with a damp finger or caulk tool. Let cure 24 hours before painting.
- For medium gaps (1/16"–3/8"): Press compressible backer rod into the gap first, then top with caulk. This prevents voids and ensures even compression as the caulk cures.
- For loose or warped trim: Remove existing nails with a cat’s paw or pry bar. Tap trim flush with a rubber mallet, re-nail every 8–10 inches using finish nails and a nail set. Fill holes with vinyl spackling, sand, then caulk joints.
- For recurring gaps near the door stop: Check hinge screws—if loose, replace with 3" screws driven into the stud. A sagging door pulls trim outward over time.
When to Call a Pro
DIY has limits—and safety is non-negotiable. Call a licensed contractor if you notice:
- Gaps wider than ½ inch that persist after re-nailing and caulking
- Adjacent drywall cracking, sloping floors, or doors sticking on multiple sides—signs of structural settlement
- Mold growth or musty odors behind the trim, indicating chronic moisture intrusion
- Trim separating only on exterior doors during winter—could signal inadequate flashing or insulation behind the jamb
According to the Insurance Institute for Business & Home Safety's 2023 report, 62% of homeowners who ignored persistent trim gaps later faced increased air leakage—raising heating costs by up to 15% annually.
Prevention Tips
Stop gaps before they start with these field-tested habits:
- Use construction adhesive (like PL Premium) along the back of trim during installation—not just nails—to resist seasonal movement
- Leave a 1/8" expansion gap at floor level for interior trim; seal only the top and side joints
- Inspect trim twice yearly—spring and fall—when humidity shifts make movement most visible
- Install door stops so they contact the jamb, not the trim, to avoid repeated impact stress
Can I use regular silicone caulk instead of painter’s caulk?
No—silicone doesn’t accept paint and can bleed through topcoats. It also lacks the flexibility and adhesion needed for interior trim joints. Stick with acrylic latex painter’s caulk for all interior applications. For exterior doors exposed to rain and UV, use a high-quality silicone-acrylic hybrid like GE Advanced Silicone II.
Why does my trim gap come back after I caulk it?
Recurring gaps usually mean the trim isn’t mechanically secured. Caulk alone won’t hold moving wood. If the gap returns within weeks, the trim is likely loose or the underlying framing has shifted. Re-nail first, then caulk.
Should I remove the entire trim to fix a large gap?
Only if the gap exceeds 3/8" and the trim is warped or damaged. Removing trim risks damaging drywall edges or paint. In most cases, targeted re-nailing, backer rod, and layered caulk solves it—no full removal needed.
Is a gap behind door trim a sign of foundation problems?
Not always—but it’s a red flag when paired with other symptoms: diagonal drywall cracks, stair-step brickwork fractures, or doors that no longer latch properly. One isolated gap is likely cosmetic; multiple gaps across rooms warrant a foundation inspection.
Can I use expanding foam to fill a door trim gap?
Avoid it. Expanding foam exerts pressure as it cures and can bow or buckle thin trim—especially MDF or finger-jointed pine. It also expands unpredictably behind walls, potentially pushing drywall out of plane. Backer rod + caulk is safer and more controllable.
How long should caulk last in a door trim joint?
Quality painter’s caulk lasts 5–7 years indoors if applied correctly over clean, dry surfaces. High-traffic doors or homes with extreme humidity swings may require re-caulking every 3–4 years. Check annually during HVAC filter changes.
A well-sealed door trim doesn’t just look sharp—it keeps conditioned air inside, reduces noise transfer, and protects your wall assembly from moisture infiltration. Small gaps grow. Catch them early, fix them right, and you’ll skip the bigger headaches down the line. For related issues, see our guides on door sticking solutions and choosing the right caulk for interior vs. exterior.