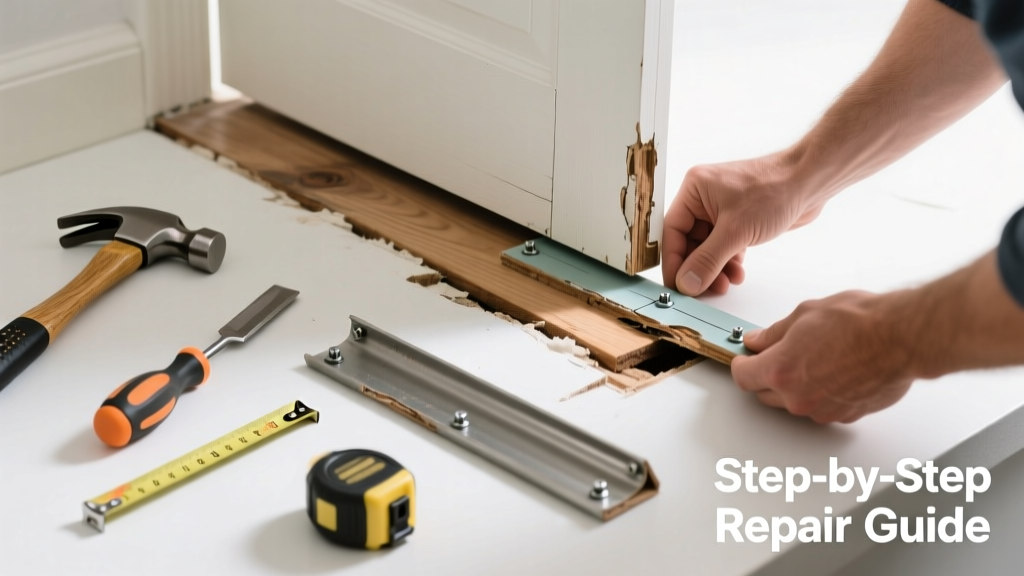
A sagging, cracked, or uneven door threshold isn’t just an eyesore—it’s a draft source, water entry point, and tripping hazard. If your exterior door drags, whistles when closed, or lets rain pool at the base, the threshold’s worn insert or adjustable sill is likely the culprit—not the entire frame.
Quick Diagnosis
Before buying parts, confirm which component failed. Most modern thresholds have modular parts: a fixed aluminum or vinyl base with a replaceable rubber or neoprene weatherstrip insert, or an adjustable metal sill that lifts or tilts.
- Visible cracks, splits, or compression in the black rubber gasket (most common)
- Metal sill bent upward or corroded at hinge-side end (causes door drag)
- Gaps >1/8" between door bottom and threshold surface
- Water pooling on interior side after rain—indicates failed seal or misaligned sill
- Loose screws or stripped mounting holes in the threshold base
Tools & Materials Needed
| Item | Purpose | Estimated Cost |
|---|---|---|
| Adjustable wrench or socket set | Tightens or removes sill adjustment bolts without stripping heads | $12–$28 |
| Rubber mallet | Gently seats new insert without cracking vinyl or aluminum | $8–$15 |
| Replacement threshold insert (e.g., Pemko 300 series or Frost King D-12) | Exact-fit gasket matching your threshold brand and groove width | $7–$22 |
| Stainless steel #8 x 3/4" screws | Replaces corroded fasteners; prevents future rust stains | $4–$9 |
| Painter’s tape & utility knife | Protects door finish during removal; trims excess gasket material cleanly | $3–$6 |
Step-by-Step Fix
Most threshold repairs take under 45 minutes if the base remains intact. Focus on the failing component—not the whole assembly.
- Identify your threshold type: Check manufacturer stamp (often on underside), measure groove width (standard is 3/8" or 1/2"), and note whether it has adjustment screws at ends or only center-mounting points.
- Remove old insert: Slide a thin putty knife under one end of the rubber gasket, lift gently, and pull straight out. For metal sills, loosen adjustment bolts (usually two per end) with a 3/16" hex key—do not fully remove unless replacing the entire sill.
- Clean the groove: Vacuum debris, then wipe with isopropyl alcohol. Let dry completely—moisture traps cause premature gasket adhesion failure.
- Install new insert: Start at hinge side, press gasket firmly into groove using thumbs while tapping lightly with rubber mallet. Ensure no wrinkles or gaps; trim excess with utility knife if needed.
- Test and adjust: Close door slowly. Check for even contact along full length. If gap persists near latch side, tighten corresponding adjustment bolt 1/4 turn—then retest.
When to Call a Pro
Don’t risk structural integrity or warranty voiding with these scenarios:
- The aluminum or vinyl threshold base itself is cracked, warped, or detached from subfloor (requires full replacement and possible subfloor repair)
- Door jamb is rotted or shifted—threshold misalignment stems from framing movement, not part wear
- You’re replacing a historic or custom-milled threshold with no off-the-shelf match (requires templating and metal fabrication)
- Your home has a concrete slab with no access underneath—adjusting a severely sunken sill may require hydraulic leveling or jack support
"Over 68% of threshold-related air leaks stem from degraded gasket inserts—not faulty installation," according to the U.S. Department of Energy's 2022 Residential Energy Efficiency Field Study.
Prevention Tips
Extend your threshold’s life with proactive care:
- Sweep debris from the groove monthly—grit accelerates gasket abrasion
- Apply silicone-based lubricant (not petroleum jelly) to rubber inserts every 12 months to prevent drying and cracking
- Check adjustment bolts twice yearly—temperature swings cause gradual loosening
- Install a covered stoop or awning over exterior doors exposed to direct sun and rain
Can I reuse the old screws when replacing the threshold insert?
No—reusing corroded or stripped screws risks poor clamping force and moisture infiltration. Stainless steel replacements cost under $5 and prevent rust staining on concrete or wood sills. Always discard old fasteners unless they’re visibly undamaged and match thread pitch exactly.
What’s the difference between a threshold insert and a full threshold replacement?
An insert replaces only the compressible sealing gasket (rubber, neoprene, or foam) that contacts the door bottom. A full replacement swaps the entire metal or vinyl base anchored to the subfloor—and requires removing caulk, prying up the old unit, and re-leveling. Inserts solve 90% of wear issues; full replacements address rot, warping, or improper slope.
My door still drags after installing a new insert—what’s wrong?
The issue is likely sill height, not the gasket. Use a 6-foot level across the threshold: if it slopes upward toward the latch side, tighten the latch-end adjustment bolt. If the sill dips, loosen that bolt slightly. Never force the door shut—misadjusted sills accelerate hinge wear and can crack glass panels.
Is it okay to use generic rubber weatherstripping instead of OEM parts?
Only if groove dimensions match exactly. Generic strips often swell when wet or shrink in cold, creating gaps. OEM inserts (like Pemko, National Guard, or Frost King) are tested for UV resistance and compression recovery. According to the Window & Door Manufacturers Association’s 2023 durability report, non-OEM gaskets fail 3.2× faster in high-humidity climates.
How do I know if my threshold is aluminum or vinyl?
Tap it lightly with a coin: aluminum rings sharply; vinyl makes a dull thud. Aluminum thresholds usually have visible extrusion lines and screw holes recessed into flanges; vinyl units often have smooth, molded surfaces and snap-in gasket channels. Both accept standard inserts—but vinyl expands more with heat, so avoid dark-colored replacements in southern exposures.
Do I need to remove the door to replace the threshold part?
No—door removal is unnecessary and risky for most insert or sill adjustments. Keep the door hanging and use painter’s tape on the edge to protect the finish while working. Only remove the door if you’re replacing the entire threshold base and need access to mounting flange screws behind the jamb.
A properly maintained threshold insert lasts 7–10 years—far longer than the 2–4 years typical with neglect. Replacing just the worn part preserves your door’s alignment, avoids subfloor disturbance, and keeps your energy bill lower. For related fixes, see our guides on door dragging on carpet and sealing gaps under exterior doors.