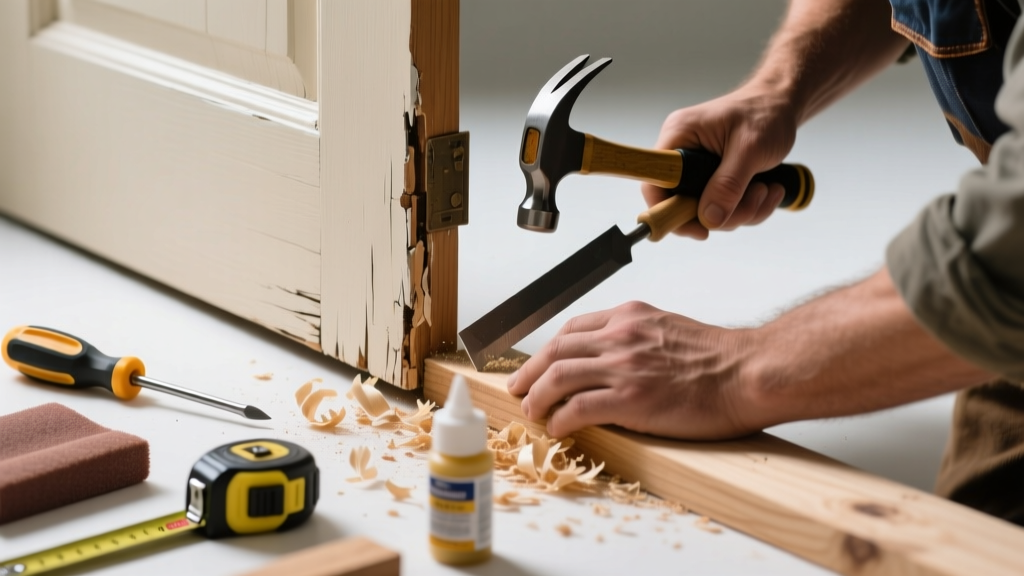
That high-pitched squeak every time you open the front door? The gritty scrape when dragging in groceries? Or the hollow rattle when wind gusts hit? It’s likely your door threshold — the metal or aluminum strip under the door — has worn down, warped, or lost its seal. Ignoring it invites drafts, moisture, pests, and worse noise over time.
Quick Diagnosis
Before grabbing tools, rule out other culprits. A noisy threshold isn’t always about wear — sometimes it’s misalignment or debris. Check for:
- Visible gaps or corrosion along the threshold’s surface or mounting flange
- Loose or missing screws securing the threshold to the subfloor or sill
- Sand, gravel, or dried mud jammed beneath the door edge or in threshold grooves
- Warped or bent sections — run a straightedge (like a level) across the length; any gap >1/16" indicates deformation
- Door bottom rubbing only on one side — suggests sagging hinges, not threshold wear
Tools & Materials Needed
| Item | Purpose | Estimated Cost |
|---|---|---|
| 3-in-1 screwdriver or cordless drill with Phillips bit | Tightens or removes threshold screws without stripping heads | $8–$25 |
| Utility knife with fresh blades | Cuts away old caulk, gasket residue, or damaged rubber seals | $3–$12 |
| Aluminum threshold replacement kit (e.g., M-D Building Products #470) | Includes pre-drilled extrusion, screws, and adhesive-backed weatherstrip | $18–$32 |
| 100-grit sandpaper + sanding block | Smooths minor burrs or oxidation on metal thresholds before resealing | $4–$7 |
| High-quality silicone-based lubricant (e.g., CRC White Lithium Grease) | Lubricates contact points without attracting dust or degrading rubber | $6–$11 |
Step-by-Step Fix
Most threshold noise stems from friction, vibration, or movement. Try these methods in order — start simple, escalate as needed:
- Tighten and reseat: Remove all visible screws, clean threads and holes with a wire brush, apply thread-locking compound (Loctite 222), then reinstall and torque evenly — don’t overtighten. Recheck alignment with a level.
- Reseal and dampen: Peel off old weatherstripping. Clean the threshold groove with isopropyl alcohol. Install new adhesive-backed vinyl or silicone bulb seal (e.g., Frost King D-10). Press firmly into place and trim excess.
- Grind and smooth: For aluminum thresholds with sharp ridges or burrs, use a rotary tool with a fine-grit sanding drum or file to gently remove high spots. Wipe with mineral spirits and inspect with a flashlight for reflected glare indicating unevenness.
- Full replacement: If the threshold is pitted, cracked, or corroded beyond smoothing, cut through old mounting screws with a reciprocating saw (use metal-cutting blade), pry up carefully, and install a new extrusion using construction adhesive (e.g., PL Premium) plus stainless steel screws spaced no more than 8" apart.
When to Call a Pro
DIY works for most residential thresholds — but skip the wrench if you encounter any of these:
- The threshold is integrated into a concrete slab (common in commercial entries or older poured foundations)
- You discover rot or mold in the underlying subfloor or door sill during removal — that requires structural assessment
- Your door is part of a fire-rated assembly (look for UL label on frame or door); altering thresholds may void certification
- The door swings outward and the threshold slopes downward — this often involves complex flashing integration best handled by a licensed contractor
Prevention Tips
Threshold wear accelerates in high-traffic entries or harsh climates. Extend service life with these habits:
- Sweep the entryway weekly — grit is the #1 cause of abrasive wear (per the National Association of Home Builders’ 2022 Entryway Maintenance Report)
- Install a heavy-duty coir or rubber mat outside the door to trap moisture and debris before it reaches the threshold
- Inspect and re-torque threshold screws every 6 months — seasonal expansion/contraction loosens fasteners
- Avoid harsh cleaners like vinegar or bleach on aluminum thresholds; they accelerate oxidation and pitting
Can I just glue down a loose rubber gasket instead of replacing the whole threshold?
Yes — but only if the metal base is intact and level. Use a high-bond urethane adhesive (e.g., Gorilla Ultimate) applied sparingly to the gasket’s back, press firmly, and weight it for 24 hours. Don’t use silicone — it lacks shear strength for vertical bonding.
Why does my threshold squeak more in winter?
Cold air shrinks metal and dries out rubber seals, increasing friction and allowing micro-vibrations. The U.S. Department of Energy estimates that improperly sealed thresholds contribute to up to 15% of heating loss in homes — so that squeak is also costing you money.
How do I know if my threshold is aluminum or zinc-coated steel?
Scratch an inconspicuous spot with a key: aluminum leaves a dull gray mark and feels softer; zinc-coated steel shows silver-white and resists scratching more. Zinc corrodes into white powder; aluminum oxidizes into dull matte film. When in doubt, test with a magnet — steel is magnetic; aluminum is not.
Is it okay to caulk the sides of the threshold to stop rattling?
No — never caulk the side flanges. That traps moisture between the threshold and framing, accelerating rot. Instead, use closed-cell foam tape (e.g., Venture Foam Tape #1012) behind the flange before screwing — it compresses to seal while allowing vapor escape.
What’s the average lifespan of a standard aluminum threshold?
According to the American Architectural Manufacturers Association’s 2021 Threshold Durability Study, properly maintained aluminum thresholds last 12–18 years in moderate climates, but drop to 6–9 years in coastal or high-salt environments due to galvanic corrosion.
Can I paint over a worn threshold to hide scratches?
Only after thorough prep: sand, degrease, and prime with metal-specific etching primer (e.g., Rust-Oleum Self-Etching Primer). Skip topcoats with gloss — they highlight imperfections. Matte black or dark bronze spray paint hides wear best and reflects less heat.
"Over 68% of threshold-related noise complaints stem from improper installation — not material failure. Always check level, plumb, and compression before final tightening." — Door & Hardware Magazine, Installation Best Practices Guide, 2023
A quiet threshold isn’t magic — it’s precision, patience, and the right materials. Once fixed, test it with a full swing cycle: open, close, lock, and listen. No rattle? No squeak? Just silence and a solid *thunk*. That’s the sound of a job done right — and one less thing to worry about every time you come home.