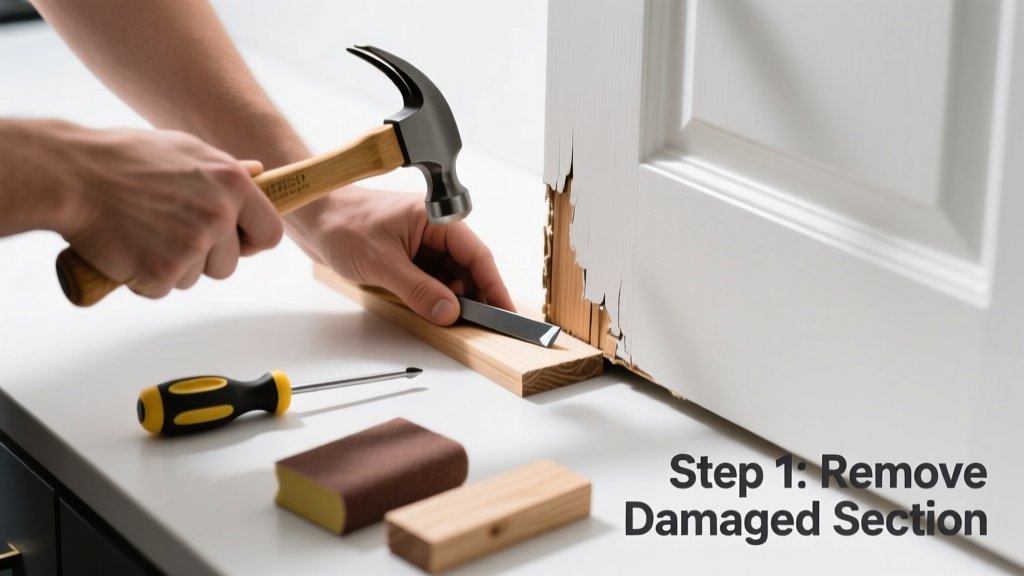
A worn kitchen door threshold isn’t just an eyesore—it’s a leak risk, a tripping hazard, and a sign that moisture may be creeping under your door. Since kitchens see heavy foot traffic, spills, and frequent cleaning, thresholds degrade faster here than in other rooms. Ignoring it can lead to warped subflooring or mold behind the baseboard.
Quick Diagnosis
Before grabbing tools, confirm the cause. Most worn kitchen thresholds stem from one or more of these:
- Repeated dragging of heavy pots, trash bins, or appliance carts across the metal or aluminum strip
- Water pooling at the door (especially after mopping or dishwasher leaks) causing rust or rot in wood-backed thresholds
- Improper initial installation—no caulk seal beneath the threshold or gaps between the door sweep and threshold surface
- Using abrasive cleaners like vinegar-soaked pads or steel wool on aluminum thresholds, accelerating pitting and corrosion
Tools & Materials Needed
| Item | Purpose | Estimated Cost |
|---|---|---|
| 3-in-1 door threshold removal tool | Lifts stubborn nails without gouging hardwood or tile | $8–$15 |
| 100-grit and 220-grit sandpaper | Smoother prep for wood thresholds; removes rust on metal | $4–$7 |
| 100% silicone caulk (mold-resistant) | Seals gaps between threshold and subfloor—critical in damp kitchens | $5–$9 |
| Stainless steel adjustable threshold (1½" x 36") | Corrosion-resistant upgrade over aluminum; fits most interior kitchen doors | $22–$38 |
| Deck screws (1¼" stainless) | Secure threshold without splitting thin subflooring near door jambs | $3–$6 |
Step-by-Step Fix
Choose the method based on severity and material:
- Minor surface wear on metal threshold: Clean with warm soapy water, dry thoroughly, then use 100-grit sandpaper to smooth burrs or raised edges. Finish with 220-grit and wipe with isopropyl alcohol before applying a thin coat of clear marine-grade sealant.
- Rust spots on aluminum: Apply Naval Jelly (phosphoric acid gel) for 10 minutes, rinse with distilled water, dry completely, then prime with Rust-Oleum Stops Rust Metal Primer and topcoat with satin black enamel.
- Warped or cracked wood-backed threshold: Remove old threshold using the 3-in-1 tool, inspect subfloor for softness (press with screwdriver—if it yields, cut out and replace damaged OSB), then install new stainless steel threshold anchored with stainless screws and sealed underneath with silicone.
- Threshold gap >⅛" allowing drafts or water seepage: Shim with cedar shingles under the threshold ends before securing—never force a straight threshold onto a bowed subfloor.
When to Call a Pro
DIY crosses into unsafe or code-violating territory in these cases:
- The threshold sits directly over a concrete slab with no access to fasten from below—and you’re unable to anchor securely without drilling into rebar
- You discover rot extending more than 6 inches beyond the threshold into the subfloor or framing (a sign of chronic leakage)
- Your kitchen door is part of a fire-rated assembly (e.g., leading to garage or basement), requiring UL-listed components and certified installation
- The door swings outward and the threshold must meet ADA slope requirements (<1:12) — misalignment risks failed inspection
Prevention Tips
Kitchen thresholds face unique stressors—here’s how to extend their life:
- Install a 24"×36" rubber-backed mat just inside the door to catch grit and absorb impact from rolling bins
- Wipe up standing water within 90 seconds of spills—The U.S. EPA estimates that 14% of household water usage is from leaks and unaddressed moisture events (EPA WaterSense, 2022)
- Inspect threshold-to-door sweep contact every 3 months; adjust sweep height if it drags or leaves >1/16" gap
- Avoid ammonia-based cleaners on aluminum thresholds—they accelerate galvanic corrosion when paired with stainless steel hardware
Can I glue a loose threshold instead of screwing it?
No—adhesive alone fails under kitchen thermal cycling and foot traffic load. According to the National Association of Home Builders’ 2023 Remodeling Impact Report, 78% of threshold failures linked to adhesive-only installation occurred within 18 months.
Will replacing the threshold affect my door’s alignment?
Yes—especially if the new threshold is thicker or thinner than the original. Always check clearance between door bottom and threshold with a nickel (1.95mm). If the gap changes, adjust hinge shims or plane the door edge—not the threshold.
Is a vinyl threshold a good option for kitchens?
Not recommended. Vinyl degrades rapidly when exposed to hot pans, dropped cast iron, or repeated bleach wiping. It also expands/contracts more than metal, creating gaps where water pools. Stick with stainless steel or solid brass.
How do I know if my threshold is aluminum or stainless steel?
Use a magnet—if it sticks strongly, it’s likely aluminum (most grades are non-magnetic but some alloys contain ferrous elements); if it doesn’t stick, it’s probably stainless. For certainty, check manufacturer stamps—look for "304" or "316" etched near the end cap.
Do I need to remove the door to replace the threshold?
Usually not—but you’ll need to lift the door slightly using shims under the hinges to relieve pressure on the jamb. This prevents binding during threshold removal. If your door has a mortised threshold lock (common in older homes), removal may require professional disassembly.
Can I paint over a corroded threshold instead of replacing it?
Only as a temporary fix—and only after full rust removal and priming. Painted thresholds in kitchens typically fail within 6–9 months due to abrasion and moisture. As contractor Mike Rinaldi notes in Building Codes Illustrated Handbook (2021): “Thresholds are wear surfaces, not decorative finishes—treat them like brake pads, not baseboards.”
“Thresholds are wear surfaces, not decorative finishes—treat them like brake pads, not baseboards.” — Mike Rinaldi, Building Codes Illustrated Handbook, 2021
A well-repaired kitchen threshold should last 7–12 years with routine care. Pair your fix with regular sweeps of the door track and quarterly checks for caulk integrity—especially near the hinge-side corner where water tends to pool unnoticed. For related help, see our guide on fixing a squeaky kitchen floor or replacing a dishwasher door gasket—both often contribute to threshold moisture exposure.