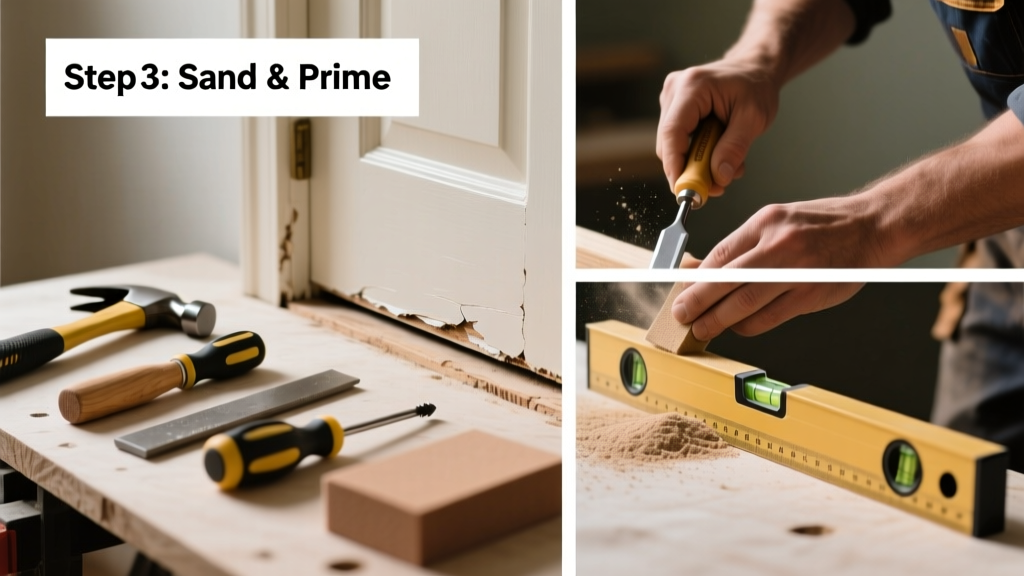
A sagging, cracked, or uneven door threshold isn’t just an eyesore—it’s a draft magnet, water entry point, and trip hazard. If your exterior door scrapes, whistles, or lets in rain or cold air, the threshold is likely worn beyond simple patching.
Quick Diagnosis
Before grabbing tools, confirm the issue isn’t misalignment or warped jamb. Worn thresholds show telltale signs:
- Visible cracks, splintering, or rot along the front edge (especially on wood)
- Gaps wider than 1/8" between the door bottom and threshold
- Loose or rocking sections when stepped on
- Water pooling or staining on the interior side after rain
- Uneven height across the width—measured with a straightedge and feeler gauge
Tools & Materials Needed
| Item | Purpose | Estimated Cost |
|---|---|---|
| 36" aluminum straightedge | Verifies flatness and guides cuts | $12–$20 |
| Sharp utility knife or oscillating tool | Cuts through caulk, nails, and old adhesive | $15–$45 |
| Galvanized finish nails (2" and 1-1/4") | Secures new threshold without rust bleed-through | $4–$8 |
| Silicone-based exterior-grade sealant | Prevents water infiltration at perimeter joints | $7–$11 |
| Replacement aluminum or composite threshold | Must match door width and slope; avoid pressure-treated wood for exterior doors | $22–$65 |
Step-by-Step Fix
Most worn thresholds can be replaced in under 90 minutes—but precision matters. Follow these methods in order:
- Remove the old threshold: Pry up loose sections with a stiff putty knife. Cut through caulk and adhesive with an oscillating tool set to 1/8" depth. Pull out nails with end nippers—don’t gouge the subfloor.
- Inspect and prep the subfloor: Check for rot, mold, or moisture damage beneath. Sand high spots with 80-grit paper. Fill low spots >1/16" deep with exterior-grade epoxy filler—not wood putty.
- Test-fit the new threshold: Dry-lay it in place. Slide a 6' level across its top surface. Adjust with shims under low ends until level *and* sloped slightly (1/8" drop from interior to exterior) for drainage.
- Secure and seal: Drill pilot holes every 6" along both flanges. Drive galvanized nails at 45° angles into framing or subfloor. Apply continuous 1/4" bead of silicone sealant along interior and exterior edges—never overfill the weep holes.
When to Call a Pro
DIY fails fast if structural issues hide underneath. Call a licensed contractor if:
- The subfloor feels spongy or shows active rot deeper than 1/2"
- The door frame itself is racked or shifting—indicated by gaps above or beside the door that change when you push on the jamb
- You’re replacing a threshold on a steel-framed commercial entry or ADA-compliant ramp system
- Your home has a concrete slab with embedded radiant heating lines running under the threshold area
"Over 62% of premature threshold failures stem from improper slope—either too flat or reversed—leading to chronic water retention." — National Association of Home Builders, Exterior Door Installation Standards, 2022
Prevention Tips
Extend your new threshold’s life with routine care:
- Clear debris from weep holes every spring and fall using a pipe cleaner or stiff brush
- Reapply silicone sealant every 2–3 years—look for cracking or shrinkage near corners
- Install a recessed storm door sweep with adjustable bristles to reduce direct wear on the threshold surface
- Use a rubber-backed coir mat outside (not inside) to trap grit before it grinds against the metal edge
Can I glue down a loose threshold instead of replacing it?
No—adhesive alone won’t hold long-term. Thresholds endure compression, lateral shear, and thermal expansion. Even construction adhesive fails within 6–12 months on worn substrates. Nails or screws into solid framing are non-negotiable.
How do I know if my threshold is aluminum or zinc-coated steel?
Scratch an inconspicuous spot with a key. Aluminum leaves a bright silver mark and feels softer; zinc-coated steel appears duller gray and resists scratching more. Use stainless steel fasteners for either—galvanized may corrode next to aluminum.
Do I need to remove the door to replace the threshold?
Rarely. Most residential thresholds slide in or sit flush beneath the door’s sweep. Only remove the door if the existing threshold is mortised into the jamb or the door clearance is less than 1/4"—a sign the jamb itself needs attention.
What’s the best threshold material for a north-facing entry with heavy snow load?
Extruded aluminum with a 3/4" tall, full-width sill and integrated thermal break. Avoid hollow-core vinyl—it cracks below 15°F. The door sweep replacement should also be EPDM rubber, not PVC, for low-temp flexibility.
Why does my new threshold still leak after sealing?
Most often, it’s missing or blocked weep holes. Check the underside: there should be 3–5 1/8" holes spaced evenly under the front lip. Clear them with a 1/8" drill bit. Also verify the interior sealant bead wasn’t applied so thick it dams water inward—seal only the outer 3/8" of each edge.
Can I paint an aluminum threshold to match my door?
Yes—but only after thorough degreasing and light sanding. Use 100% acrylic exterior paint rated for metal. Avoid oil-based paints or primers—they peel faster on thermally cycling surfaces. For best results, choose a factory-finished threshold in your preferred color; exterior door paint guide covers prep specifics.
A properly installed threshold lasts 15–25 years—far longer than the average homeowner expects. What looks like a minor wear issue is often the first symptom of bigger moisture management problems. Tackle it early, get the slope right, and seal like your energy bill depends on it—because it does. According to the U.S. EPA, 14% of household water usage is from leaks—including those sneaking under ill-fitting thresholds.