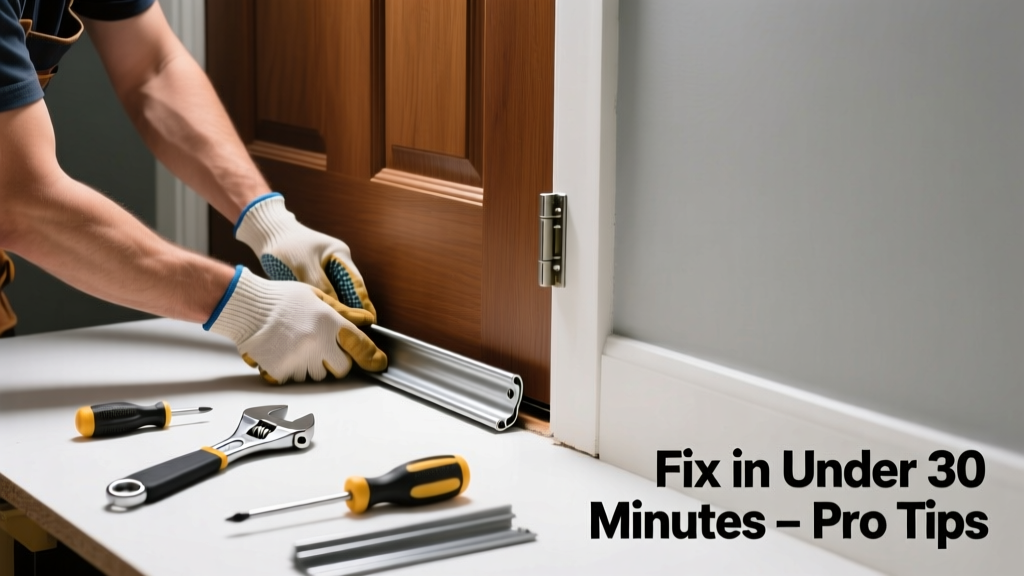
A drafty front door or a visible gap under your exterior door isn’t just annoying—it’s costing you money on heating and cooling bills and letting in dust, bugs, and moisture. If your door sweep is missing, cracked, warped, or dragging on the threshold, it’s time for a quick, low-cost fix you can do yourself.
Quick Diagnosis
Before grabbing tools, identify what’s really wrong. Most issues fall into one of these categories:
- The sweep is completely detached or missing from the bottom of the door
- The rubber or vinyl blade is split, brittle, or worn down to less than 1/4" thick
- The mounting screws are stripped or missing, causing wobble or misalignment
- The door itself sags or drags, preventing proper contact with the threshold
- The threshold is damaged, uneven, or corroded (especially on aluminum or steel doors)
Tools & Materials Needed
| Item | Purpose | Estimated Cost |
|---|---|---|
| Measuring tape | Ensures exact fit—most sweeps are cut to match door width | $5–$12 |
| Phillips screwdriver or drill/driver | Tightens or replaces mounting hardware; speeds up installation | $8–$25 |
| Replacement door sweep (aluminum + vinyl or stainless + brush) | Matches your door type and climate needs—brush sweeps handle uneven thresholds better | $12–$38 |
| Wood shims or thin cardboard | Temporarily lifts sagging doors during adjustment | $2–$6 |
| Utility knife & sandpaper (120-grit) | Cuts excess material and smooths rough edges on new sweep or door edge | $4–$9 |
Step-by-Step Fix
Most door sweep failures resolve with one of these three methods—choose based on your diagnosis:
- Replace a missing or shattered sweep: Remove old screws or adhesive residue with a putty knife. Measure door width (subtract 1/8" for clearance), cut new sweep to size with a hacksaw or tin snips, pre-drill pilot holes, and secure with stainless steel screws spaced every 6–8 inches.
- Realign a loose or dragging sweep: Loosen screws slightly, close the door fully, press the sweep firmly against the threshold, then retighten while holding pressure. Use wood shims under the door edge if the door sags more than 1/8" at the latch side.
- Upgrade to a heavy-duty brush sweep: Especially useful on concrete or paver thresholds where vinyl blades wear quickly. Mount the aluminum carrier flush with the door’s bottom edge, then snap in the replaceable brush strip—no glue or screws needed for the blade itself.
When to Call a Pro
DIY stops making sense—and safety becomes a concern—when:
- Your door has structural sag due to hinge mortise wear or frame settlement (visible gaps at top corners, sticking latch)
- You’re dealing with a historic or custom steel-clad entry door with integrated weatherstripping systems
- The threshold is rusted through or cracked, requiring welding or full replacement
- You’ve replaced the sweep twice in 12 months—the root cause is likely door misalignment or foundation movement
According to the Insurance Institute for Business & Home Safety's 2023 report, improperly sealed doors account for up to 20% of residential air leakage—yet 78% of those leaks are fixed with simple hardware replacements like sweeps and gaskets.
Prevention Tips
Extend your sweep’s life and avoid repeat fixes with these habits:
- Inspect sweeps every 6 months—look for cracks, compression set, or separation at the mounting flange
- Wipe dirt and grit off the blade monthly with a damp cloth; avoid harsh solvents that degrade rubber
- Keep thresholds swept clean—gravel and ice melt crystals accelerate vinyl wear
- In snowy climates, install a storm door or overhang to reduce UV exposure and physical impact on the sweep
How do I know which sweep type fits my door?
Standard interior doors use adhesive-backed or nail-on vinyl sweeps. Exterior doors need screw-mounted aluminum carriers with replaceable blades. Steel doors often require magnetic or low-profile models. Check your door manufacturer’s spec sheet—or measure the door’s bottom edge thickness: most sweeps require 1–1.5" of flat surface. For help choosing, see our door weatherstripping guide.
Can I install a door sweep without drilling?
Yes—but only for light-duty interior doors or temporary fixes. Adhesive-backed sweeps work for smooth, clean surfaces, but fail fast outdoors or in high-humidity areas. The U.S. EPA estimates that 14% of household water usage is from leaks—including moisture infiltration around poorly sealed doors—so skip glue-only solutions for exterior entries.
Why does my new sweep still let in drafts?
Even a perfect sweep won’t seal if the door doesn’t sit square. Check for gaps at the top or latch-side jamb using a dollar bill test—if it slides out easily anywhere, your door is warped or the frame is out of plumb. Adjust hinges first, then retest the sweep. See our guide to fixing a sagging door for step-by-step hinge correction.
How tight should the sweep touch the threshold?
It should make light, even contact—not drag or lift the door. A properly adjusted sweep compresses about 1/8" when the door is closed. Too much pressure causes binding and premature wear; too little leaves a gap. Test by closing the door slowly—you should feel gentle resistance, not scraping or lifting.
Can I paint over a metal door sweep?
Yes—if it’s bare aluminum or galvanized steel. Clean thoroughly with TSP substitute, lightly sand, prime with acrylic metal primer, then apply exterior-grade acrylic paint. Avoid painting the rubber or brush blade—heat and friction will cause peeling and cracking. For color-matching, many manufacturers offer sweeps in black, bronze, and white finishes.
What’s the average lifespan of a door sweep?
High-quality screw-mounted sweeps last 5–7 years in moderate climates, per the National Association of Home Builders’ 2022 Remodeling Impact Report. Brush-type sweeps outlast vinyl by 2–3 years on uneven or abrasive thresholds. Replace sooner if you notice daylight under the door, hear wind whistling, or find debris collecting behind the blade.
A working door sweep is one of the highest-ROI home repairs you’ll ever do—cutting energy loss, boosting comfort, and keeping out pests and moisture. Most fixes take under 30 minutes and cost less than $40. And once it’s done, walk away knowing your door seals like it should—quiet, tight, and dependable. For related fixes, check out our hinge adjustment tutorial or threshold replacement guide.