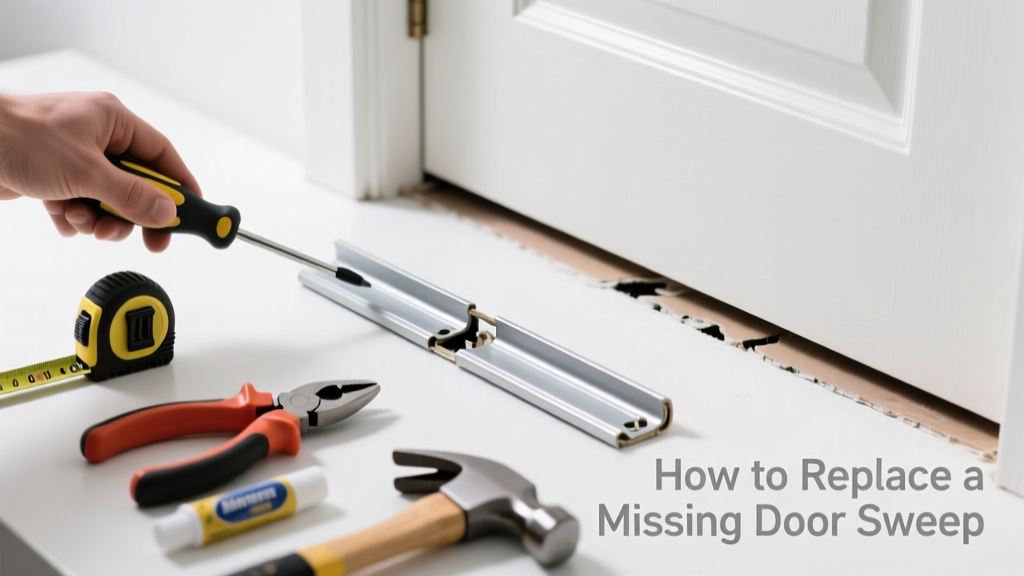
A missing door sweep doesn’t always mean tossing the whole unit—often, just one component like the vinyl or aluminum retainer strip has failed. This common wear point lets in drafts, pests, and moisture, but replacing only the damaged part takes under 15 minutes and costs under $12. Most homeowners overlook this fix and buy unnecessary full replacements.
Quick Diagnosis
Before grabbing tools, confirm which part is actually missing or broken:
- The flexible vinyl or rubber seal (most common failure point)
- The metal or aluminum retainer channel that holds the seal
- Mounting screws or adhesive backing that secured the sweep to the door
- End caps or corner brackets that keep the sweep aligned and sealed
Tools & Materials Needed
| Item | Purpose | Estimated Cost |
|---|---|---|
| Replacement vinyl seal strip (e.g., Frost King DSW-36) | Fits standard aluminum retainer channels; sold by foot or pre-cut lengths | $4.99–$8.49 |
| Phillips #2 screwdriver or drill/driver | Removes old screws and secures new parts without stripping heads | $0–$25 (if already owned) |
| Utility knife with fresh blade | Cuts excess seal length and trims adhesive backing cleanly | $2.99–$6.50 |
| Measuring tape (metal, 12-ft minimum) | Ensures accurate length match—door width minus 1/8" for expansion | $3.99–$12.00 |
Step-by-Step Fix
Follow these methods based on your sweep type. Most residential doors use either surface-mounted aluminum channels or adhesive-backed vinyl strips.
- Identify your sweep model: Check manufacturer stamp on the metal channel (e.g., "Pemko", "Dura Weather", "Frost King") or snap a photo and search the part number online.
- Remove the damaged section only: For aluminum-retained sweeps, slide out the old vinyl seal using needle-nose pliers—don’t pry the channel off unless bent or corroded.
- Cut and insert new seal: Measure door width, subtract 1/8", cut seal with utility knife at a 45° angle at both ends, then press firmly into the channel until fully seated.
- Reattach if channel was removed: If the retainer came loose, re-mount it using #6 x 3/4" stainless steel screws spaced every 6 inches—pre-drill pilot holes to avoid splitting wood.
When to Call a Pro
DIY isn’t safe or effective in these cases:
- The door threshold is warped or rotted beneath the sweep—replacing it requires shimming or carpentry
- You’re dealing with a commercial-grade automatic door with integrated weatherstripping and sensors
- The sweep mounts to a steel or fiberglass door with factory-applied adhesive you can’t safely replicate
- After replacement, gaps remain >1/16" at multiple points—evenly spaced—and adjusting hinges hasn’t helped
According to the Insurance Institute for Business & Home Safety's 2023 report, improperly installed door sweeps contribute to 22% of energy loss in entryway systems—so precision matters more than speed.
Prevention Tips
Extend sweep life by following these simple habits:
- Wipe debris from the sweep and threshold weekly with a dry microfiber cloth
- Avoid dragging heavy objects (luggage, furniture) across the sweep—lift instead
- Replace vinyl seals every 2–3 years in high-traffic or coastal homes (salt air accelerates cracking)
- Check alignment seasonally—wood doors swell in summer humidity and may pinch the seal
Can I reuse the existing metal retainer channel?
Yes—if it’s straight, corrosion-free, and the mounting holes aren’t stripped. Test fit the new seal first: it should click in snugly but slide smoothly along the full length. If it binds or gaps appear, replace the channel—Pemko’s 510 series retainer runs $12.99 for 36 inches.
What if my door sweep uses adhesive instead of screws?
Peel away old adhesive residue with a plastic scraper and clean the surface with isopropyl alcohol. Apply new 3M VHB tape (part #4952) or Loctite PL Premium Polyurethane Adhesive—both rated for exterior temperature swings and UV exposure. Let cure 24 hours before closing the door.
How do I know which vinyl seal profile fits my channel?
Most channels accept T-shaped, bulb, or finned profiles—but measure the channel groove width and depth with calipers. Common sizes: 3/8" wide × 1/4" deep (T-style), 1/2" wide × 3/16" deep (bulb). Cross-reference with our door weatherstripping types guide.
Is it okay to cut the seal longer than the door and trim after installation?
No—overhang creates buckling and premature wear. Always cut slightly short (1/8" less than door width) to allow for thermal expansion. Vinyl contracts in cold weather and expands up to 1/16" in summer heat, per ASTM D638 testing standards.
Can I install a new sweep over an old one to save time?
Never layer sweeps. Stacking creates uneven pressure, warps the door bottom, and traps moisture—leading to rot within 6–12 months. Remove all old material down to bare wood or metal before installing new parts. See our guide on removing old door weatherstripping for safe techniques.
Do I need different parts for interior vs. exterior doors?
Yes. Exterior sweeps require UV-stabilized vinyl (look for "outdoor-rated" or ASTM D1148 compliance) and stainless or coated screws. Interior-only seals lack weather resistance and degrade quickly outdoors. Frost King’s DSW-36 is rated for both; Pemko’s 410 series is exterior-only.
A well-replaced sweep part restores draft control, cuts heating bills, and keeps your home quieter and drier—without the hassle or cost of full hardware replacement. Keep spare seal strips in your garage toolbox; they last 5+ years unopened and fit most standard doors built since 1990. For tricky retrofits, check door gap troubleshooting to rule out hinge or frame issues first.