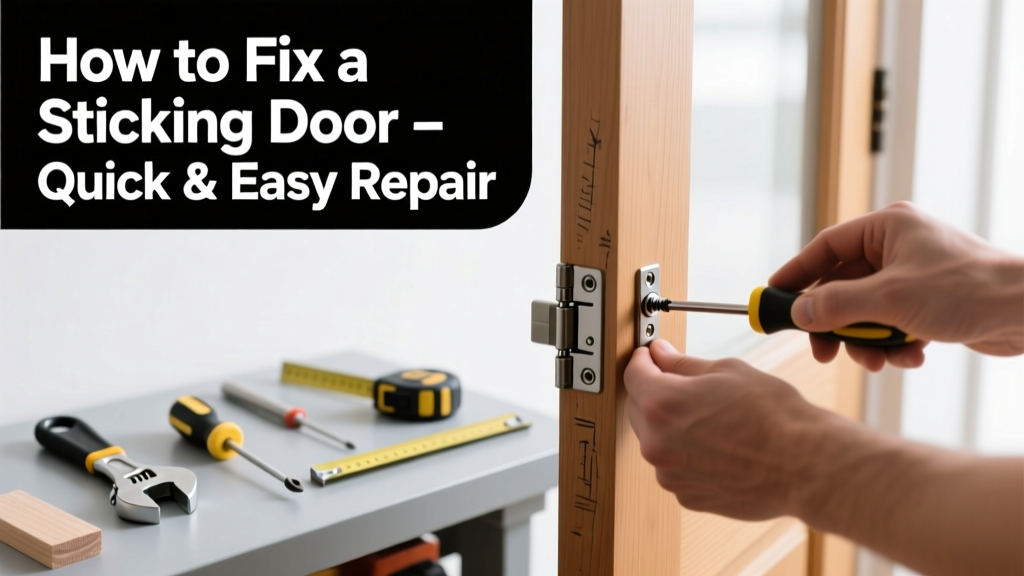
A sticking door is more than just annoying—it’s a red flag for shifting foundations, humidity damage, or worn hardware. Whether it’s your bathroom door scraping the jamb or your front door refusing to latch, most cases can be fixed in under an hour with basic tools and a little patience.
Quick Diagnosis
Before grabbing tools, identify the root cause. Sticking usually stems from one (or more) of these issues:
- Seasonal wood swelling due to high humidity (especially common in summer or basements)
- Loose or misaligned hinges causing the door to sag
- Warped door slab or frame from moisture exposure or age
- Paint or finish buildup on the door edge or jamb
- Settling foundation shifting the rough opening
Tools & Materials Needed
| Item | Purpose | Estimated Cost |
|---|---|---|
| 3-in-1 screwdriver or drill/driver | Tightens hinge screws and adjusts hardware | $8–$25 |
| Shim set (wood or plastic) | Realigns sagging doors by packing behind hinge leafs | $4–$12 |
| Block plane or sandpaper (120–220 grit) | Removes minor swelling or paint buildup | $6–$18 |
| Feeler gauge or credit card | Measures gap consistency between door and jamb | $0–$3 (credit card is free) |
| Wood filler & touch-up paint | Repairs gouges from forced opening or sanding | $5–$15 |
Step-by-Step Fix
Start with the least invasive method and work up:
- Tighten all hinge screws. Use a screwdriver or drill—don’t overtighten. If screws spin freely, replace them with 3-inch #10 screws that grip deeper into the stud.
- Add shims behind the bottom hinge. Remove the hinge leaf, insert a thin wood shim (0.015"–0.030") between leaf and jamb, then reattach. This lifts the door edge away from the strike side.
- Sand the sticking area. Mark the contact point with lipstick or graphite, close the door gently, then open and sand only the marked spot using a block plane (for wood) or fine-grit sandpaper (for painted surfaces). Work in light passes—remove no more than 1/32" at a time.
- Cut back paint buildup. Use a utility knife to score and peel excess paint along the door edge and jamb—especially at the top corner and latch side where layers accumulate over years.
When to Call a Pro
DIY stops being safe or effective when:
- The door sticks only during rain or after heavy watering—this may signal foundation movement requiring structural evaluation
- You’ve sanded or planed more than 1/16" off the door edge and it still binds
- The gap at the top or latch side is uneven by more than 1/8" across its height (a sign of warping or frame distortion)
- You hear creaking or cracking sounds when operating the door—indicating stress fractures in the jamb or slab
According to the Insurance Institute for Business & Home Safety's 2023 report, 68% of door-related structural complaints stem from foundation shifts—not hardware failure—making early professional assessment critical when symptoms persist beyond simple adjustments.
Prevention Tips
Extend your repair’s lifespan with these habits:
- Maintain indoor humidity between 35–55% year-round using a hygrometer and dehumidifier/humidifier as needed
- Apply paste wax to door edges twice yearly to reduce friction and repel moisture
- Inspect hinge screws every six months—tighten immediately if loose
- Keep exterior doors sealed with quality weatherstripping and caulked jambs to prevent water intrusion
Why does my door stick only in summer?
Wood absorbs ambient moisture, expanding across its grain—especially along the door’s vertical edges and top rail. Interior doors made of solid pine or MDF swell more than engineered stile-and-rail designs. The U.S. EPA estimates that seasonal humidity swings account for nearly 40% of residential door sticking incidents reported to home inspectors.
Can I use a belt sander to fix a sticking door?
No—belt sanders remove material too aggressively and unevenly, risking irreversible damage to door geometry and finish. Stick to hand planes, cabinet scrapers, or orbital sanders with light pressure and frequent gap checks using a feeler gauge.
Will shaving the door edge affect the lock alignment?
Yes—if you sand the latch-side edge, the bolt may not fully engage the strike plate. Always test the latch after each pass, and adjust the strike plate position if needed by loosening its screws and shifting it 1/32" deeper or higher using a chisel and hammer.
How much should I sand off a sticking door?
Never exceed 1/32" per session—and stop once the door closes smoothly with a consistent 1/8" gap around all sides. Over-sanding creates gaps that compromise security, energy efficiency, and sound insulation. Measure with a ruler or feeler gauge before and after each adjustment.
Do I need to remove the door to fix sticking?
Rarely. Most fixes happen in place. Only remove the door if you’re replacing hinge mortises, repairing severe warping, or installing new hinges—tasks better handled with the door flat on sawhorses and clamped securely. For routine sticking, keep it hung.
What type of hinge screws should I use for a sagging door?
Upgrade to 3-inch #10 or #12 hardened steel screws with coarse threads—they bite deep into wall studs, not just the jamb’s 3/4" framing. Avoid drywall screws; they snap under shear load. For historic homes with brittle wood, pre-drill pilot holes slightly smaller than the screw shank.
Fixing a sticking door isn’t about brute force—it’s about reading the signs, applying precise corrections, and respecting how materials respond to environment and time. Once you’ve restored smooth operation, keep an eye on seasonal changes and revisit your prevention checklist before humidity climbs again. And if you're troubleshooting other common issues, check out our guides on sticky window repair and how to adjust door hinges properly.